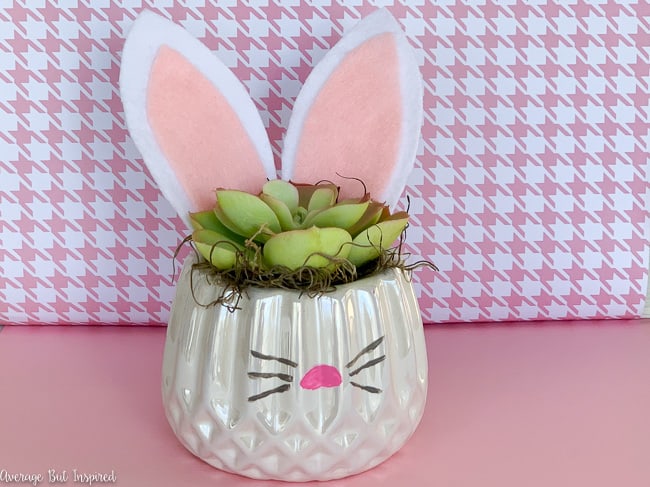
DIY Bunny Planters
Create your own adorable bunny planters with this easy do-it-yourself project. These cute planters are perfect for adding a touch of whimsy to your garden or indoor space. To make these bunny planters, you will need some basic materials such as small pots, paint, paintbrushes, and googly eyes. Start by painting the pots in a color of your choice, then add the bunny details such as ears, whiskers, and a cute little nose. Once the paint is dry, glue on the googly eyes to bring your bunny planters to life. These DIY bunny planters are a fun and creative way to showcase your favorite plants while adding a playful element to your decor. Whether you place them on your windowsill, patio, or give them as gifts, these DIY bunny planters are sure to bring a smile to anyone who sees them. Get creative and have fun making your own bunny planters to enjoy all year round.

Supplies Needed to Make DIY Bunny Planters
- Small white planters (originally purchased at Dollar Tree, but they don’t have them currently. You could also purchase terracotta pots and paint them white.)
- Hot Pink multi-surface acrylic paint
- Gray multi-surface acrylic paint
- Small paint brush
- Floral moss
- Faux succulents
- White felt
- Pink felt
- Fabric scissors
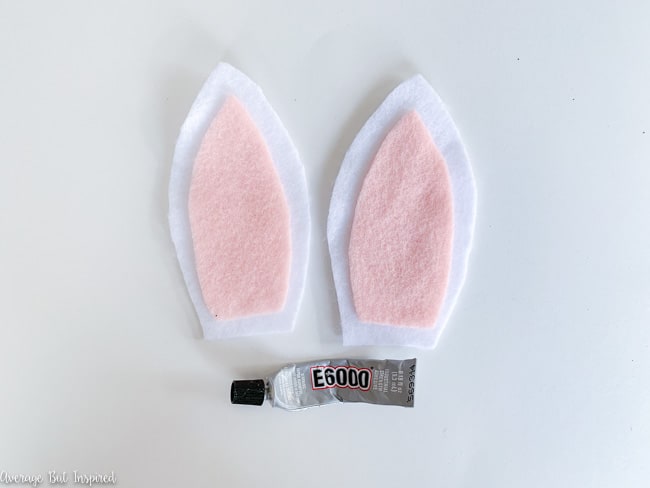
- Multi-surface glue, like E6000 brand
- Clothespins or craft clamps
- Optional: bunny ear templates that you draw onto paper or card stock
Instructions for Making DIY Bunny Planters
I started with the cutest little white planters that I got at Dollar Tree. I just love them with their facets and iridescent shimmer! They came in other colors, too, like pink and turquoise, but I think white is best for this project. (Update: I don’t think Dollar Tree carries these anymore, but you could paint a flower pot white to make this craft or use a small white planter like this!)
Step One: Paint a Nose and Whiskers
I used a small paint brush to paint a pink nose and gray whiskers onto the planter. I used multi-surface acrylic paint to make sure it adheres well!
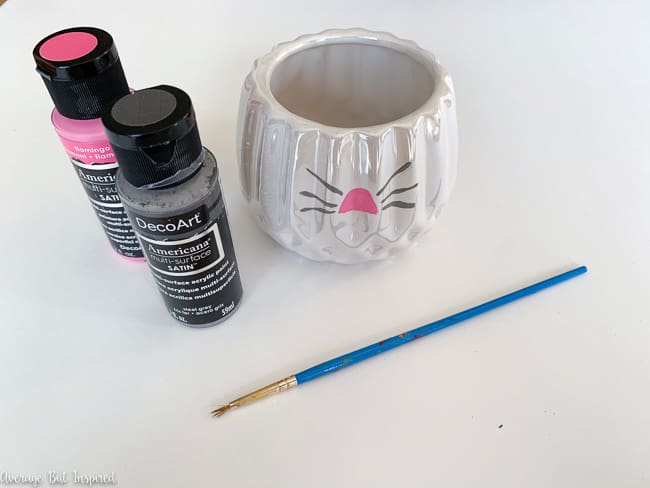
If you don’t want the mess of paint and a paint brush, you could also use oil-based Sharpie markers. I love those things!
Step Two: Make a Bunny Ears Template
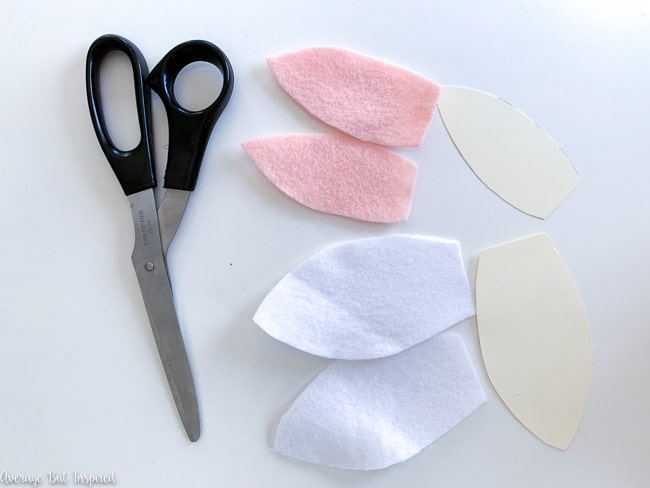
Next, I drew bunny ear templates onto scrap cardstock and cut those out. I drew a large ear and a smaller ear.
Step Three: Create the Bunny Ears
Then, I used the larger ear template to cut out two white felt ears.
I used the smaller template to cut out two pink felt ears.
I didn’t draw on the felt – I just held the templates in place and carefully cut around them.
Then, I glued one pink felt ear onto each white felt ear.
Step Four: Attach the Ears to the Planter
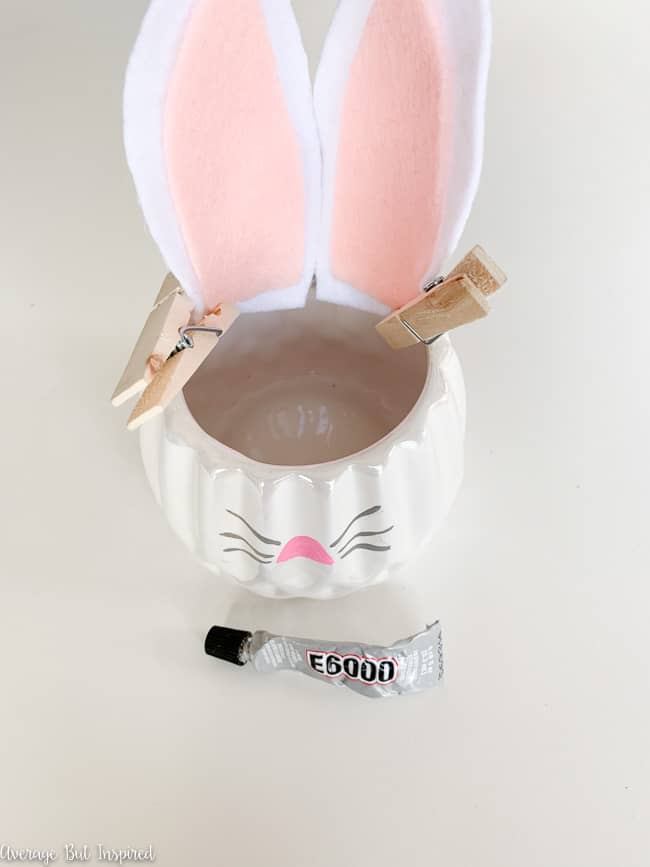
Next, I placed a thin line of multi-surface E6000 glue around the inner rim of the planter.
I pressed the ears onto the glue, and held them in place temporarily with clothespins. Once the glue hardened, I removed the clothespins.
Step Five: Fill the Planter
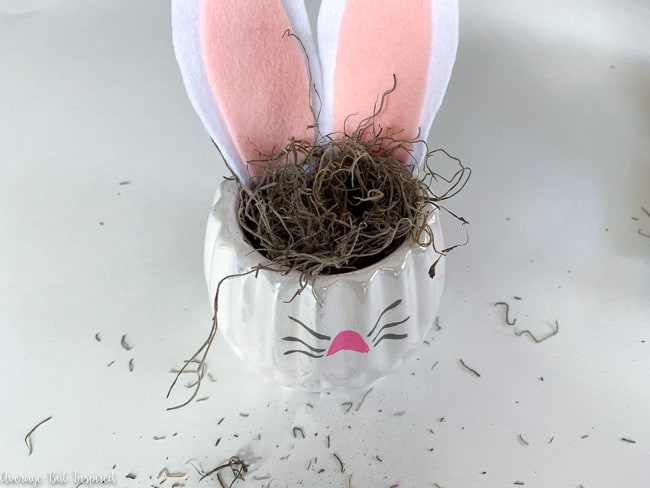
I filled the planter with craft moss to help hold the faux succulent in place. This stuff makes a mess, so have your broom or dust buster ready!
And for the final touch, I placed a faux succulent into the planter.
