DIY T-Shirt Dusting Mitt
Are you tired of constantly searching for the perfect tool to dust your home? Look no further! With just a few simple steps, you can transform your old t-shirt into a practical and efficient dusting mitt. Not only will this save you money, but it's also an excellent way to repurpose your beloved t-shirts that you no longer wear. Not only is this DIY project practical, but it's also a great way to reduce waste and give your old t-shirts a new lease on life. You can even customize your dusting mitt by using t-shirts with fun patterns or vibrant colors, adding a touch of personality to your cleaning routine. Plus, since the mitt is reusable, you'll be saving money on disposable dusting cloths in the long run.

Make your own dusting mitts out of old t-shirts! The super-fun fringe helps grab dust! 10 minutes or less.
Supplies:
- T-Shirts (no graphics)
- Scissors
- Rotary Cutter & Mat
- Sewing machine, thread and Pins
Find some t-shirts to cut up. If the front of a t-shirt has a graphic, just use the back.
One adult large t-shirt will work, as long as there's no graphics. If you're using small t-shirts, you'll need at least four backs (or two graphic-less, small t-shirts). I used the backs of two large t-shirts.

If using large shirts, fold each T-Shirt piece from collar to hem. Lay one piece on top of the other. If using small T-Shirts, lay them neatly on top of each other. Iron.

Cut away the uneven sides - the armpit sides.

Lay your hand and wrist on the shirts. Leave some space around your fingers.
CAREFULLY cut about three inches around your hand. Taper in the bottom (wrist) edge.

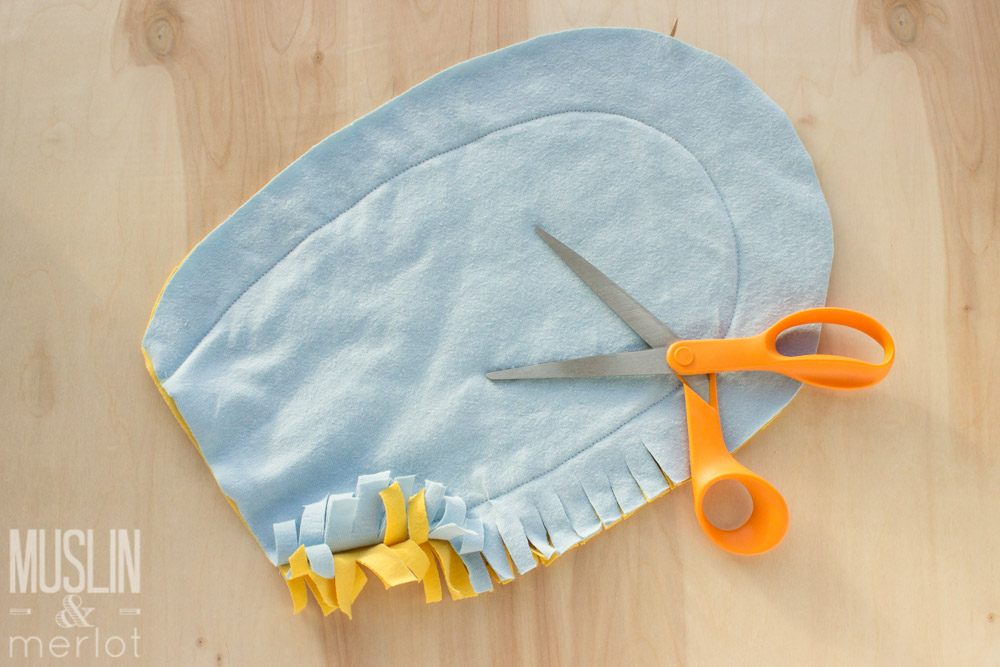
Pin and sew approximately 1 1/2 to 2 inches from the outer edge. Do not sew the bottom (wrist) area closed! Remember to backstitch :-).
Use a sharp scissors to fringe the area between the hem and the edge. Make sure not to cut through the hem!

Wash and dry before use.

