Ribbon Christmas Tree Craft Project
Create a beautiful and elegant holiday decoration with a ribbon Christmas tree craft project! Add some embellishments like bows, berries, or ornaments to give it a festive touch. You can also add some greenery like eucalyptus or ferns to give it a more rustic look. Once complete, display your ribbon Christmas tree on a mantel, tabletop, or windowsill for a stunning holiday centerpiece!
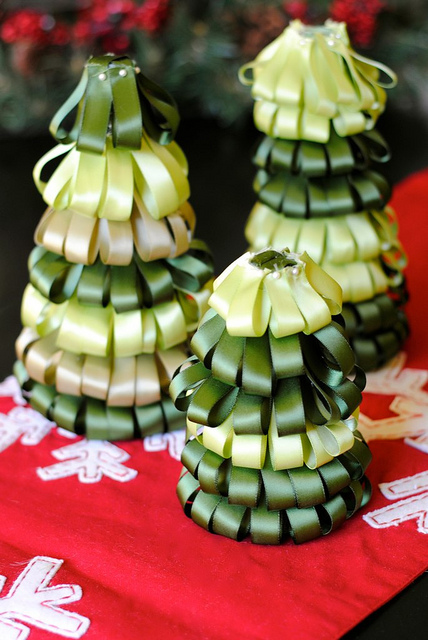
Ribbon Christmas Tree Craft Project
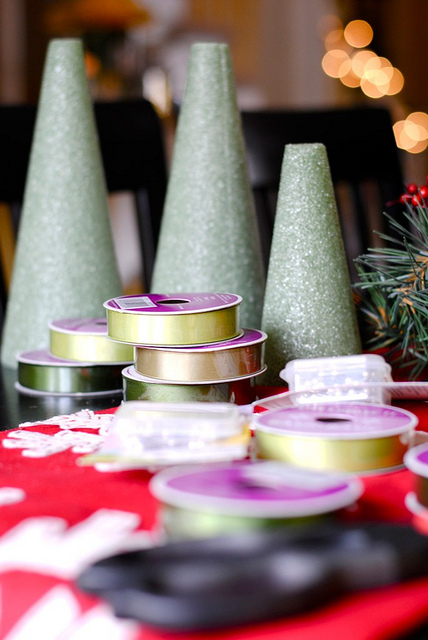
Supplies:
- Styrofoam cones
- Scissors
- Ribbon
- Pins
Directions:
2) Bend the ribbon in half and attach it to the base of the styrofoam cone using a pin. Make one complete row using one color of ribbon.

3) Continue to attach the ribbons using the pins to form another row. Be sure to cover the first row's pins with the second row of ribbons.
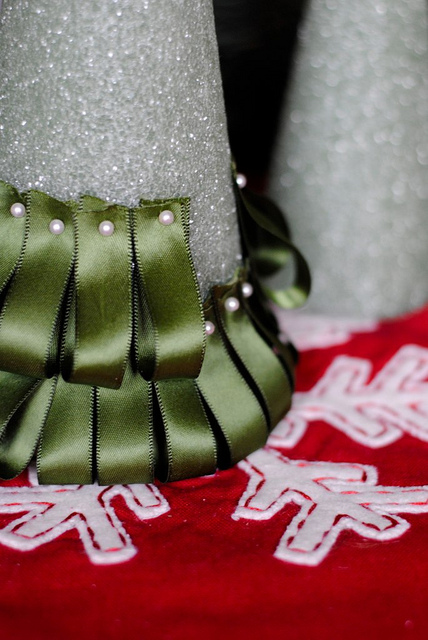
4) Use another color of ribbon to form the third row.
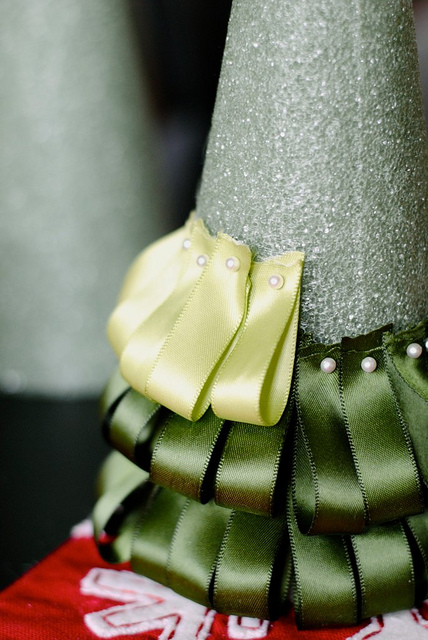
5) Attach another row of the ribbons using the same color so that you have two rows of each color.
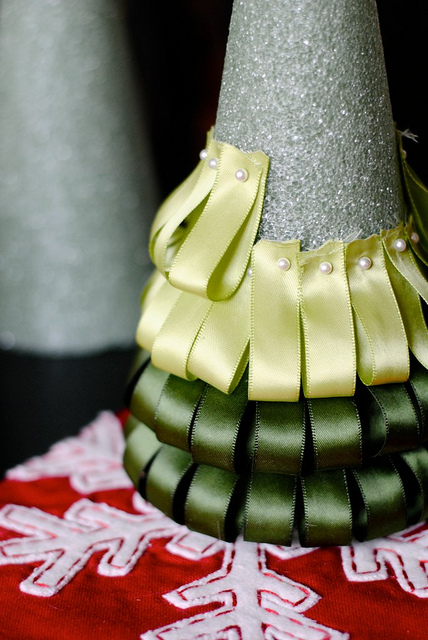
6) Attach more rows of ribbon to the styrofoam cone until the entire cone is covered in ribbons. Cover the top of the cone with a strand of ribbon to hide the styrofoam.
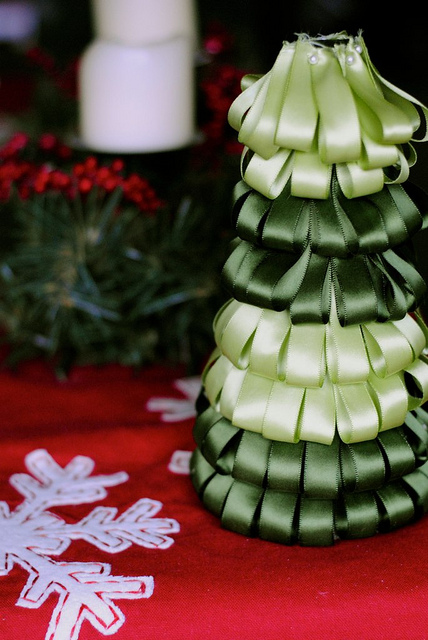
Feel free to use different sizes of cones and various colors of ribbon to form your Ribbon Christmas Trees. The possibilities are endless!