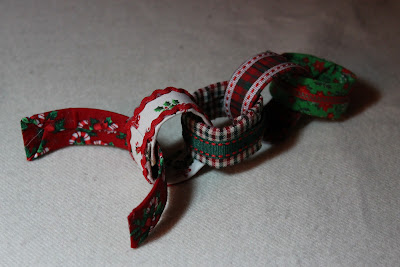
Christmas Chain
The Christmas chain tradition has been a delightful way to count down the days until the festive holiday season. Each link on the chain represents a day closer to Christmas, and it's a joyful activity to remove one link every day, building excitement and anticipation. Kids especially love taking part in this simple yet charming tradition, eagerly waiting to shorten the chain as the big day approaches. From crafting colorful chains at home to buying pre-made ones, the Christmas chain brings a warm, cozy feeling to households everywhere, spreading cheer and creating a lovely countdown to the most wonderful time of the year.
Christmas Chain
Medium: Cardboard & No-Sew Fabric
MATERIALS
oCardboard Tube (wrapping paper roll, paper towel roll, or whatever is handy)
oFabric Scraps (again, whatever's handy in as many or few styles as you like)
oRibbons & Trims (optional)
TOOLS
oScissors
oHot Glue & Glue Gun
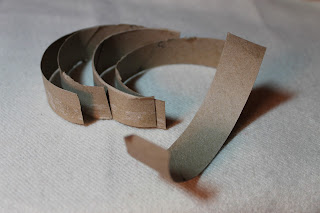
1. PREPARE THE LINKS. Cut the tube lengthwise down the center of the tube to open it up. Then cut 3/4" strips to create the base for the links. They'll be a little curved which is great because they'll bend easily back into a tube shape when you need them to.
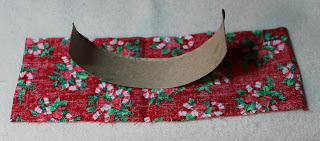
2. PREPARE THE FABRIC. Measure the cardboard strips you've cut, then add an inch on all four sides to determine the size of the fabric rectangle you'll need. For example, I used a 1 1/2" tube which created a cardboard strip 5" long x 3/4" wide. I then cut my fabric to 7" x 2 3/4"
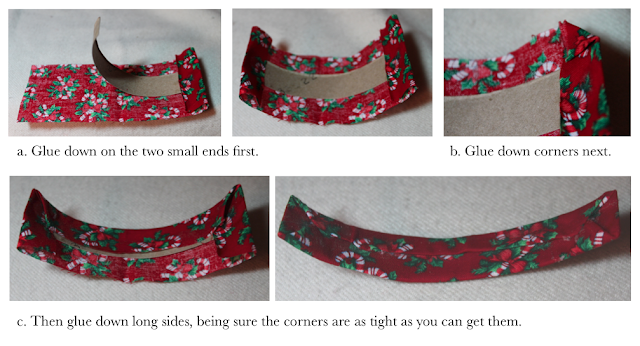
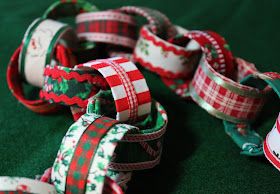
5. LINK THE LINKS. Now, just in case you don't remember the process, start by creating one link, gluing the two ends together. At this point, if you'd like, add some ribbon or trim.