How to make a DIY Tray
Create your own personalized serving tray with this easy do-it-yourself project. Crafted from simple materials like wood, paint, and handles, you can customize the design to match your home decor or personal style. Whether you prefer a rustic farmhouse look or a sleek modern finish, the possibilities are endless when it comes to making your own tray. This DIY project is a fun way to add a personal touch to your home and showcase your crafting skills. So gather your supplies, roll up your sleeves, and get ready to create a one-of-a-kind tray that will impress your guests and elevate your entertaining game.

What you need :
- glue
- clothespins (the bigger ones you can find)
- a cardboard (to use it as a support)
- a nice picture you like or a photo to insert inside .
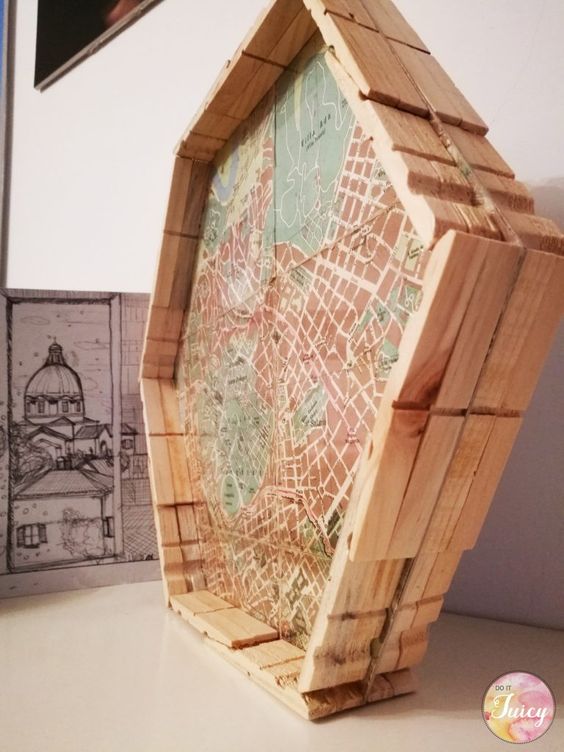
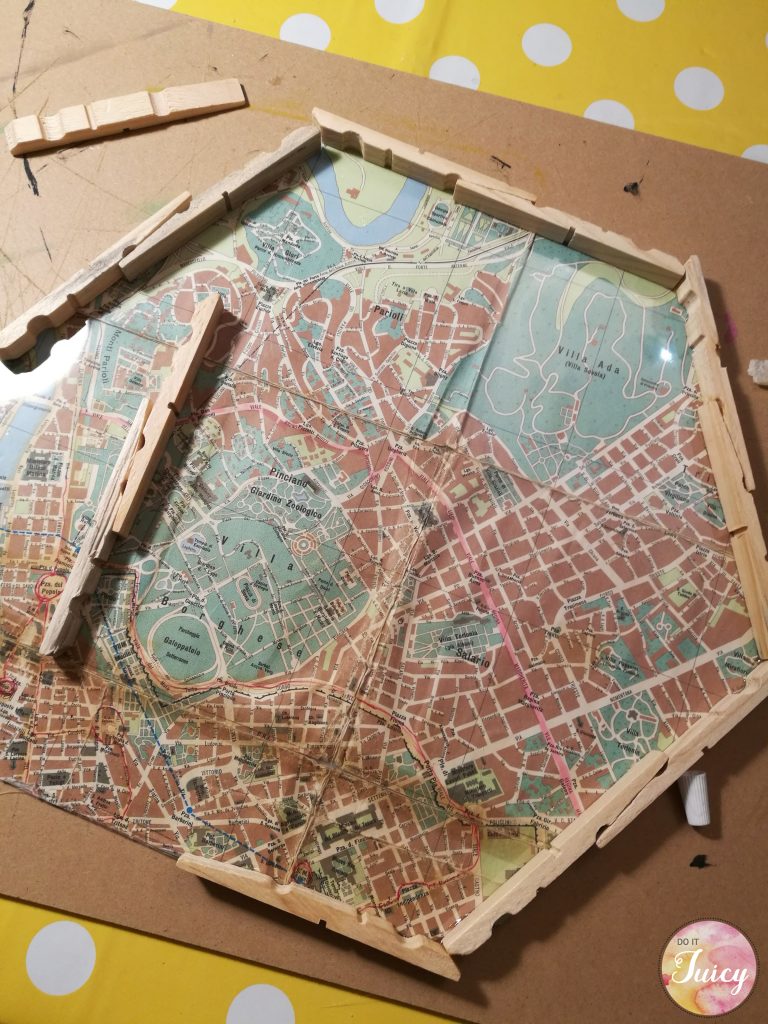
First of all make the support for the tray using a cardboard and cut it in the hexagonal shape.
Don’t worry it will not be a “perfect hexagon” because of the singular shape of the clothespins.


The dimension of one side of the hexagon depends on the clothespins you use.
Usually one clothespin is about 10 cm, for this project i used two clothespins for each side.
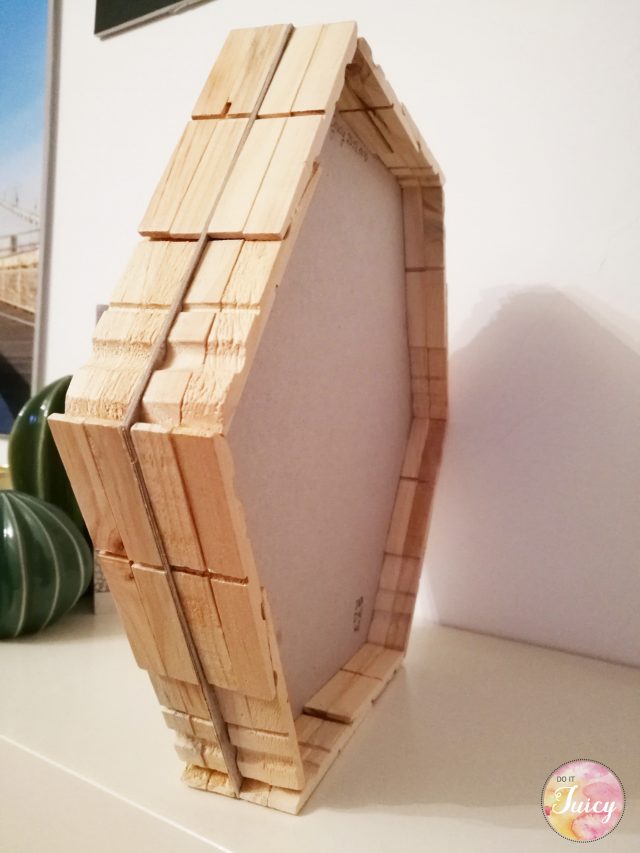
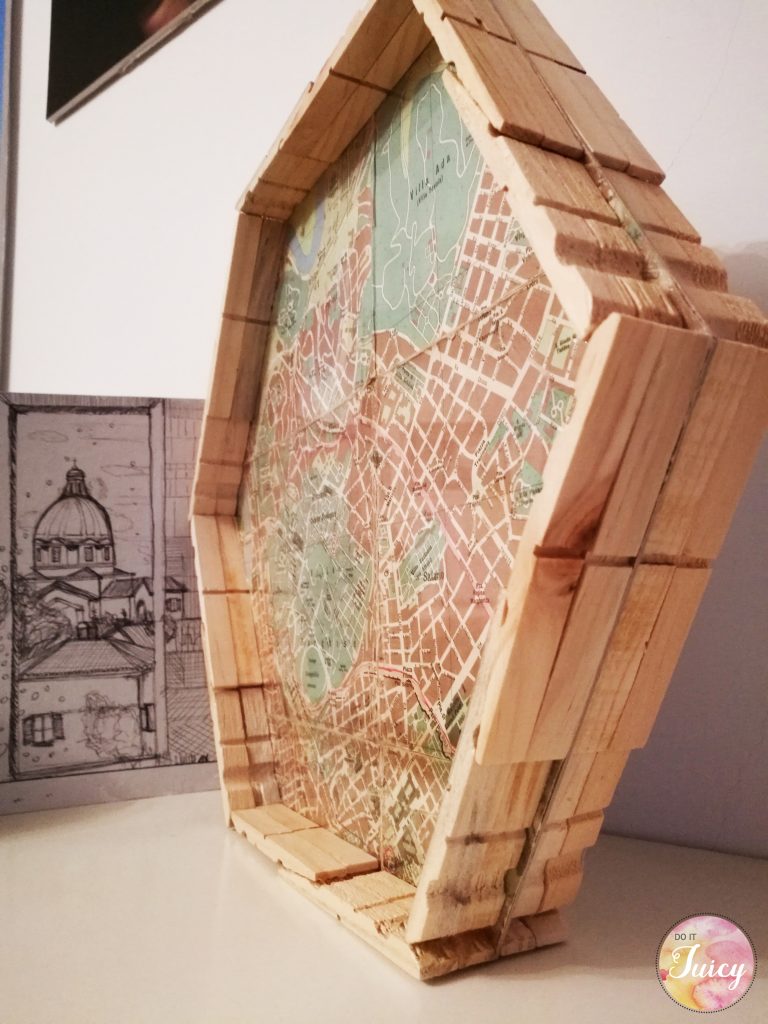
The support and the picture has to be in the middle of the tray. To do that make 4 layers of clothespins , two for each side.
This will make the tray more strong and with a good thickness.

