Colorful DIY Glue Suncatcher Craft
Create your own vibrant and eye-catching suncatcher with this fun and easy DIY project! Let your creativity shine as you explore the world of colors and patterns. This DIY glue suncatcher craft is not only a delightful way to add a pop of color to your home decor, but it also serves as a reminder of your artistic abilities and the joy of creating something unique. So, gather your supplies, let your imagination run wild, and enjoy the process of making your very own colorful suncatcher!
How to Make Suncatchers with Glue
Materials:
- Elmer’s white glue
- Food coloring or liquid watercolor paint
- Toothpick
- Plastic lid (the lid needs to be flexible enough so you can bend it to get the suncatcher out)
- Hole punch
- String
Instructions:
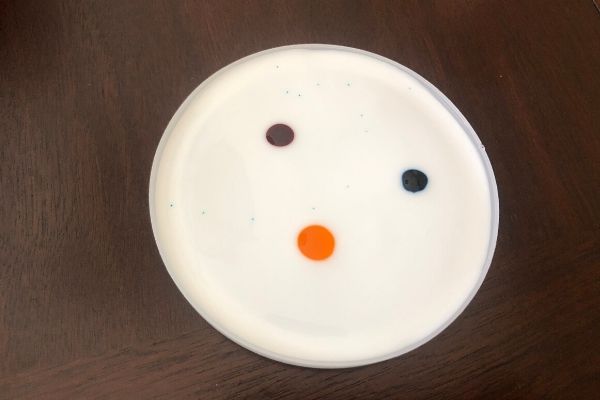
1. Pour enough glue into the lid to cover the entire inner surface. The best lids to use are flexible lids from yogurt, hummus, sour cream, or guacamole containers.
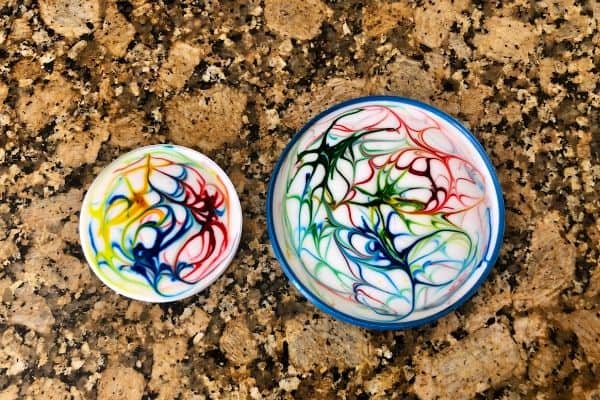
2. Add drops of food coloring. **Tip: About 3 drops is more than enough.
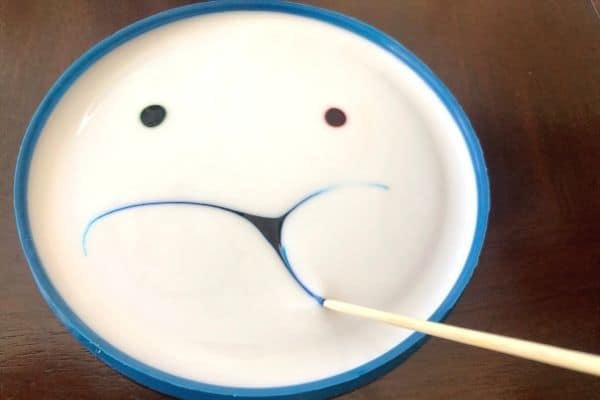
3. Swirl the colors around the glue with a toothpick. Let your kids be creative and make beautiful patterns in the glue.
4. Let the glue dry until completely solid. Depending on how much glue you poured in the lid, it may take 2-3 days.
This is the hardest part of this glue suncatcher craft. My kids checked on the glue every few hours and every time, they were 100% convinced that the glue had dried all the way.
5. When you see the edges starting to peel off the lid, you can peel off the glue.
6. Punch a hole in the suncatcher with the hole punch.
7. Insert the string into the hole and tie the ends.
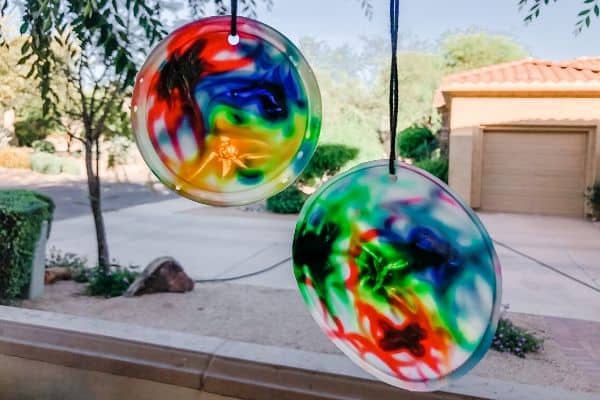
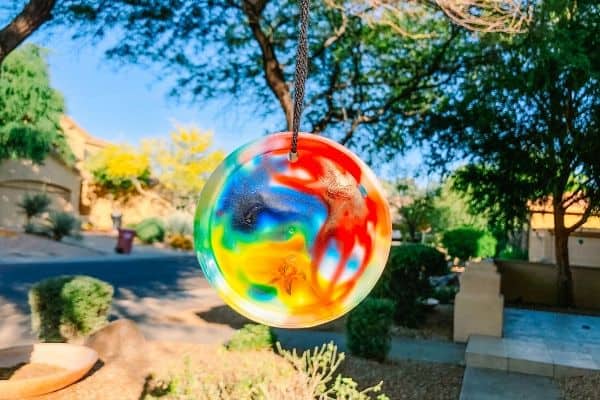
8. Hang the suncatcher in a sunny spot. We tied ours to the tree branches outside and the bright sunlight going through the translucent suncatchers was just so beautiful!