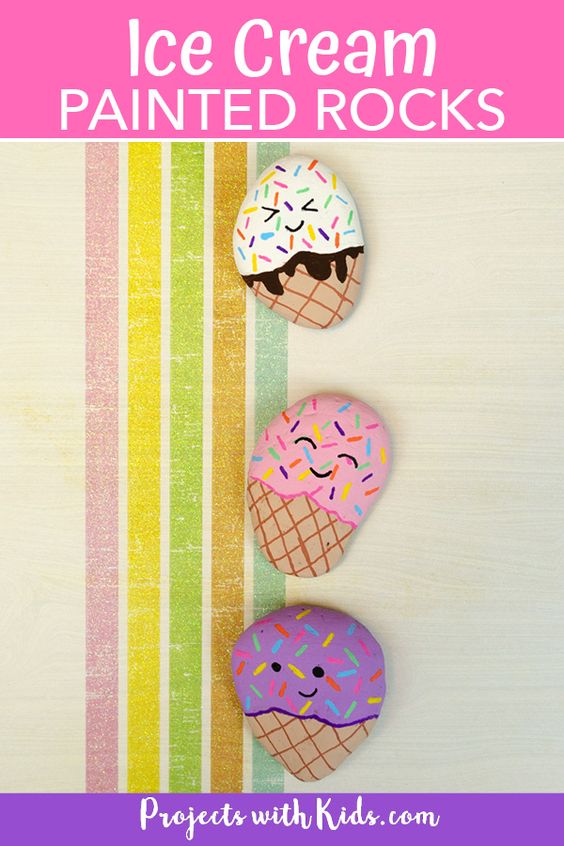
Ice Cream Painted Rocks
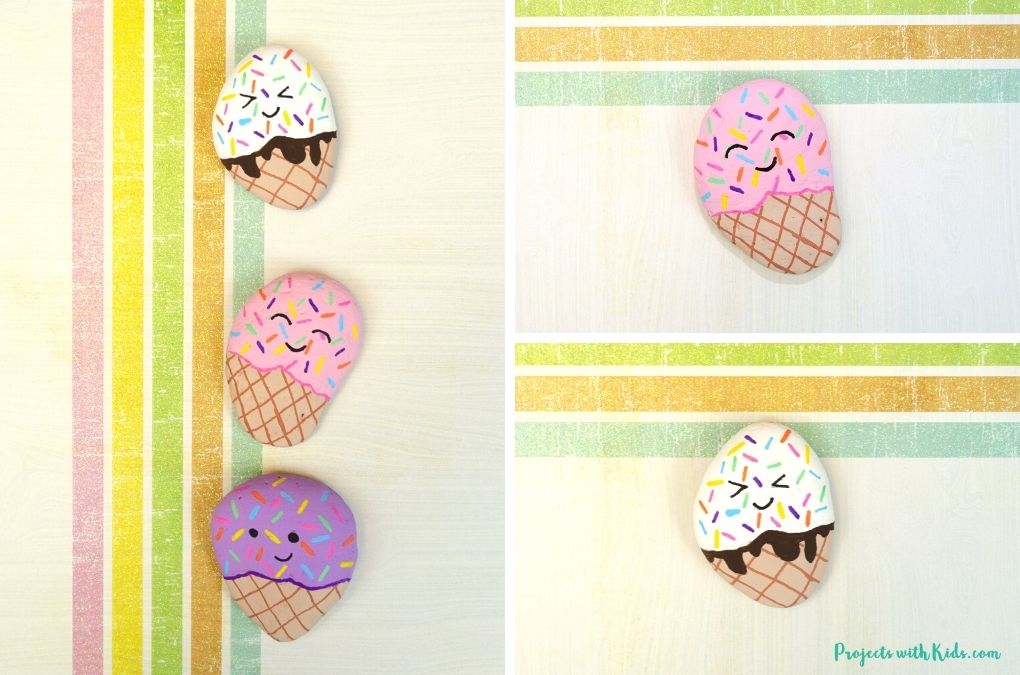
The Ice Cream Painted Rocks are a delightful and whimsical decoration that brings a smile to anyone's face. Each rock is carefully painted to resemble a colorful ice cream cone, complete with scoops, sprinkles, and a cherry on top. They can be used as paperweights, bookends, or even given as gifts. The paint job is vibrant and playful, making them a fun addition to any room or outdoor space. Whether you're an ice cream lover or just looking for a sweet treat, these rocks are the perfect way to add a pop of color and whimsy to your day.
SUPPLIES
- River Rocks
- Paint brushes
- Paint palette
- Paint pens
- Water dish
- Pencil
INSTRUCTIONS TO MAKE YOUR ICE CREAM ROCKS
1. First, you want to get your rocks ready. If you have collected the rocks yourself, make sure to wash them and let them dry.
To make the rocks resemble ice cream cones, you want to find the right shape. Look for rocks that are longer rather than an oval shape. It’s always fun to go rock hunting with kids!
2. Use a pencil to mark the cone line on your rock before you start painting.
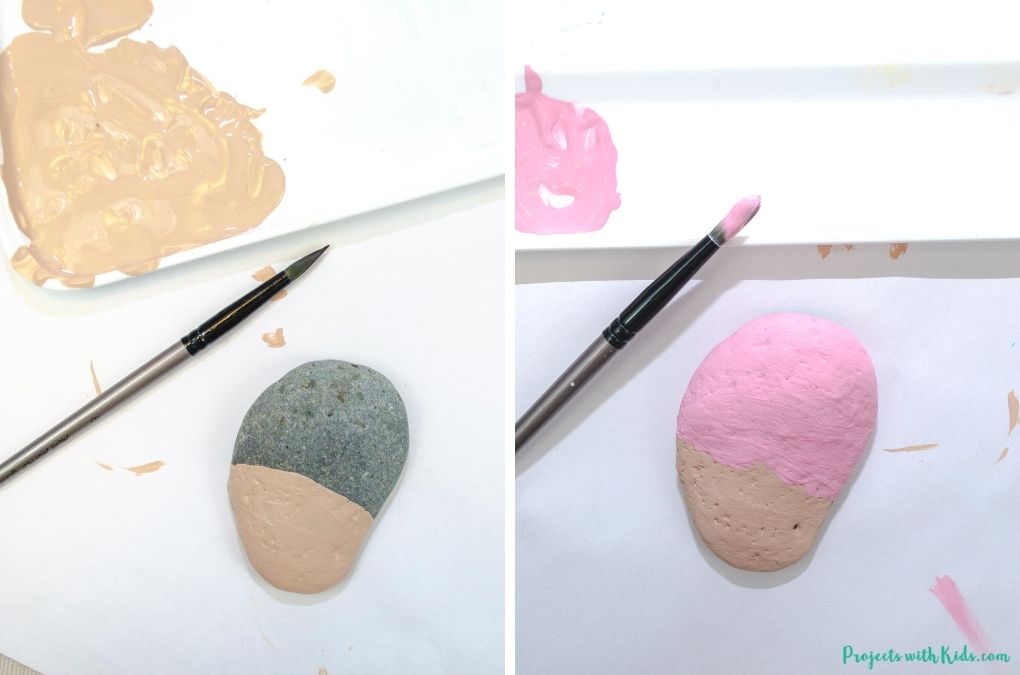
Get your acrylic paint ready. You will need a light brown for the cone color and a color for the ice cream. Kids can choose their favorite ice cream flavor for this part.
You want your ice cream color to be more on the pastel side, this will help the sprinkles and face stand out more.
Paint the bottom of the rock a light brown color for the ice cream cone. You may have to paint more than one coat depending on the type of acrylic paint you are using.
Make sure to let your paint dry in between coats.
Once your ice cream cone color has dried, paint the top of your rock with your ice cream color. Again, you may have to paint more than one coat.
To make the ice cream look like it’s been scooped into the cone, paint more of a wavy line at the bottom. Using a pencil to draw in the wavy line first will make this easier for kids.
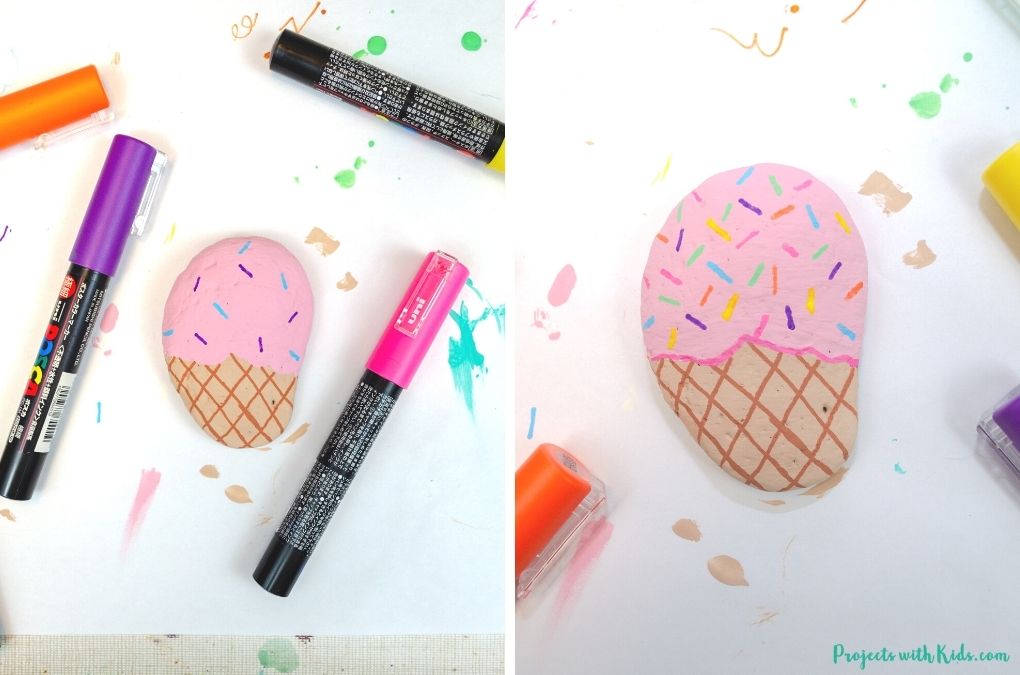
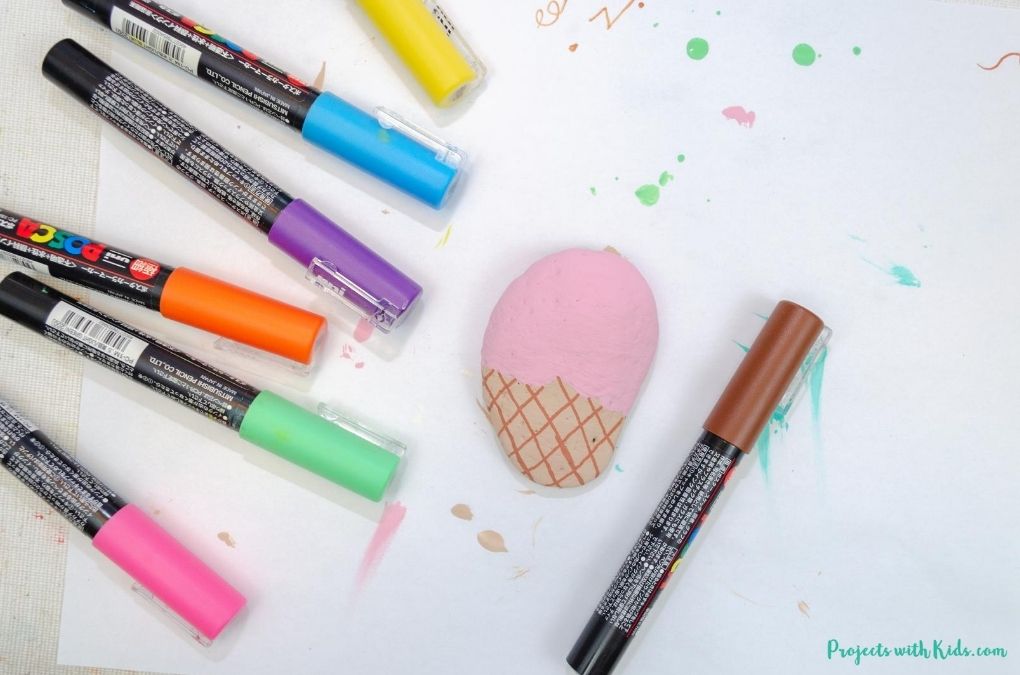
3. Use a brown paint pen and draw on the ice cream cone lines. Remind kids to go slowly with this step. Let the paint dry.
4. After the cone part has dried, it’s time to draw on the sprinkles. Using paint pens for this step makes it really easy for kids.
Draw on your sprinkles and let them dry. Then draw on a second coat to really make them pop.
For an optional step, you can take a paint pen and draw a line where the ice cream and cone meet to give it more definition like in the example above.
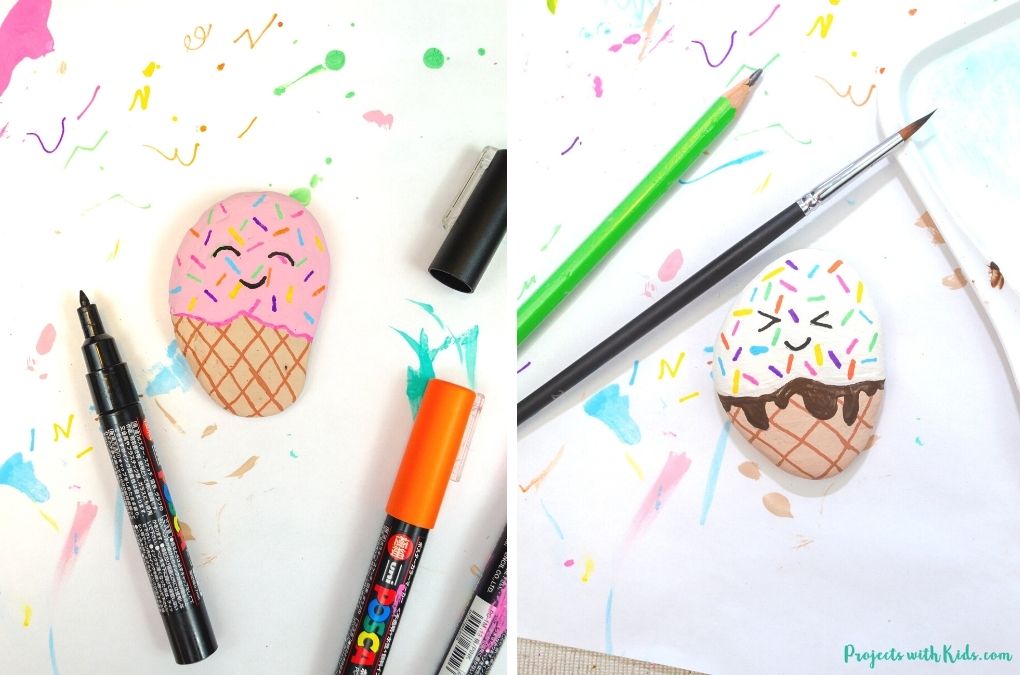
5. Now it’s time to draw an adorable face on your ice cream! Have kids use a pencil first to draw the face on and then trace over it with a black paint pen.
6. Kids can also choose to paint in a chocolate drizzle on the cone, like in the vanilla example above. Have them draw it out with a pencil first and then paint it in with dark brown paint and a small brush.