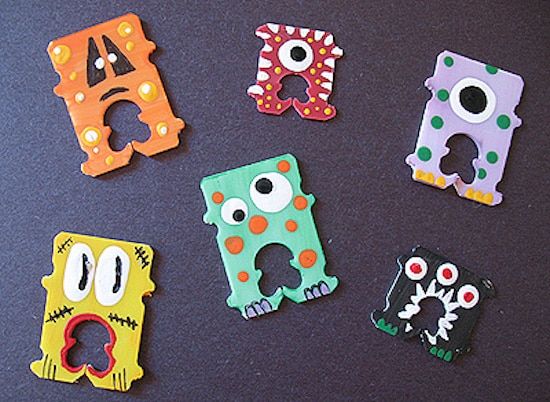
Recycled Bread Tag Monsters
Recycled bread tag monsters are a fun and eco-friendly way to entertain kids and promote recycling at the same time! By collecting those tiny colorful tags from bread bags and turning them into cute or silly little monsters, you not only spark creativity but also teach the importance of reusing materials. Kids will love coming up with unique designs and giving their monsters quirky personalities. It's a delightful project that not only brings joy but also encourages environmental consciousness in a playful manner. So next time you finish a loaf of bread, don't throw away the tag - instead, get creative and bring a recycled bread tag monster to life!
Supplies
- bread tags
- toothpick
- paint
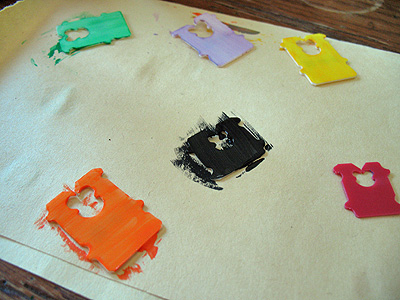
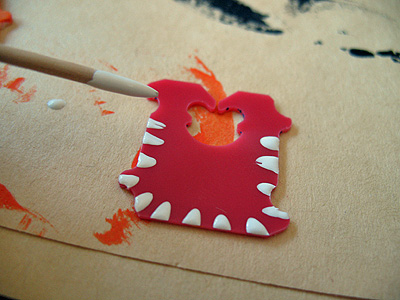
First I painted them with acrylic paint. I didn’t even put paint into the palette because only a small amount of each color is needed. I just shook the bottle and removed the lid, then stuck my paintbrush into the lid to get some paint. Most of my bread tags were white, but I did have a red one and left that one as is.
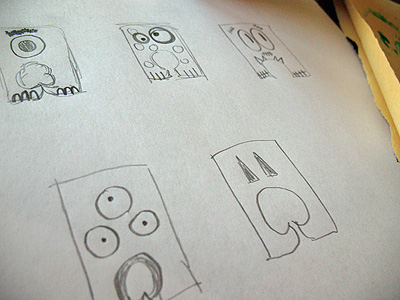
While the paint was drying, I sketched out some monster faces.
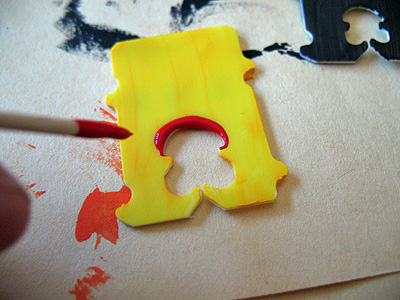
Then I started embellishing. I used a toothpick for some of the small lines, like this monster’s mouth…
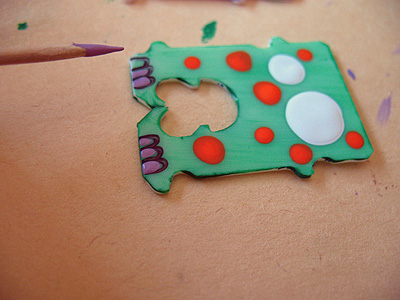
and for the marks on this monster’s sides.
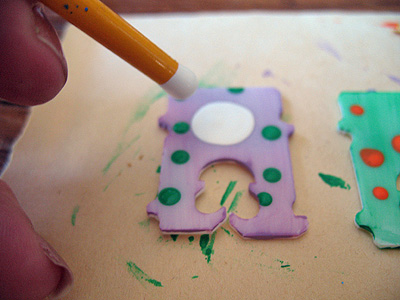
I dipped the handle end of a paintbrush into the paint to make the eyes and any polka dots. For really tiny polka dots and some of the pupils I used a toothpick.
On this one I used a Sharpie marker to draw on toes, then used a toothpick to fill in the toes with paint. A monster manicure!
I did finish them off with some sealer spray too, to keep the paint from rubbing or peeling off.
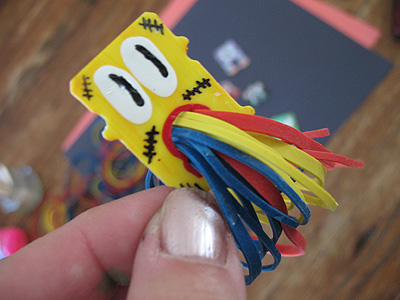
I’ve heard these make decent rubber band holders.. hmmm.
Instructions
- First I painted them with acrylic paint. I didn’t even put paint into the palette because only a small amount of each color is needed. I just shook the bottle and removed the lid, then stuck my paintbrush into the lid to get some paint. Most of my bread tags were white, but I did have a red one and left that one as is.
- While the paint was drying, I sketched out some monster faces.
- Then I started embellishing. I used a toothpick for some of the small lines, like this monster’s mouth…
- and for the marks on this monster’s sides.
- I dipped the handle end of a paintbrush into the paint to make the eyes and any polka dots. For really tiny polka dots and some of the pupils I used a toothpick.
- On this one I used a Sharpie marker to draw on toes, then used a toothpick to fill in the toes with paint. A monster manicure!
- I did finish them off with some sealer spray too, to keep the paint from rubbing or peeling off.