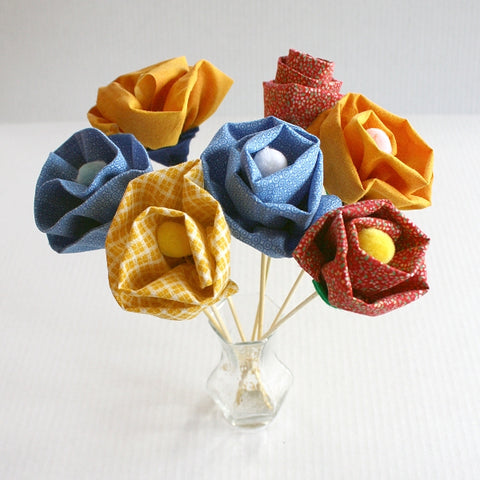
DIY Fabric Flowers
If you're looking for a fun and creative way to add a touch of whimsy to your decor, DIY fabric flowers are the perfect project for you! These charming blooms can be made using various fabrics like felt, cotton, or even old t-shirts, making them a versatile option for any crafter. Whether you want to embellish a headband, add flair to a tote bag, or create a unique centerpiece, fabric flowers are an easy and enjoyable craft to tackle. With just a few simple supplies like scissors, glue, and of course, your chosen fabric, you'll be on your way to crafting a beautiful bouquet of homemade flowers in no time. So why not grab your materials and let your creativity bloom with this delightful DIY project!
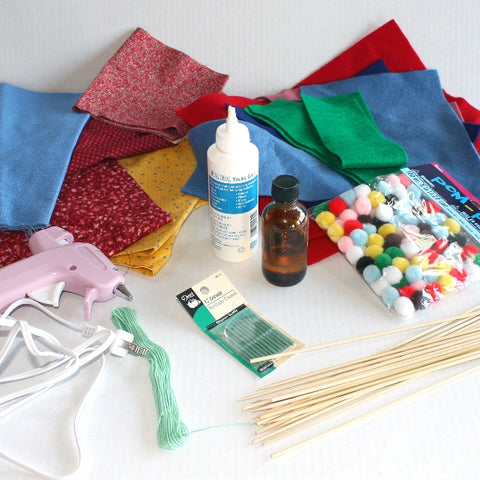
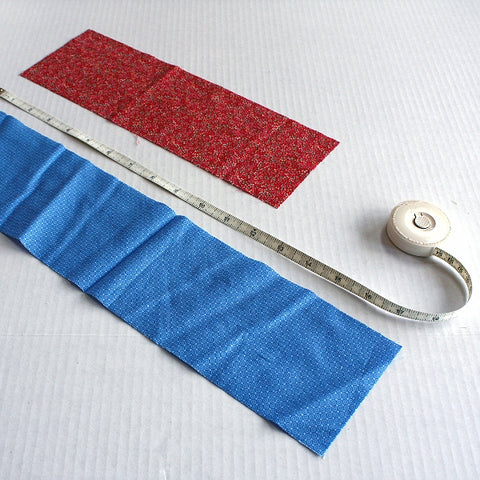
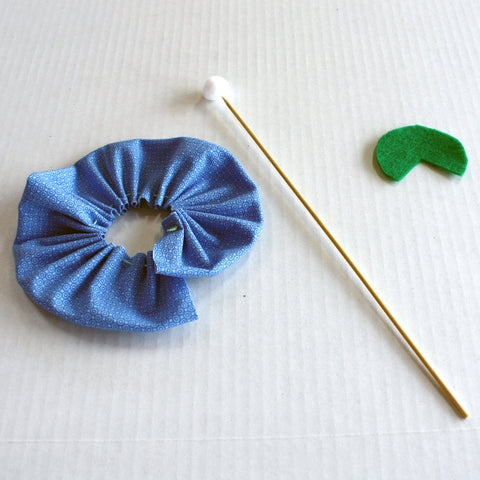
You'll need: colorful fabric (I used quilting cotton), felt squares, pom poms, craft glue, wooden skewers, needle, regular or embroidery thread, hot glue & scented oil (optional).
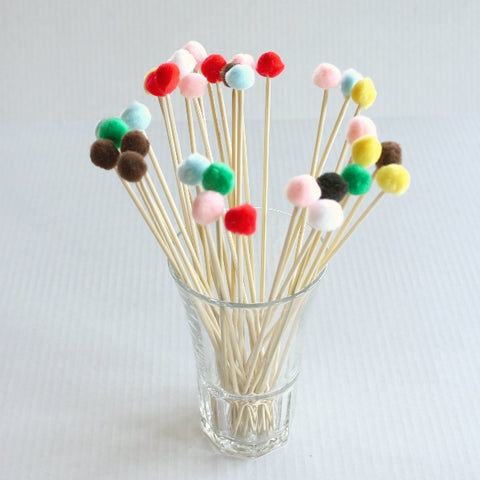
Start by using craft glue to attach the pom poms to the sharp end of the wooden skewers. I did this the night before the rest of the project, so that they had time to dry. The hot glue would work fine too, but has a tendency to get stuck in places you don't really want and makes for a messier look, which is why I went with the craft glue instead.
Cut strips of fabric that are 4 inches wide and between 12 and 16 inches long. The longer strips will make a fuller flower, so it really just depends on the look you're going for.
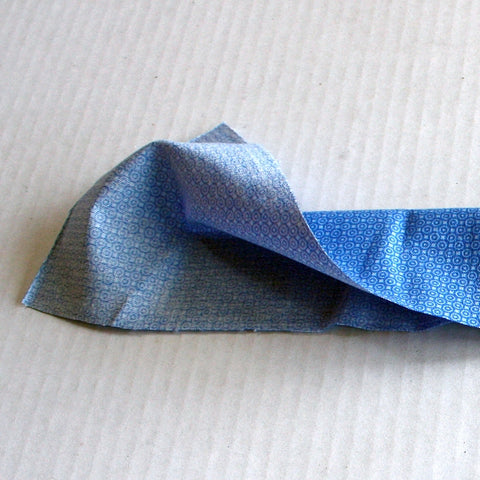
Fold over the fabric so that the "outside" is on the outside. You can press it with an iron, if you want a sharp look, but I prefer a more puffy petal, so I left my fabric un-pressed.
Using your needle and thread (with a knot on the end) make an easy straight stitch along the rough edge of the fabric, catching both edges. This stitch gets completely covered during the process of assembling the flower, so it really doesn't need to be too uniform or perfect. This makes it a great project for kids because they can practice sewing a a straight stitch and make a beautiful gather, regardless of skill. My 4 year old daughter had a blast making these with me!
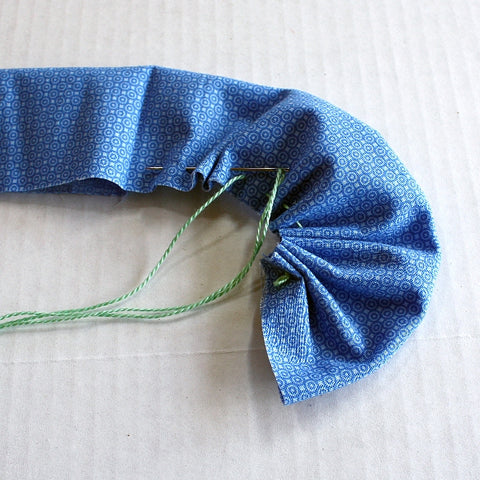
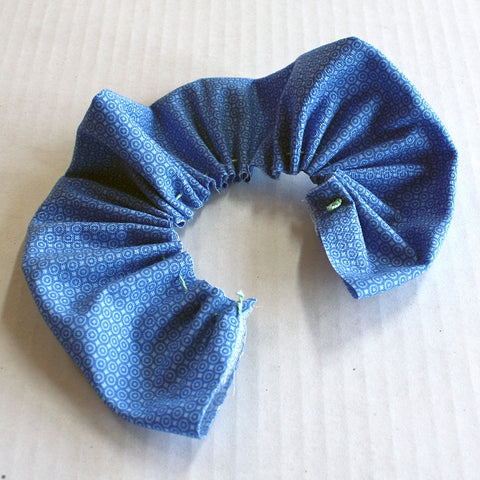
Gather the fabric by pushing it down the thread and knot the other end of the thread, like this.
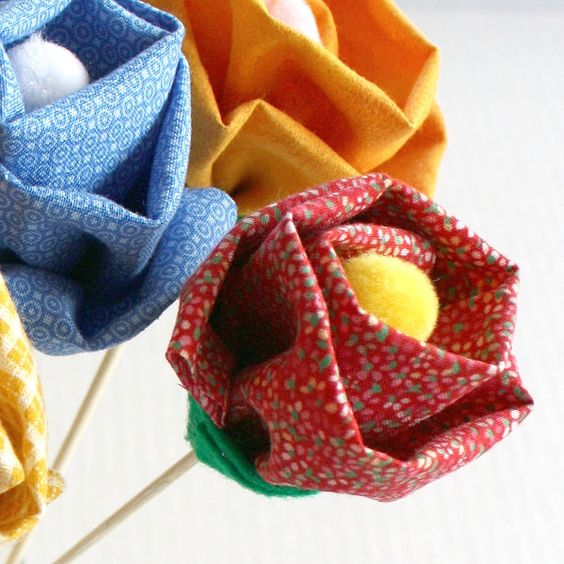
Cut a small Pac-Man shaped piece of felt fabric, grab your shish ka-pom-pom, and get ready to assemble the flower.
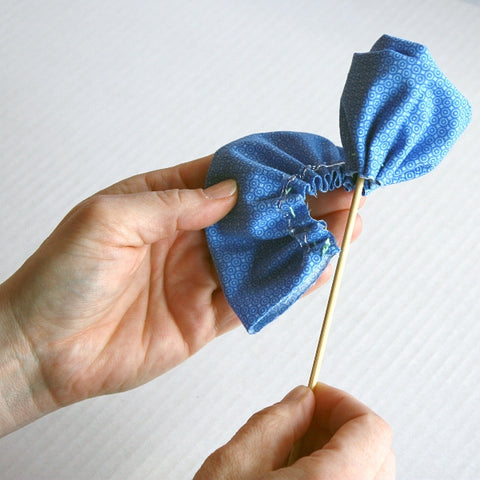
Place a small amount of hot glue at one end of the fabric, on or near the threaded gather. Lay the pom pom end of the skewer on the hot glue and press the fabric around it to secure the skewer in place. Then run a longer line of the hot glue along the threaded gather.

Begin to roll the "petals" of the flower around the skewer. I applied a couple of inches of hot glue at a time, not the entire length of fabric, because I didn't want the glue to cool and harden before I had time to roll and pinch the fabric in place.
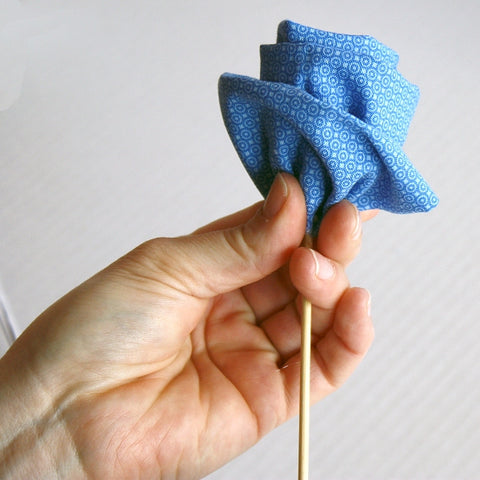
Secure the base of the flower bud while the glue is still warm and somewhat malleable. You can do a little adjusting of the blossom shape at this point.
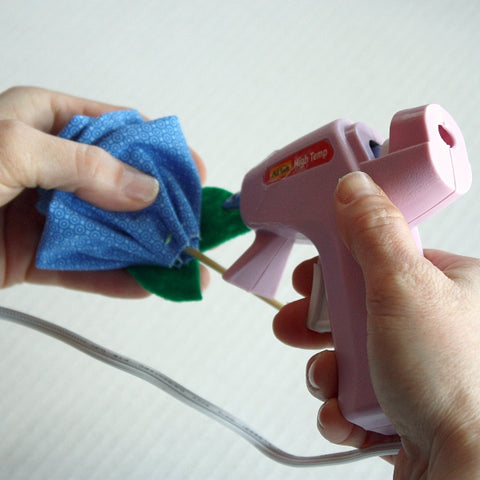
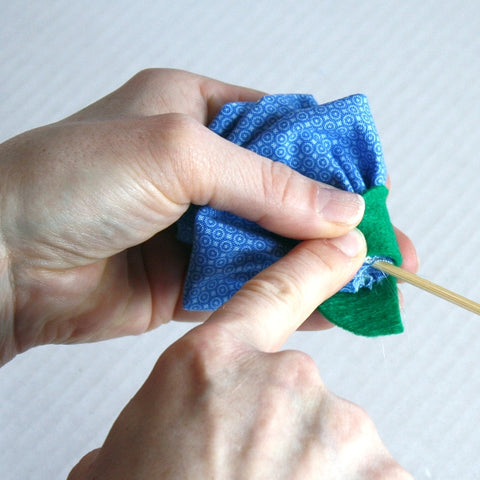
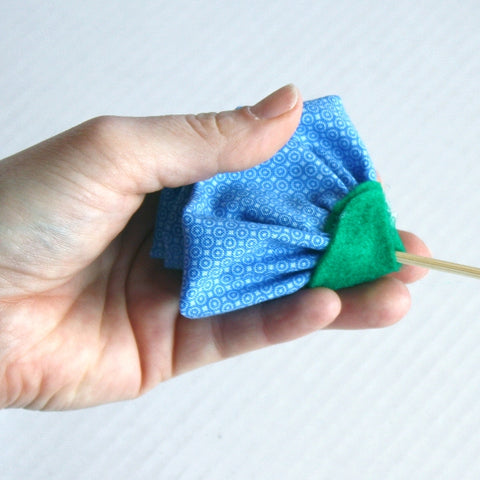
Now take your little Pac-Man piece of felt and apply a line of hot glue to the middle. Then apply the felt to the bottom of the blossom, covering the rough edge.
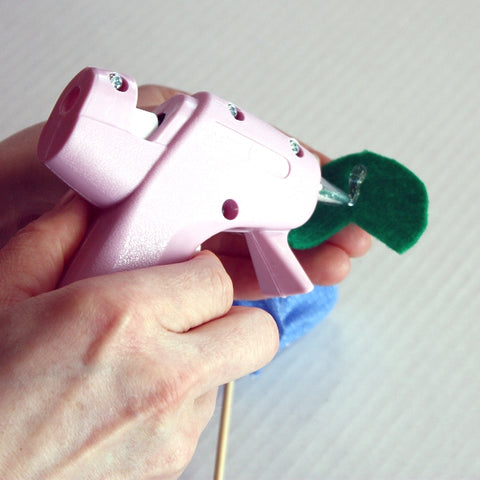
Add more hot glue to the felt and wrap it all the way around the base of the blossom, holding it in place with your finger while the glue cools.
The final touch is to add 3-4 drops of scented oil (essential oil or fragrance oil) to the pom pom. The flowers will smell wonderful, won't wilt and will brighten even the darkest corner...or dreary Seattle day.