Terracotta Christmas Tree
The Terracotta Christmas tree is a whimsical and charming addition to any holiday decor. Crafted from terracotta clay, this unique tree brings a touch of natural elegance to your home during the festive season. Its earthy tones and textured surface add a rustic charm that is sure to captivate your guests and evoke a warm, cozy feeling. The terracotta material also gives the tree a durable and timeless quality, ensuring it can be enjoyed for many holiday seasons to come. Whether placed on a mantel, shelf, or as a centerpiece on your table, the Terracotta Christmas tree is a delightful and eye-catching accent that will infuse your space with holiday cheer and a touch of understated elegance.

Supplies Needed to Make a Terracotta Christmas Tree
Here is what you need to make these clay pot Christmas trees:
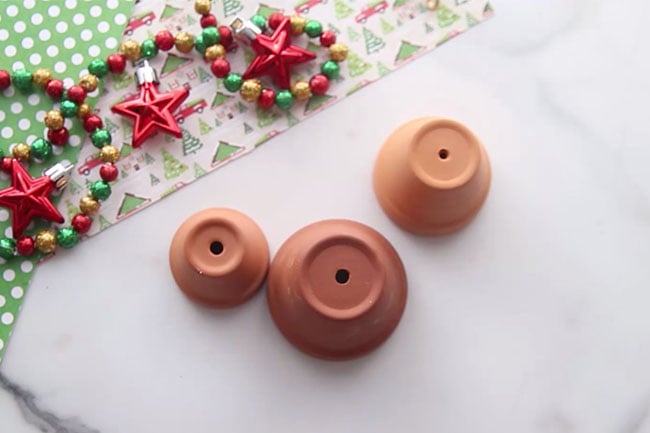
– 3 different sizes of mini terracotta pots – we found ours at Michaels and chose the smallest pot sizes they carried. A similar craft store should have them also.
– Green acrylic paint
– Decorations for your tree: like sticker rhinestones, garland-style ribbon or beaded garland, pom poms, buttons, or sequins.
– Pipe cleaner for the star
– A star to place on top – or you can make one from glitter foam paper
– Hot glue (adults only)
How to Make a Terracotta Christmas Tree
1. To start, you’ll need 3 different sizes of terracotta mini pots. Make sure they stack nicely before purchasing.
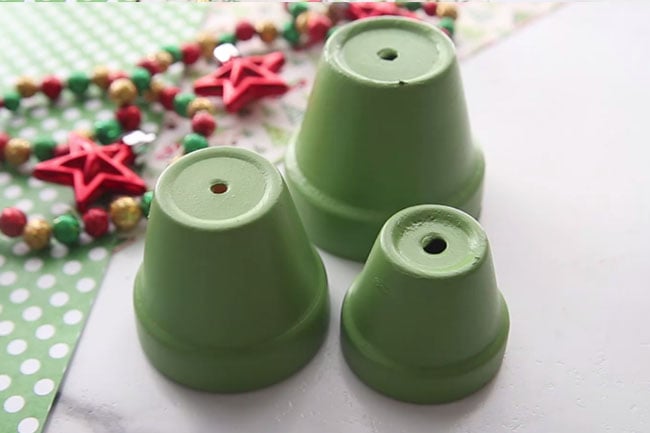
2. The first step is to paint your pots with acrylic paint.
We used a traditional green color, but you can paint the trees any color you’d like!
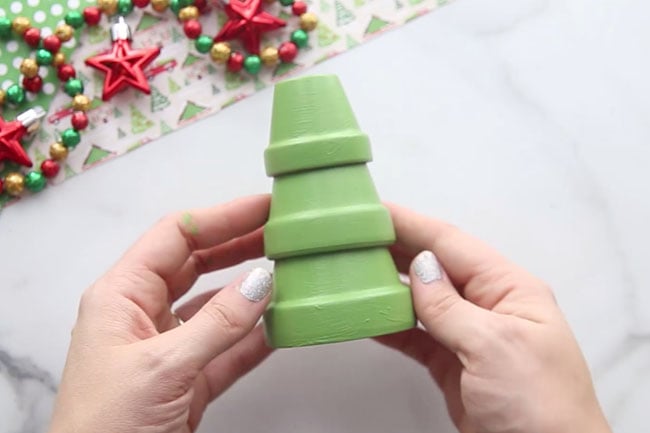
3. Once your pots are painted and dry, you’ll need to hot glue them on top of each other. Adults should do this part for younger kids.
4. Now you can have kids decorate the trees with all sorts of things!
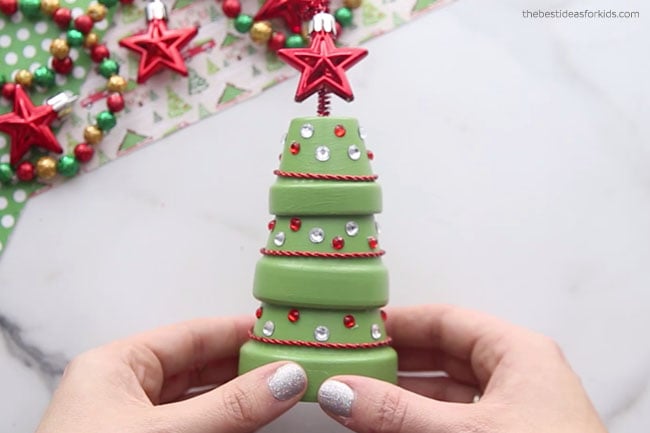
We used sticker rhinestones and a twine/ribbon to add around the bottom edge of the pots. You could also use beaded garland to wrap around the tree. You’ll need to hot glue the garland or ribbon down at the back. Measure it to line up perfectly and then glue the two edges in the back.
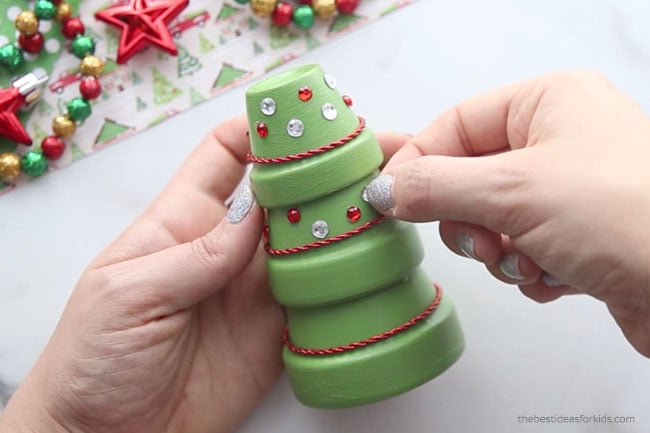
You can also decorate with pom poms, buttons, glitter glue, sequins or even just paint the pots! Glue on with some extra strong craft glue or hot glue.
5. For the star, we used a mini star ornament and placed in the top pot with some pipe cleaner. This was all hot glued together and you’d want to hot glue the pipe cleaner inside the top pot (adults should help with this part).
For a different tree we made, we bought a small Christmas tree ornament kit which came with a star we could add to the top.

6. Once you’re done decorating your tree – you can use it as Christmas decoration for around the home or give it as a gift!