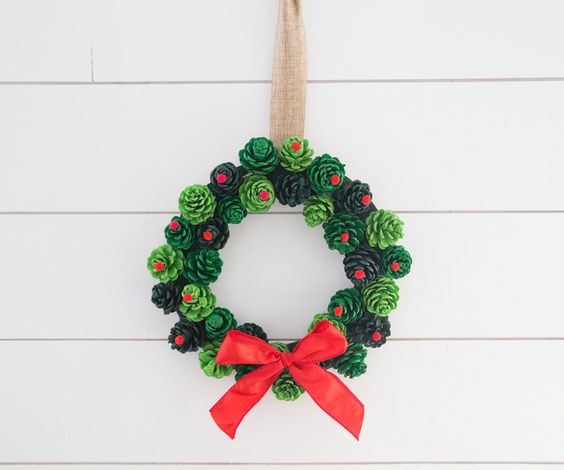
Pine Cone Wreath
Creating a pine cone wreath can be a delightful and festive craft project that adds a touch of nature to your home decor. Collecting pine cones from your backyard or a local park can be a fun outdoor activity for the whole family. Once you have gathered enough pine cones, you can arrange them in a circular pattern, gluing them onto a wreath frame to form a beautiful and rustic decoration. Feel free to get creative by adding some embellishments like bows, berries, or even a pop of color with paint. Displaying your handmade pine cone wreath on your front door or as a centerpiece can bring a warm and welcoming feel to your home, making it a lovely addition for the holiday season or any time of the year.
Supplies Needed to Make a Pine Cone Wreath
- Small – Medium Pine Cones – We used 38 pine cones (approx 2.5 inches long) but you may want to get extra depending on the size of them.
- You can use pine cones from outside but make sure they are clean and free of any insects before using. If you cannot find enough pine cones, you can order some on Amazon here.
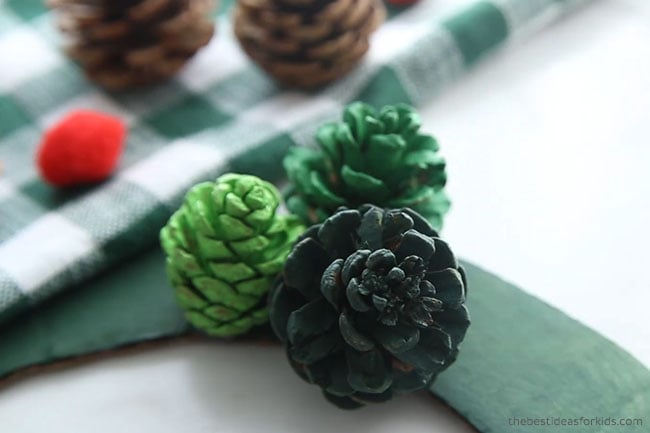
- Paint – 3 different colors of green acrylic paint – a darker green (evergreen), a regular green color and a light green (to mimic holly greens). This set of paint has 2 colors and you can order the lighter green here.
- Note: if you want to have your wreath outside, you’ll need to use outdoor paint or seal with an outdoor sealer. You’ll also need to use a wire wreath base instead of cardboard.
- Cardboard
- Small red pom poms
- Red Ribbon – the thicker the better so it stands out on the wreath
- Burlap ribbon for hanging
- Hot glue *adults only
- Scissors
How to Make a Pine Cone Wreath
1. Start by painting your pine cones.
Paint the same number of pine cones in all 3 green colors. Let them dry.
Do I need to clean the pine cones? If you collected the pine cones from outside, give them a close inspection to make sure there are no insects in them. Avoid using any pine cones that has sap on them. You may also want to wipe them down with a damp cloth to wipe off any excess dirt before painting.

Note: If you want to use this wreath for outside, you will need to use outdoor paint. Or you’ll need to seal the pine cones to prevent the paint from weathering.
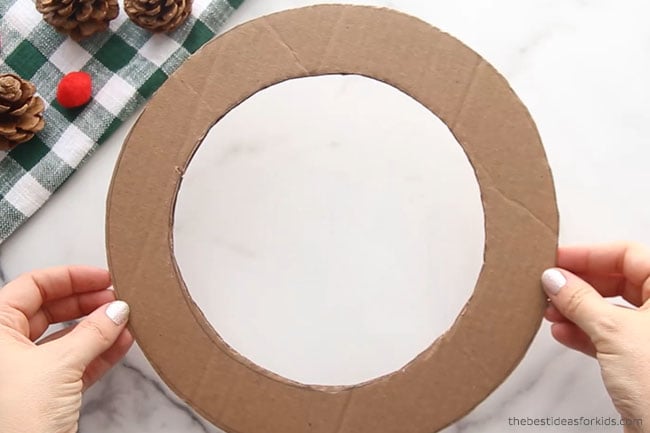
2. Create your wreath base from cardboard.
Use a thicker cardboard in order for it to hold the weight of the pine cones. If you want it to be more durable, then use a metal wire wreath base.
We used a paper plate for the center to trace around for the center. Then trace around another circle object you may have to create the outside circle.
Our wreath was 13 inches tall by 13 inches wide.
Note: If you want to use this wreath outside, you cannot use cardboard for the base. You’ll need to use a metal wire wreath base like the following:
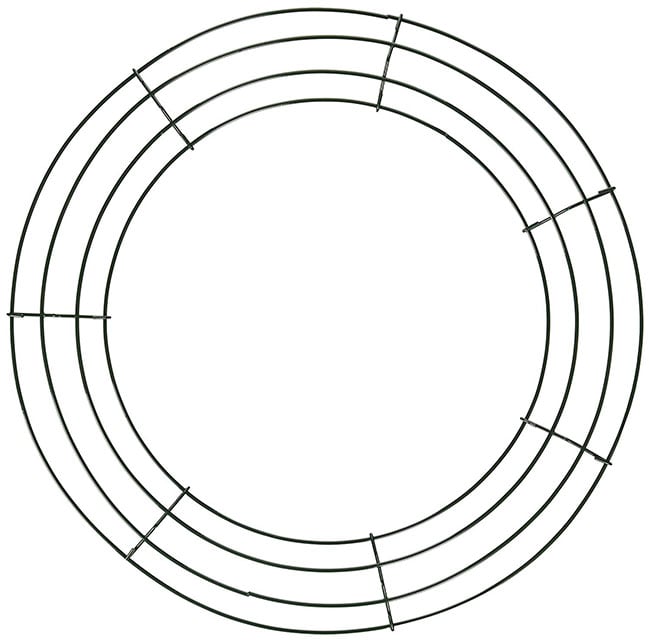
Gluing the pine cones onto the wire wreath base is a lot more difficult so you may need to use a lot more glue. To make it easier you could wrap some outdoor burlap ribbon around the base first.
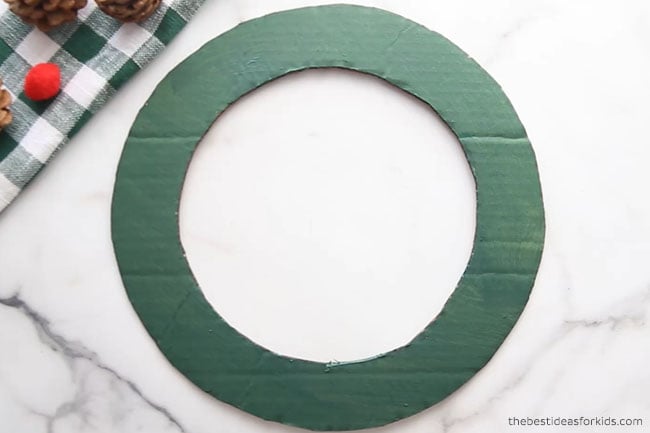
3. Paint the cardboard base the dark green color and let it dry.
4. Start hot gluing your pine cones on. Adults should help with this step for younger kids.
Alternate the colors as you go so that the same 2 colors are not side by side.
Glue 2 beside each other on the base and work your way around the wreath until the base is filled with pine cones.

You may need a lot of hot glue to get some of them to stick.
5. Glue small red pom poms around the wreath.

6. Glue a large burlap style ribbon to the top back for hanging.
Glue a red ribbon to the bottom.
