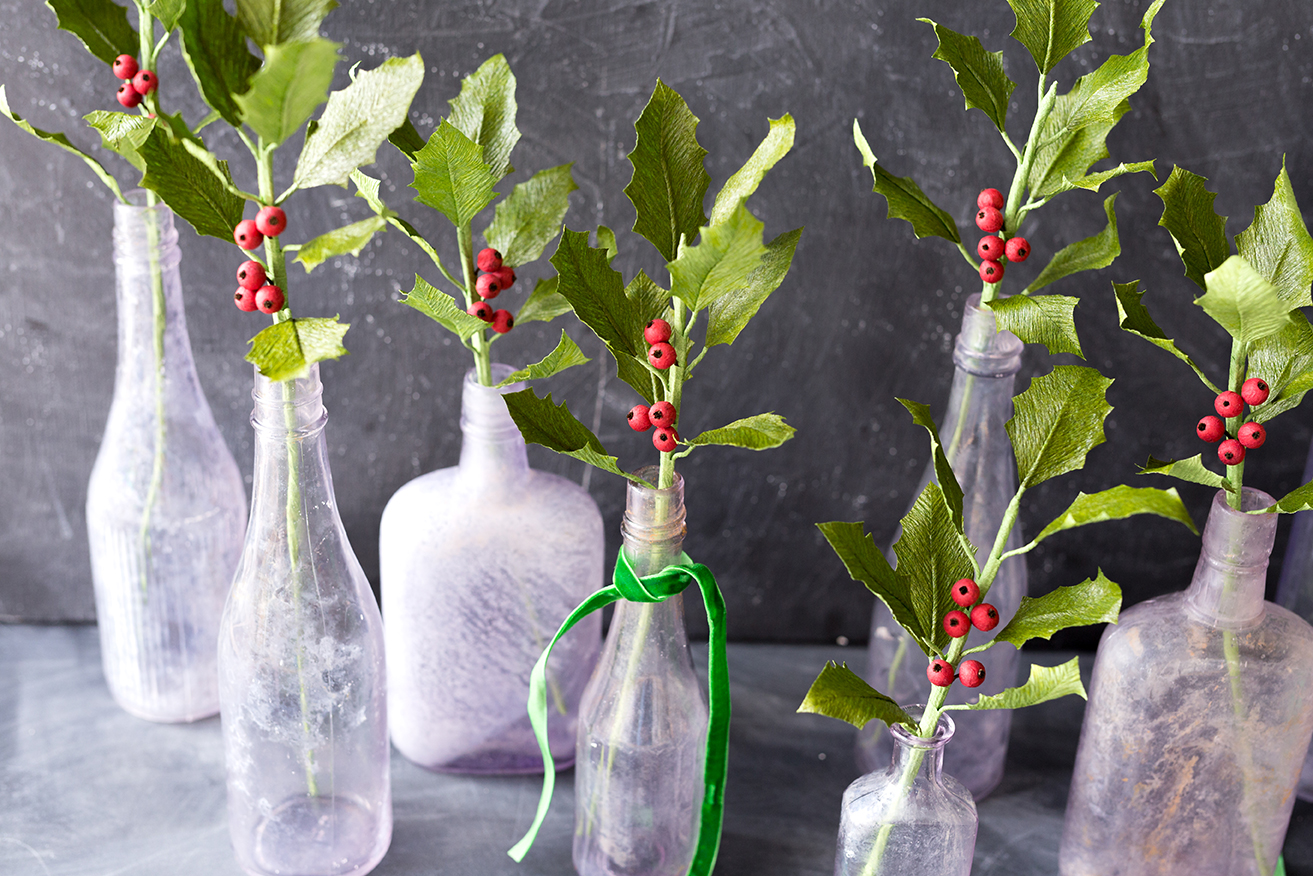
Crepe Paper Holly
Oh, crepe paper holly is such a delightful craft project! It's both fun and festive, perfect for adding a lovely touch to your home décor or holiday gifts. Creating crepe paper holly leaves and berries is a wonderful way to get creative and spread some holiday cheer. All you need is some green and red crepe paper, scissors, and a bit of glue to bring these charming holly decorations to life. Whether you're crafting with kids or enjoying some solo creative time, making crepe paper holly is sure to put a smile on your face and brighten up any room with its festive and colorful charm.
Materials:
- Crepe paper: 2 shades of green (one slightly lighter than the other), red, and dark brown. I used Moss Green from here and Cypress, Cranberry, and Caffe from Lia Griffith (or the assorted from here)
- 3 20 gauge floral wire stems, found here
- 1 18 gauge paper floral wire stem, found here
- 5 wooden beads 3/8″ in diameter, like these
- Holly leaf templates: 1 small, 1 large
- Clear drying craft glue, we love this kind
- Paintbrush
- Pencil
- Wire cutters
- Scissors
- Ruler
- Damp cloth to wipe glue from fingers
- Protective surface to work on
Instructions:
LEAVES:
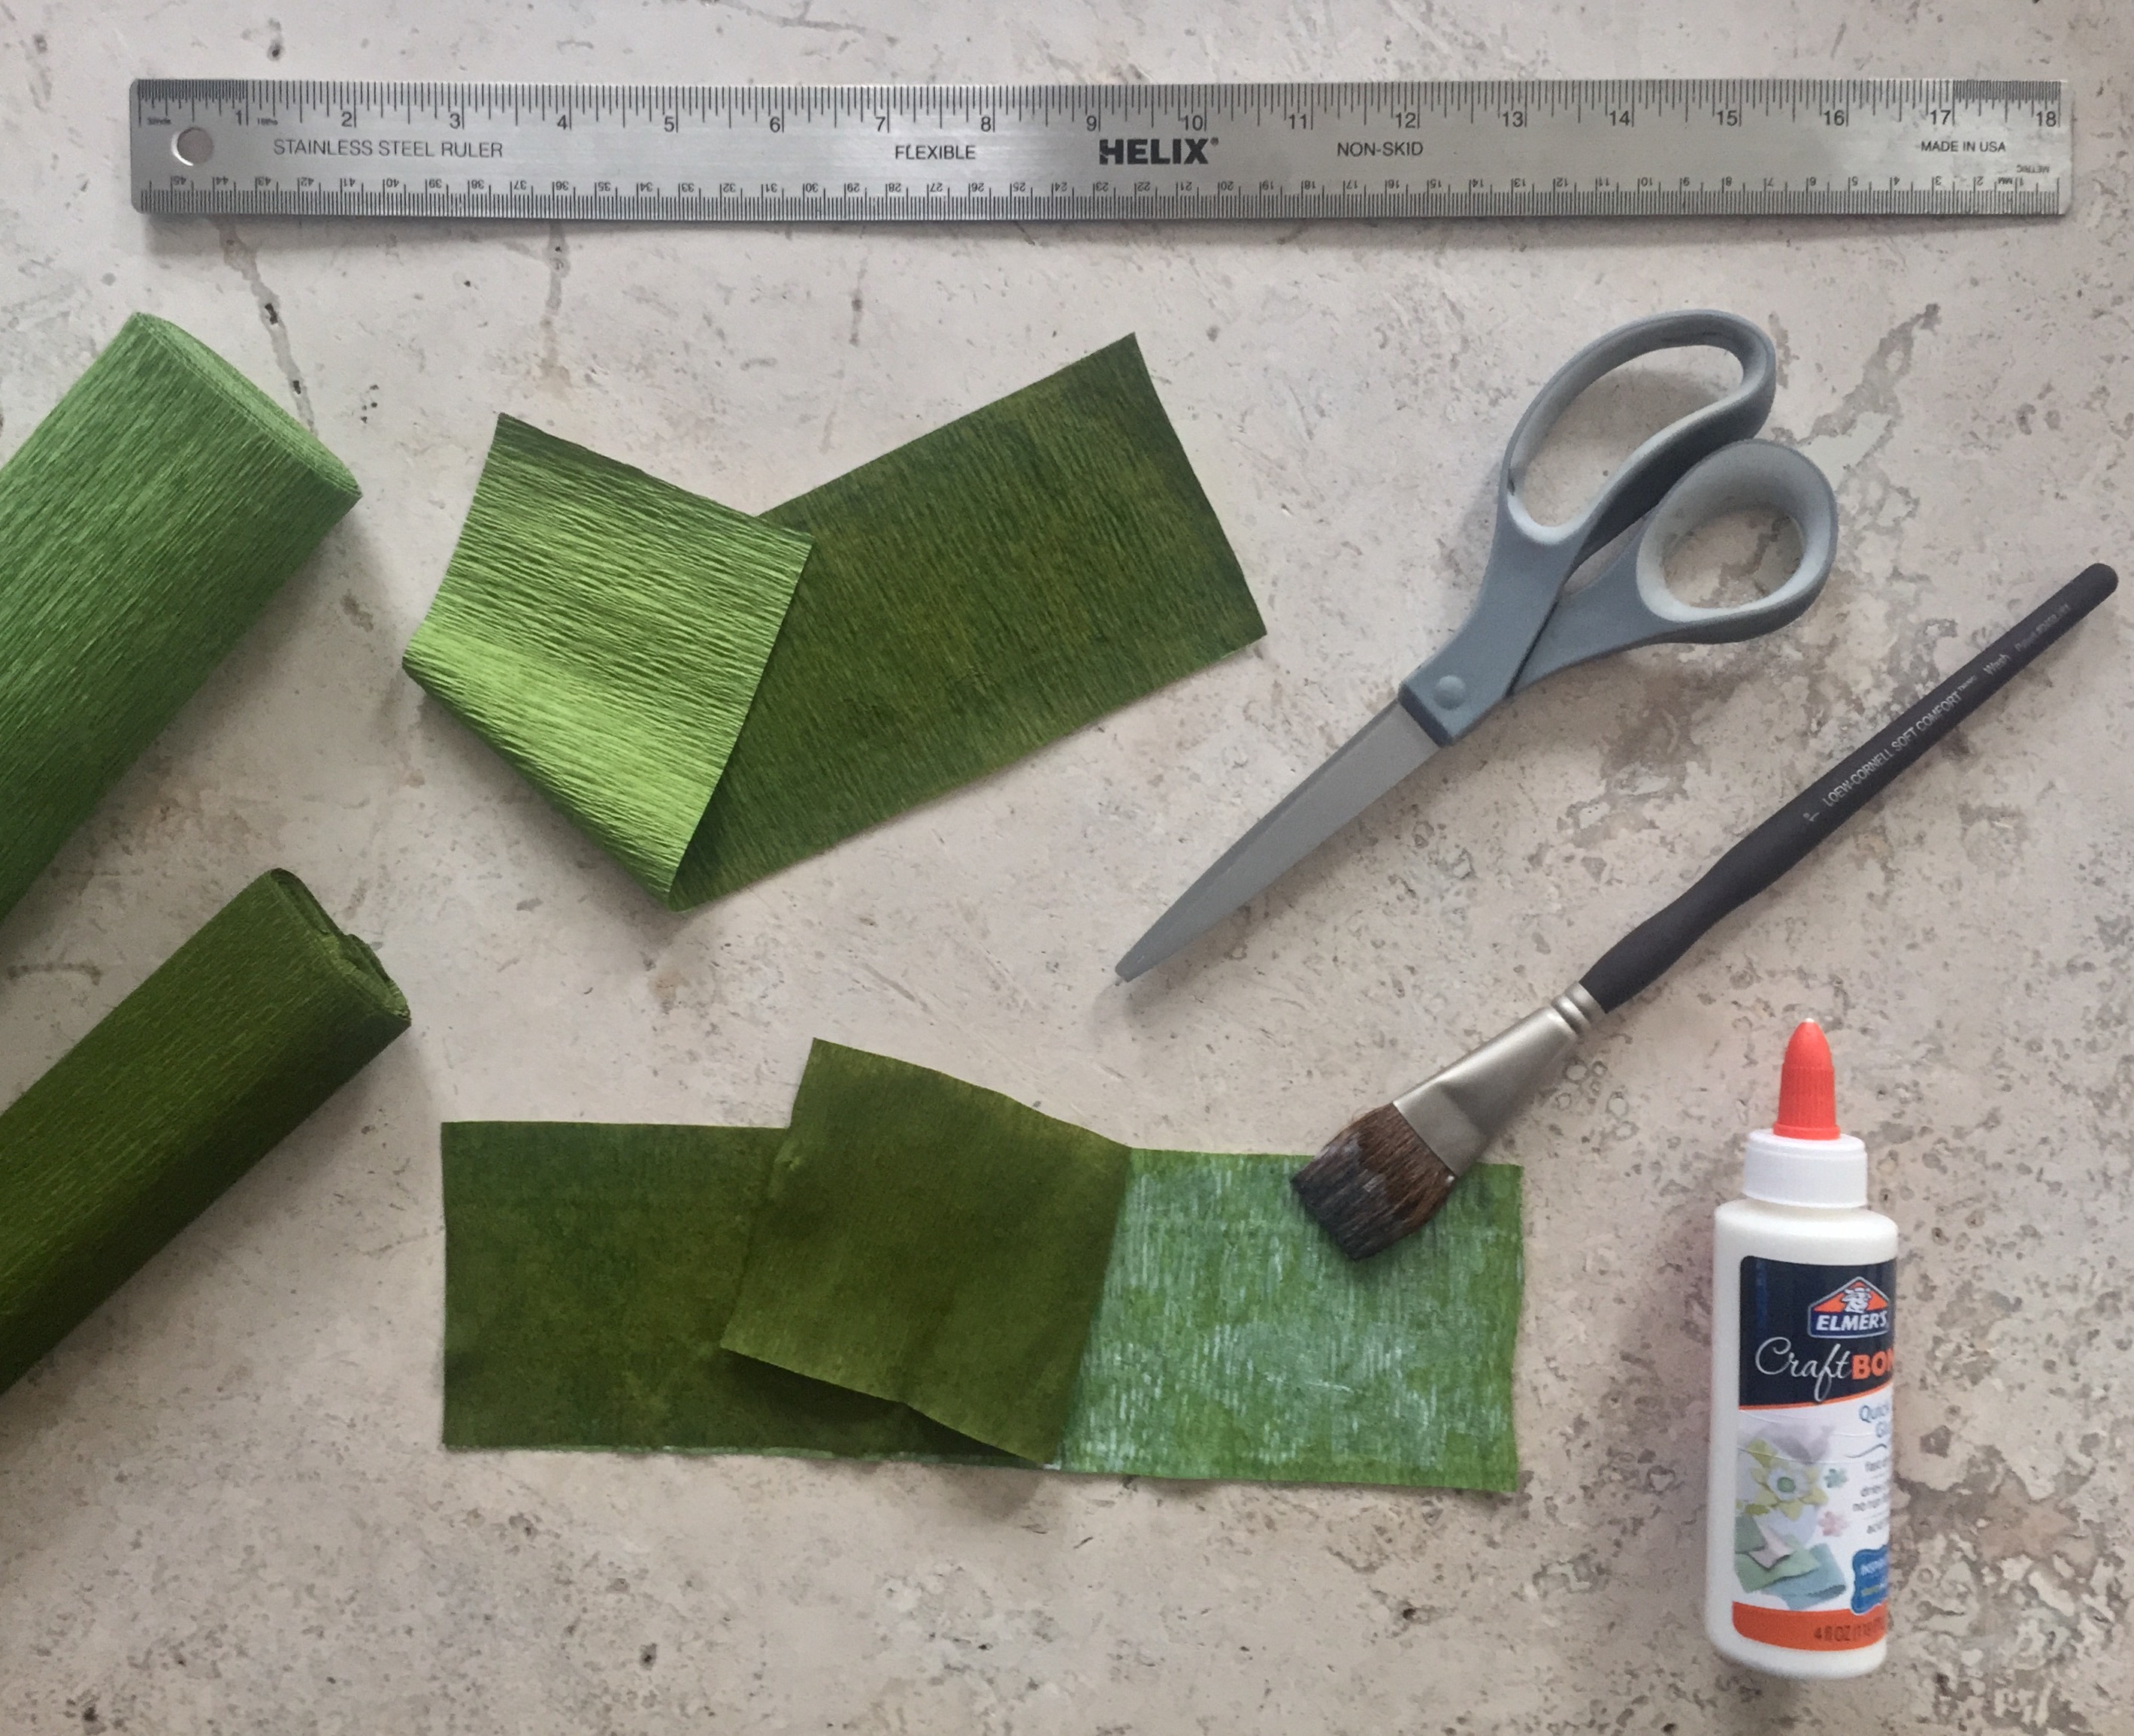
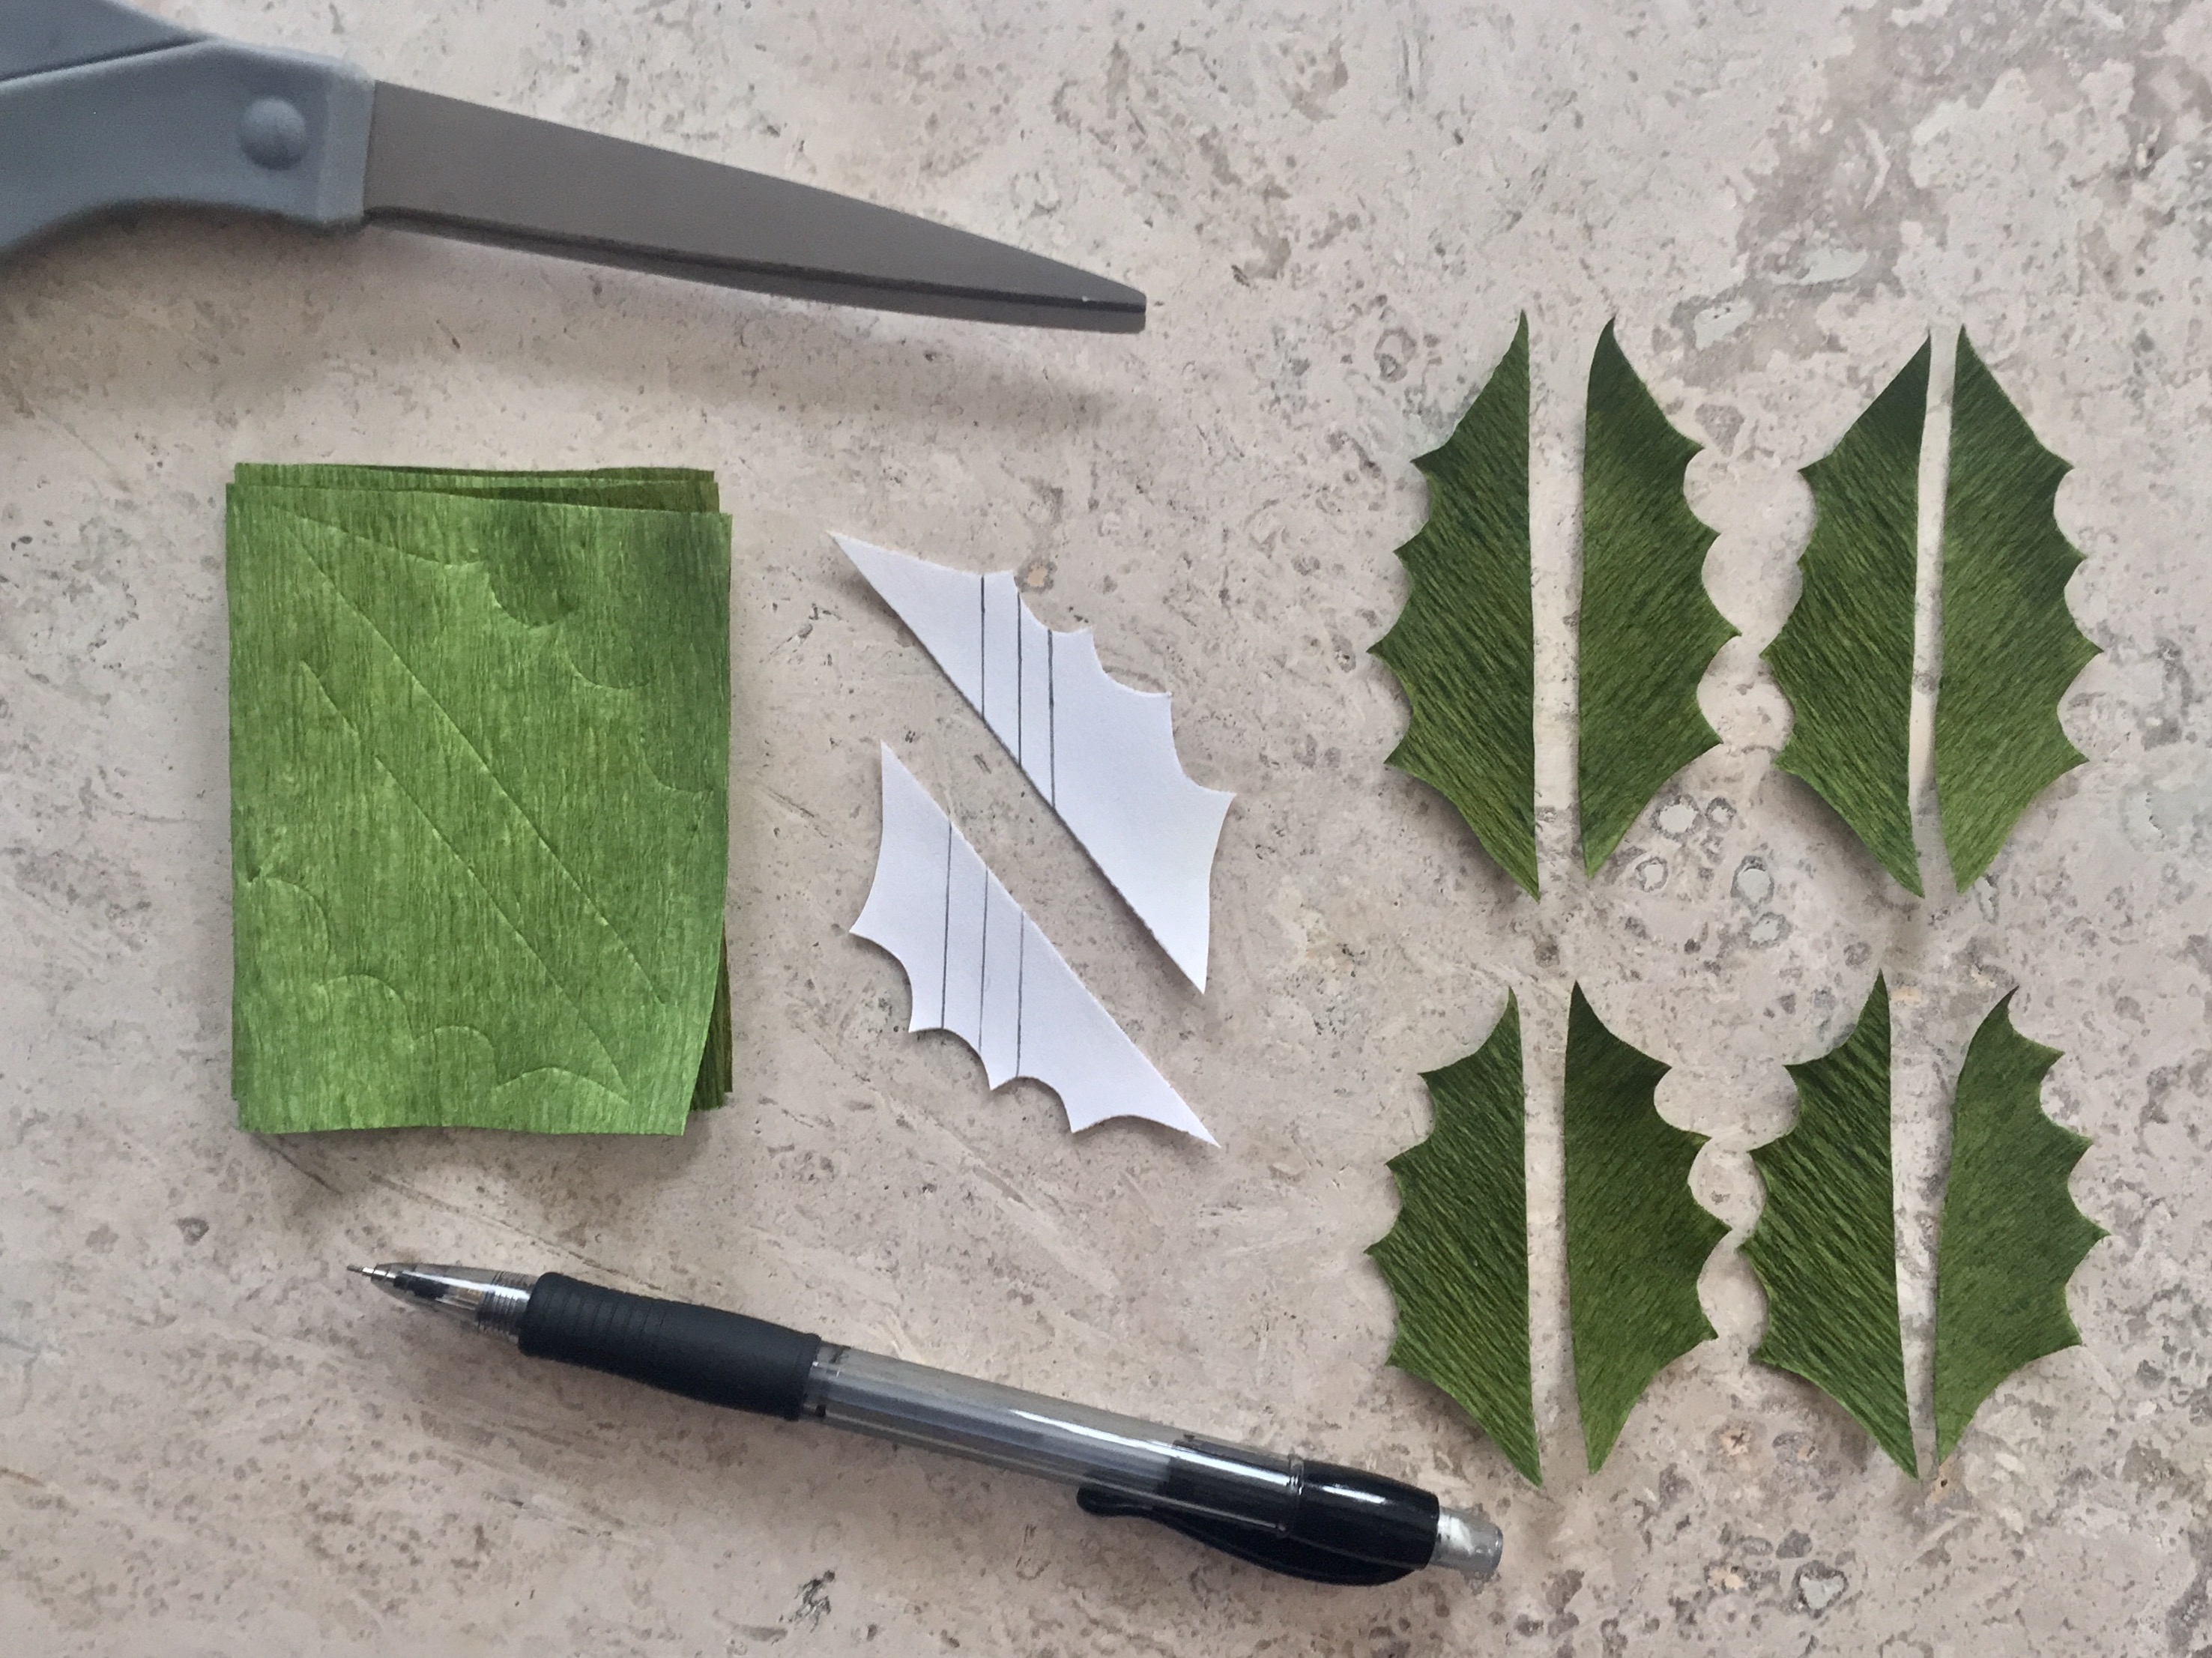
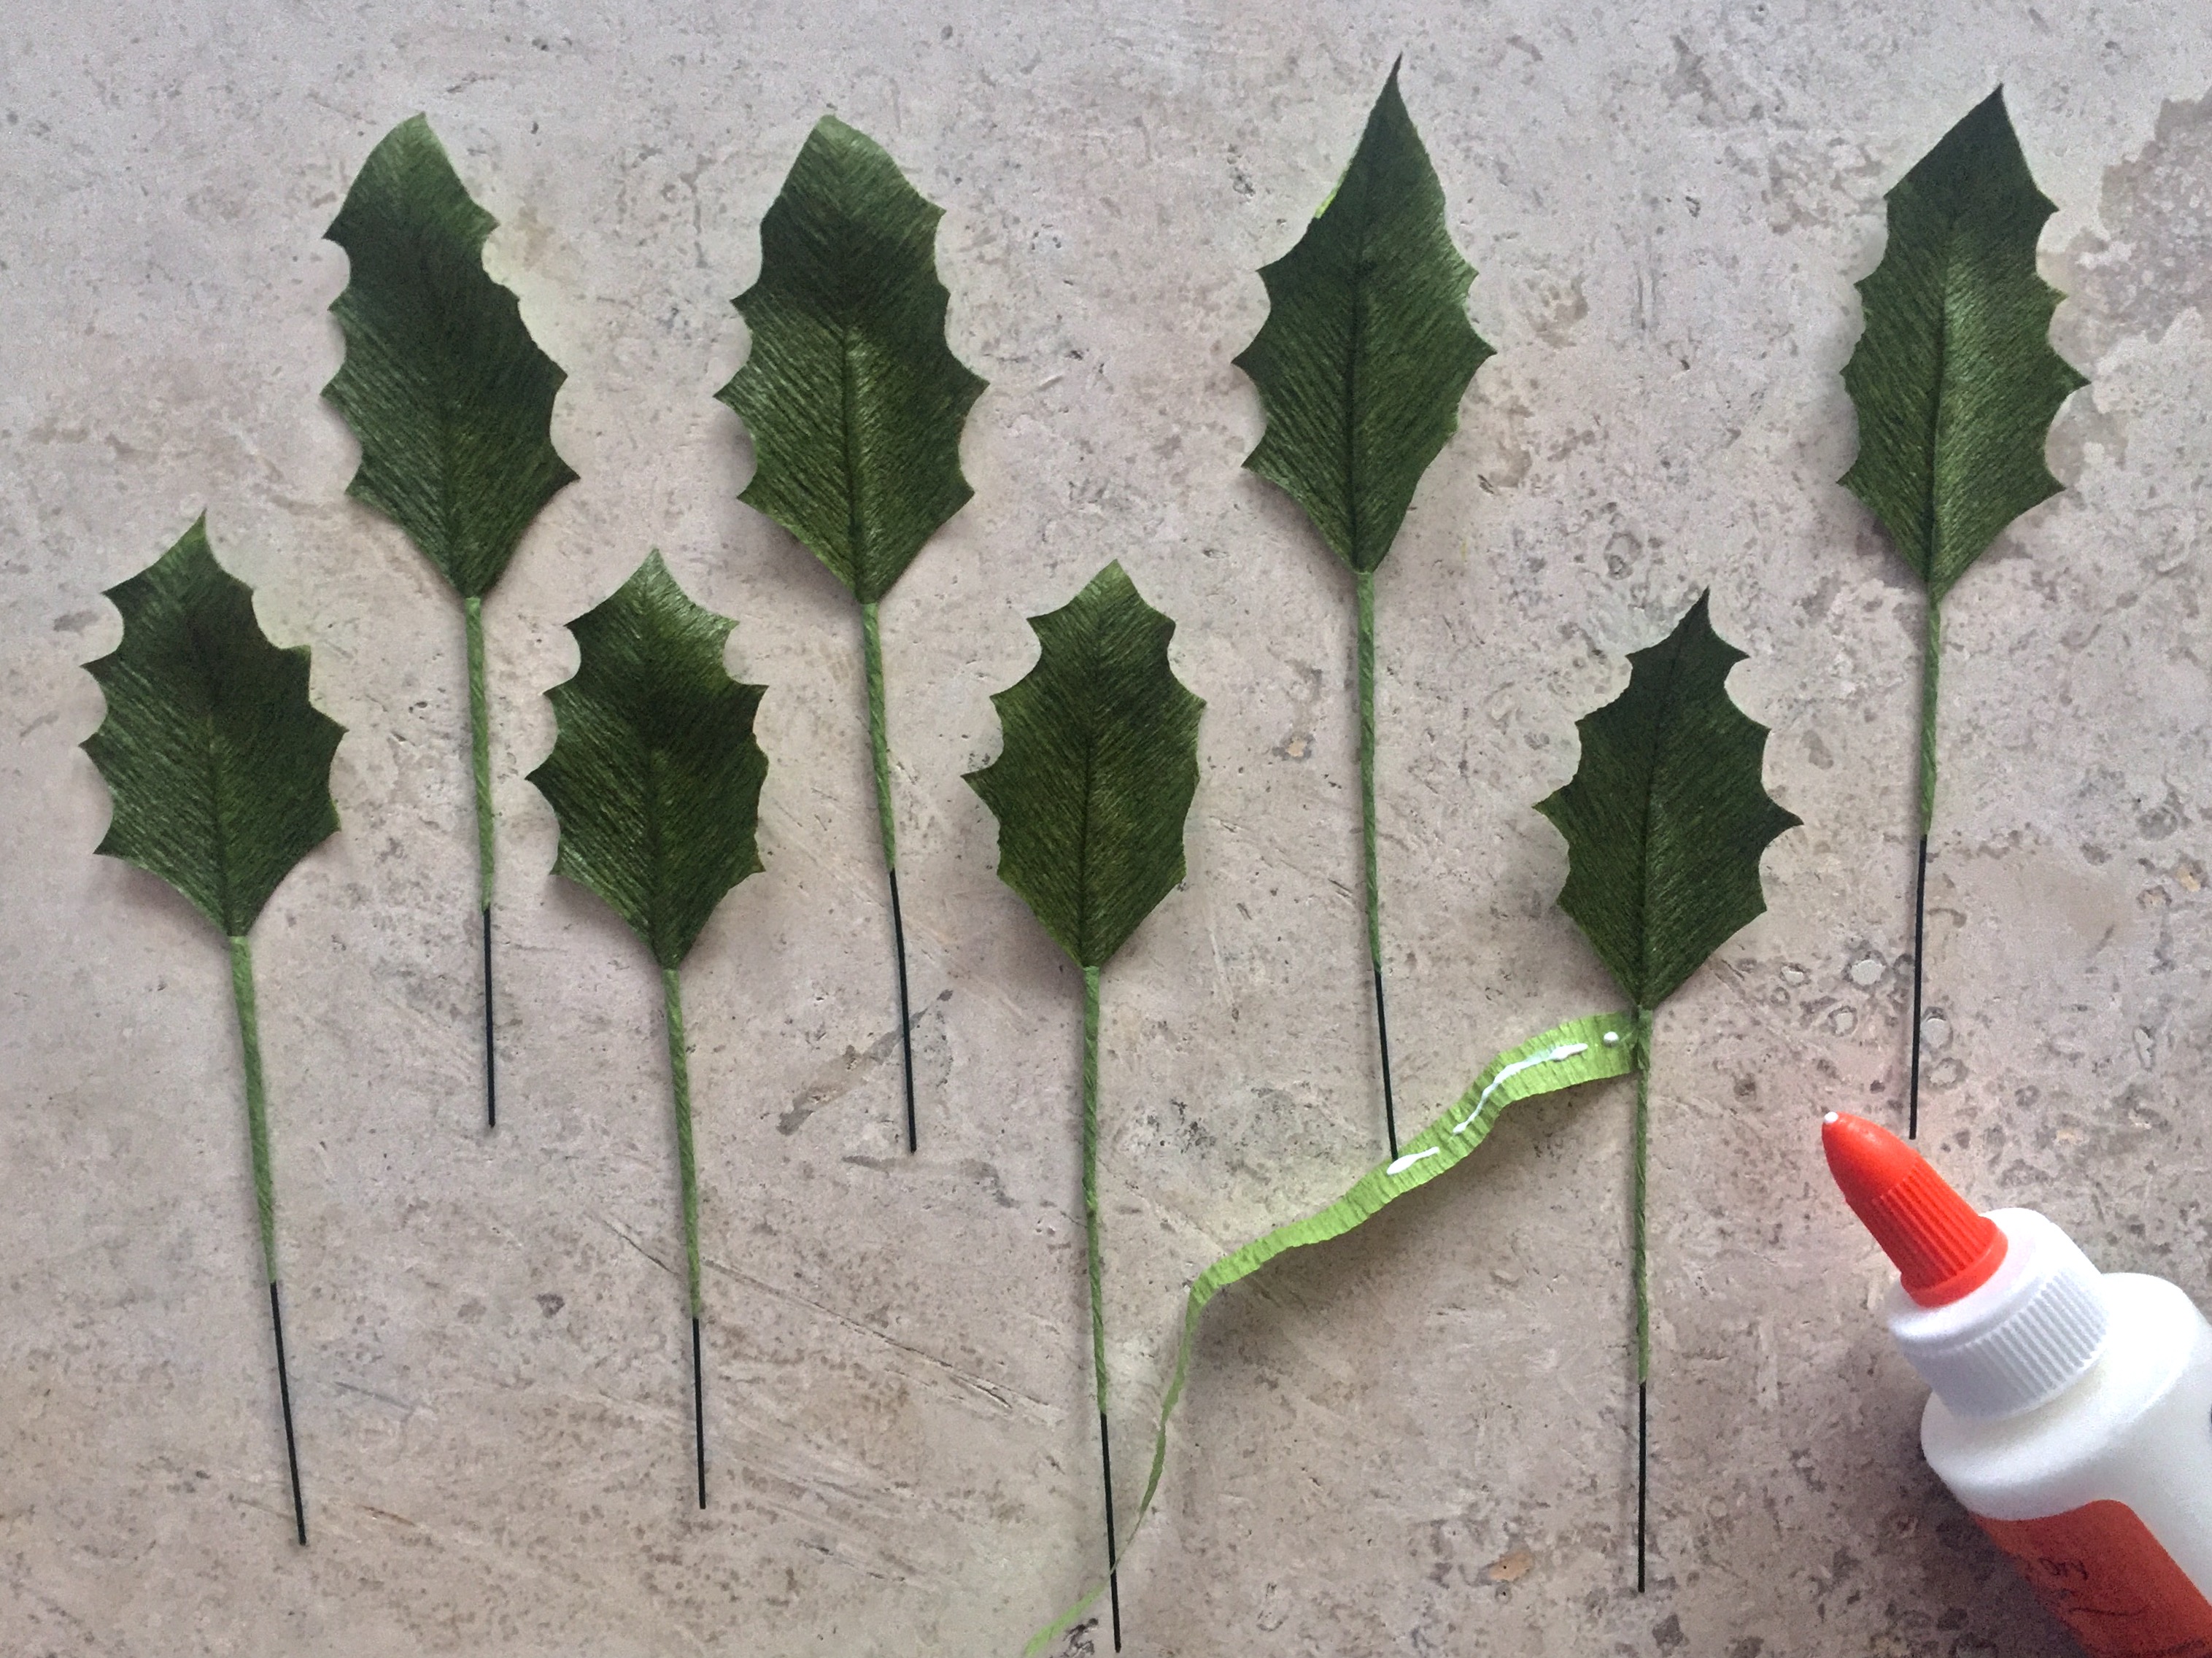
2. Make 4 even, alternating folds with the grain of the paper. Line up the grain of the paper with the guidelines on your pattern and trace onto your folded strip. Repeat for the other strip to make 8 whole leaves, 4 large and 4 small.
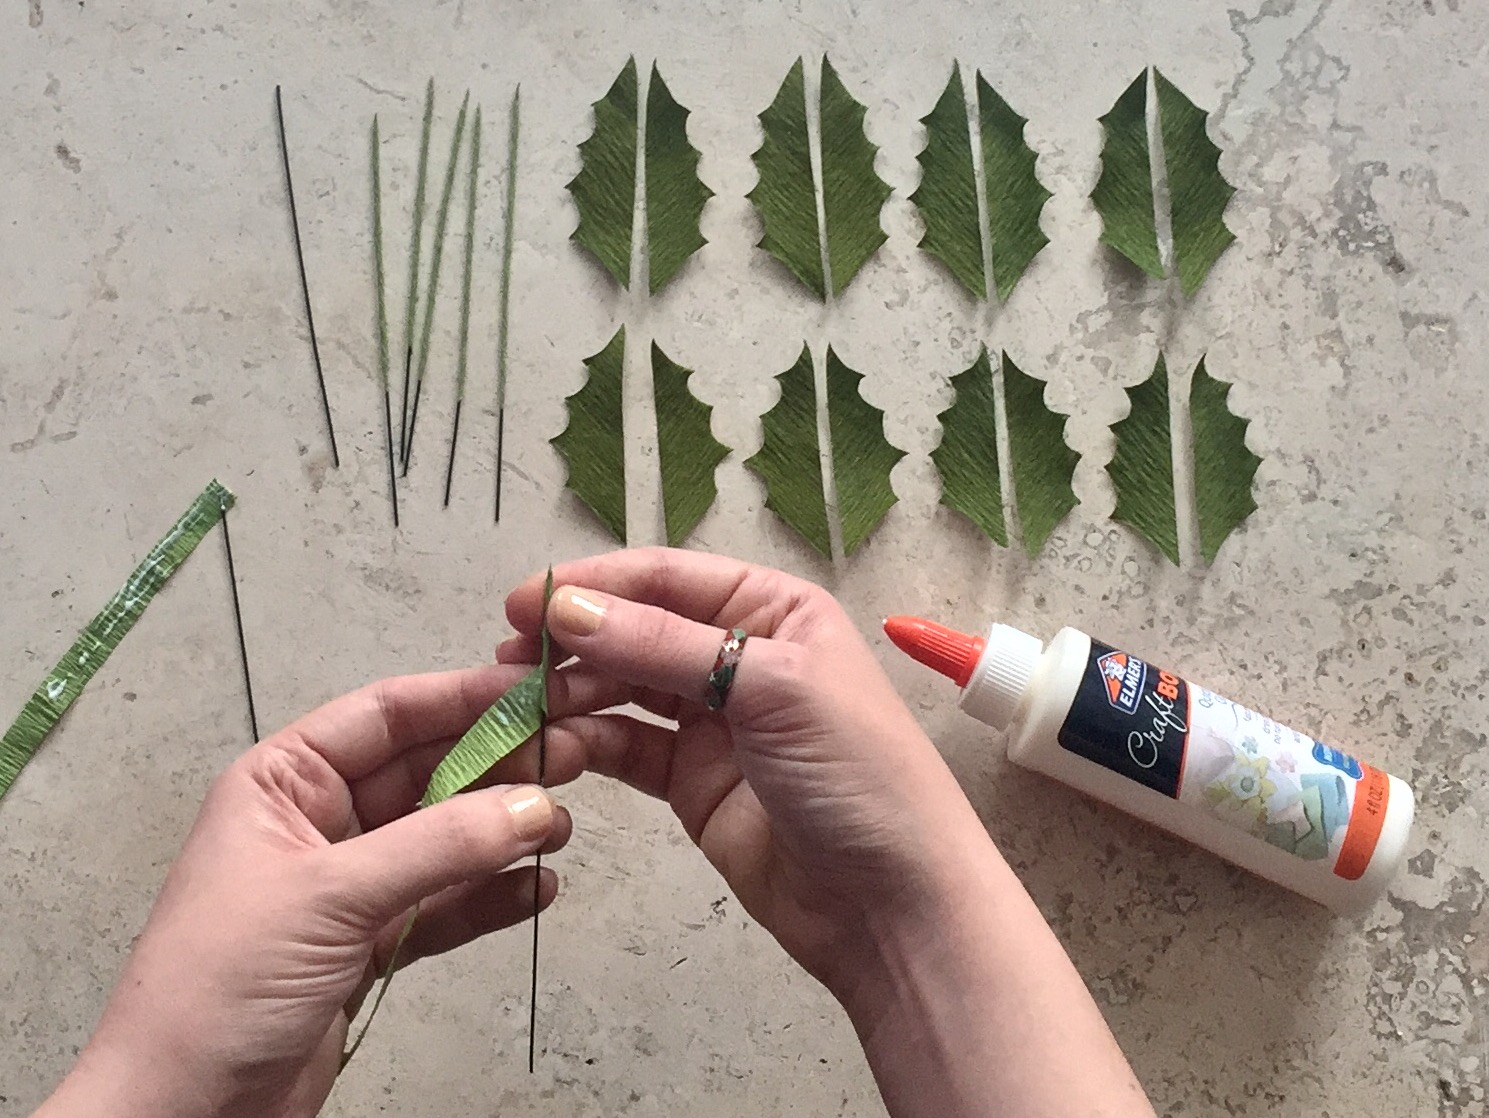
3. Cut 2 of the 20 gauge wire stems into 8 pieces of approximately equal length. Wrap each piece with a 1/4″ wide strip of the lighter green paper and glue, starting at the top and winding your way down.
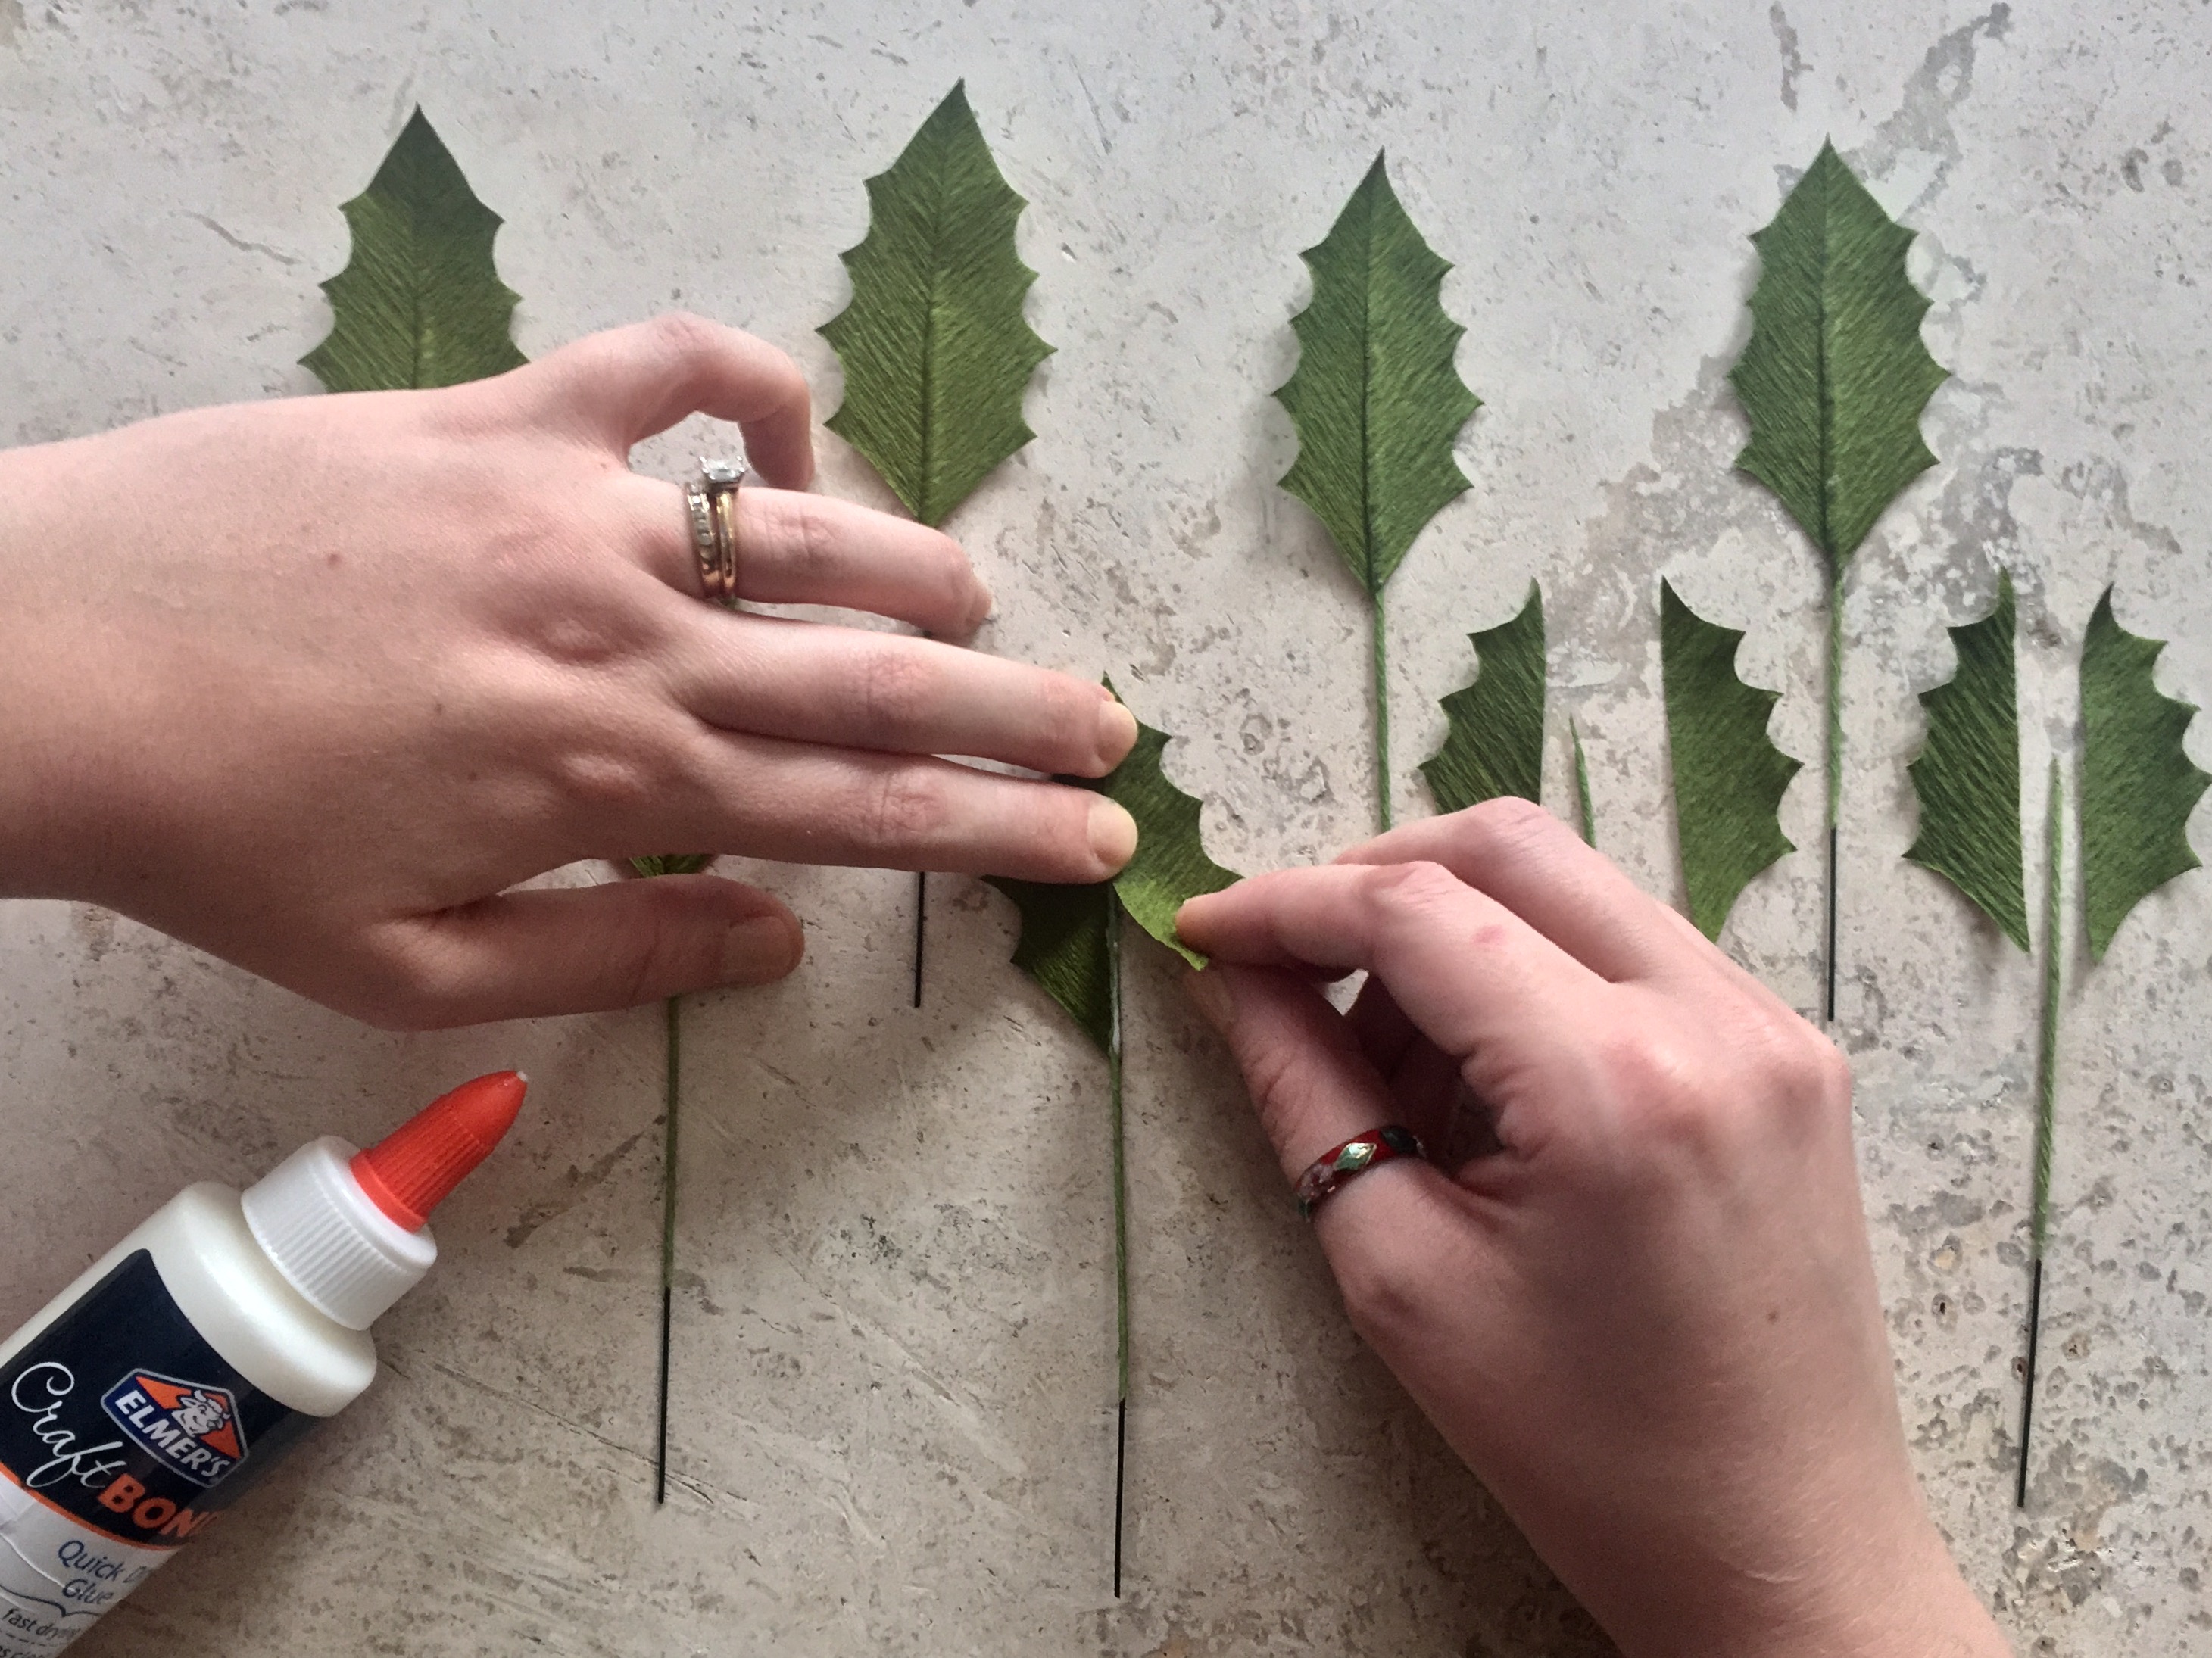
4. With the darker green sides facing up, apply a thin line of glue to the left side of your leaf. Press a wrapped wire stem halfway up the seam of the leaf and apply glue to the stem. Carefully line up the right side of the leaf to the left side and press down firmly. Repeat for all 8 leaves.
BERRIES:

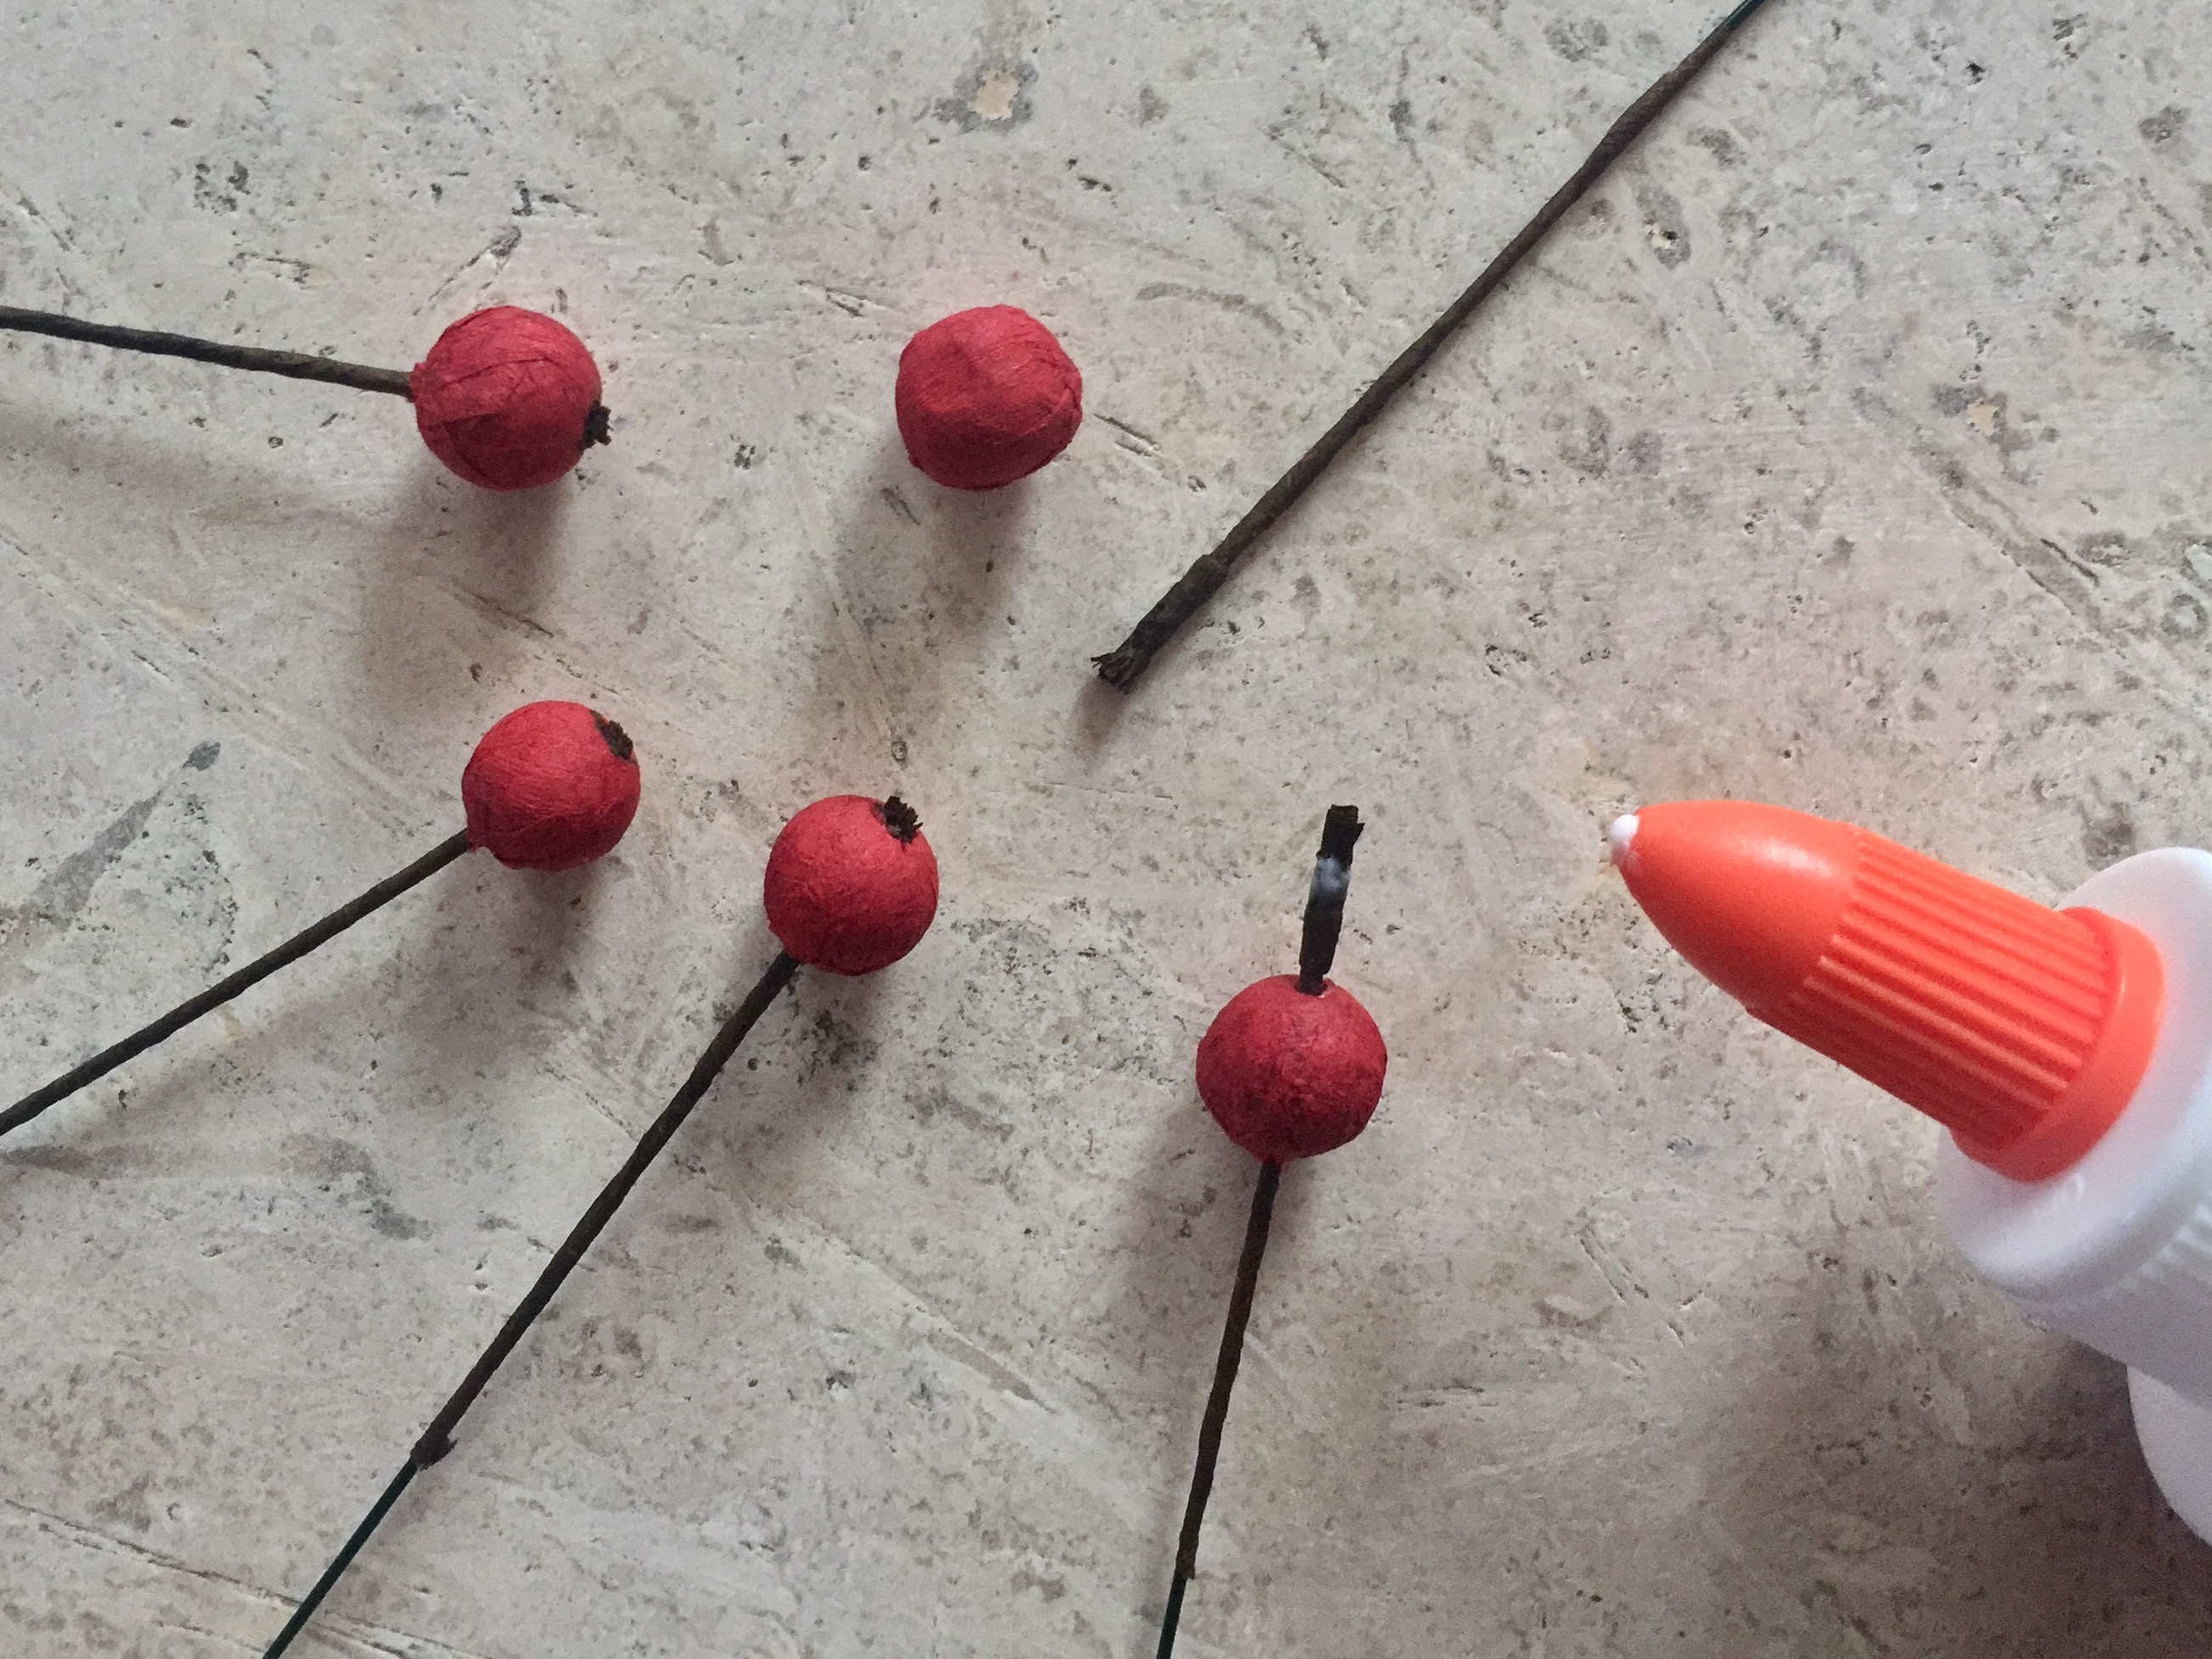
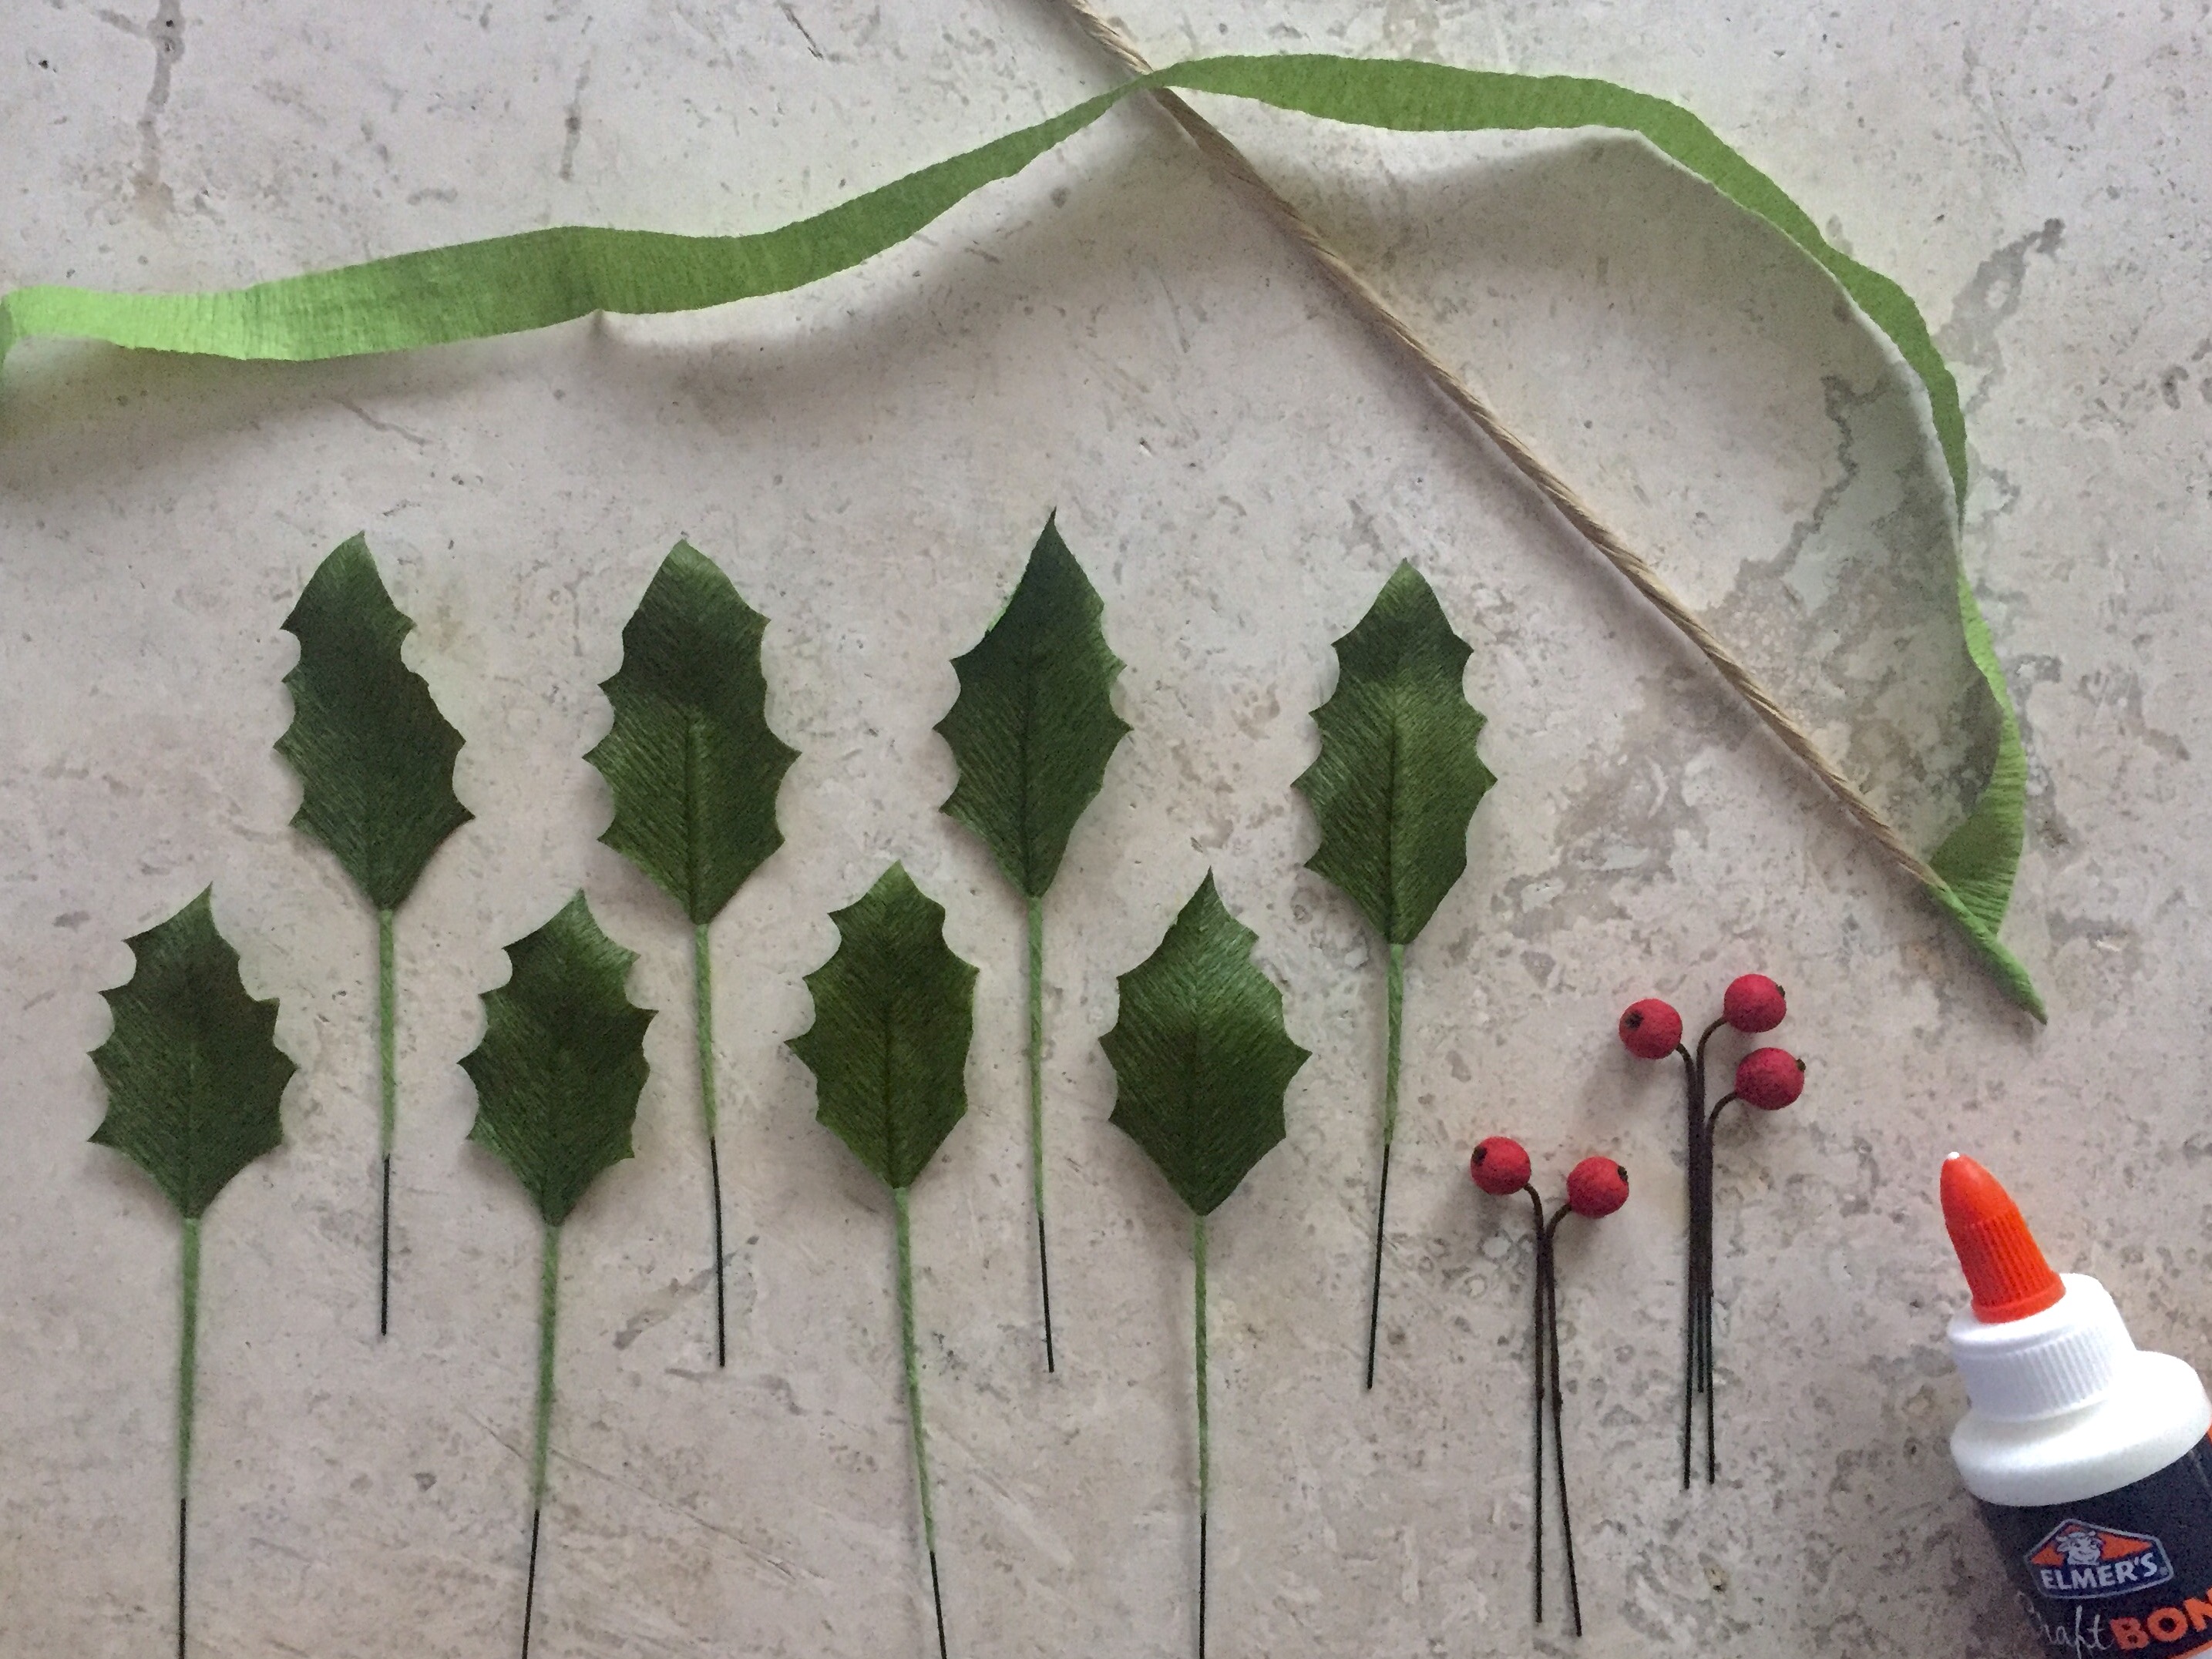
6. Cut out five 1″ X 1″ squares of the red paper and cover each bead. Let dry.
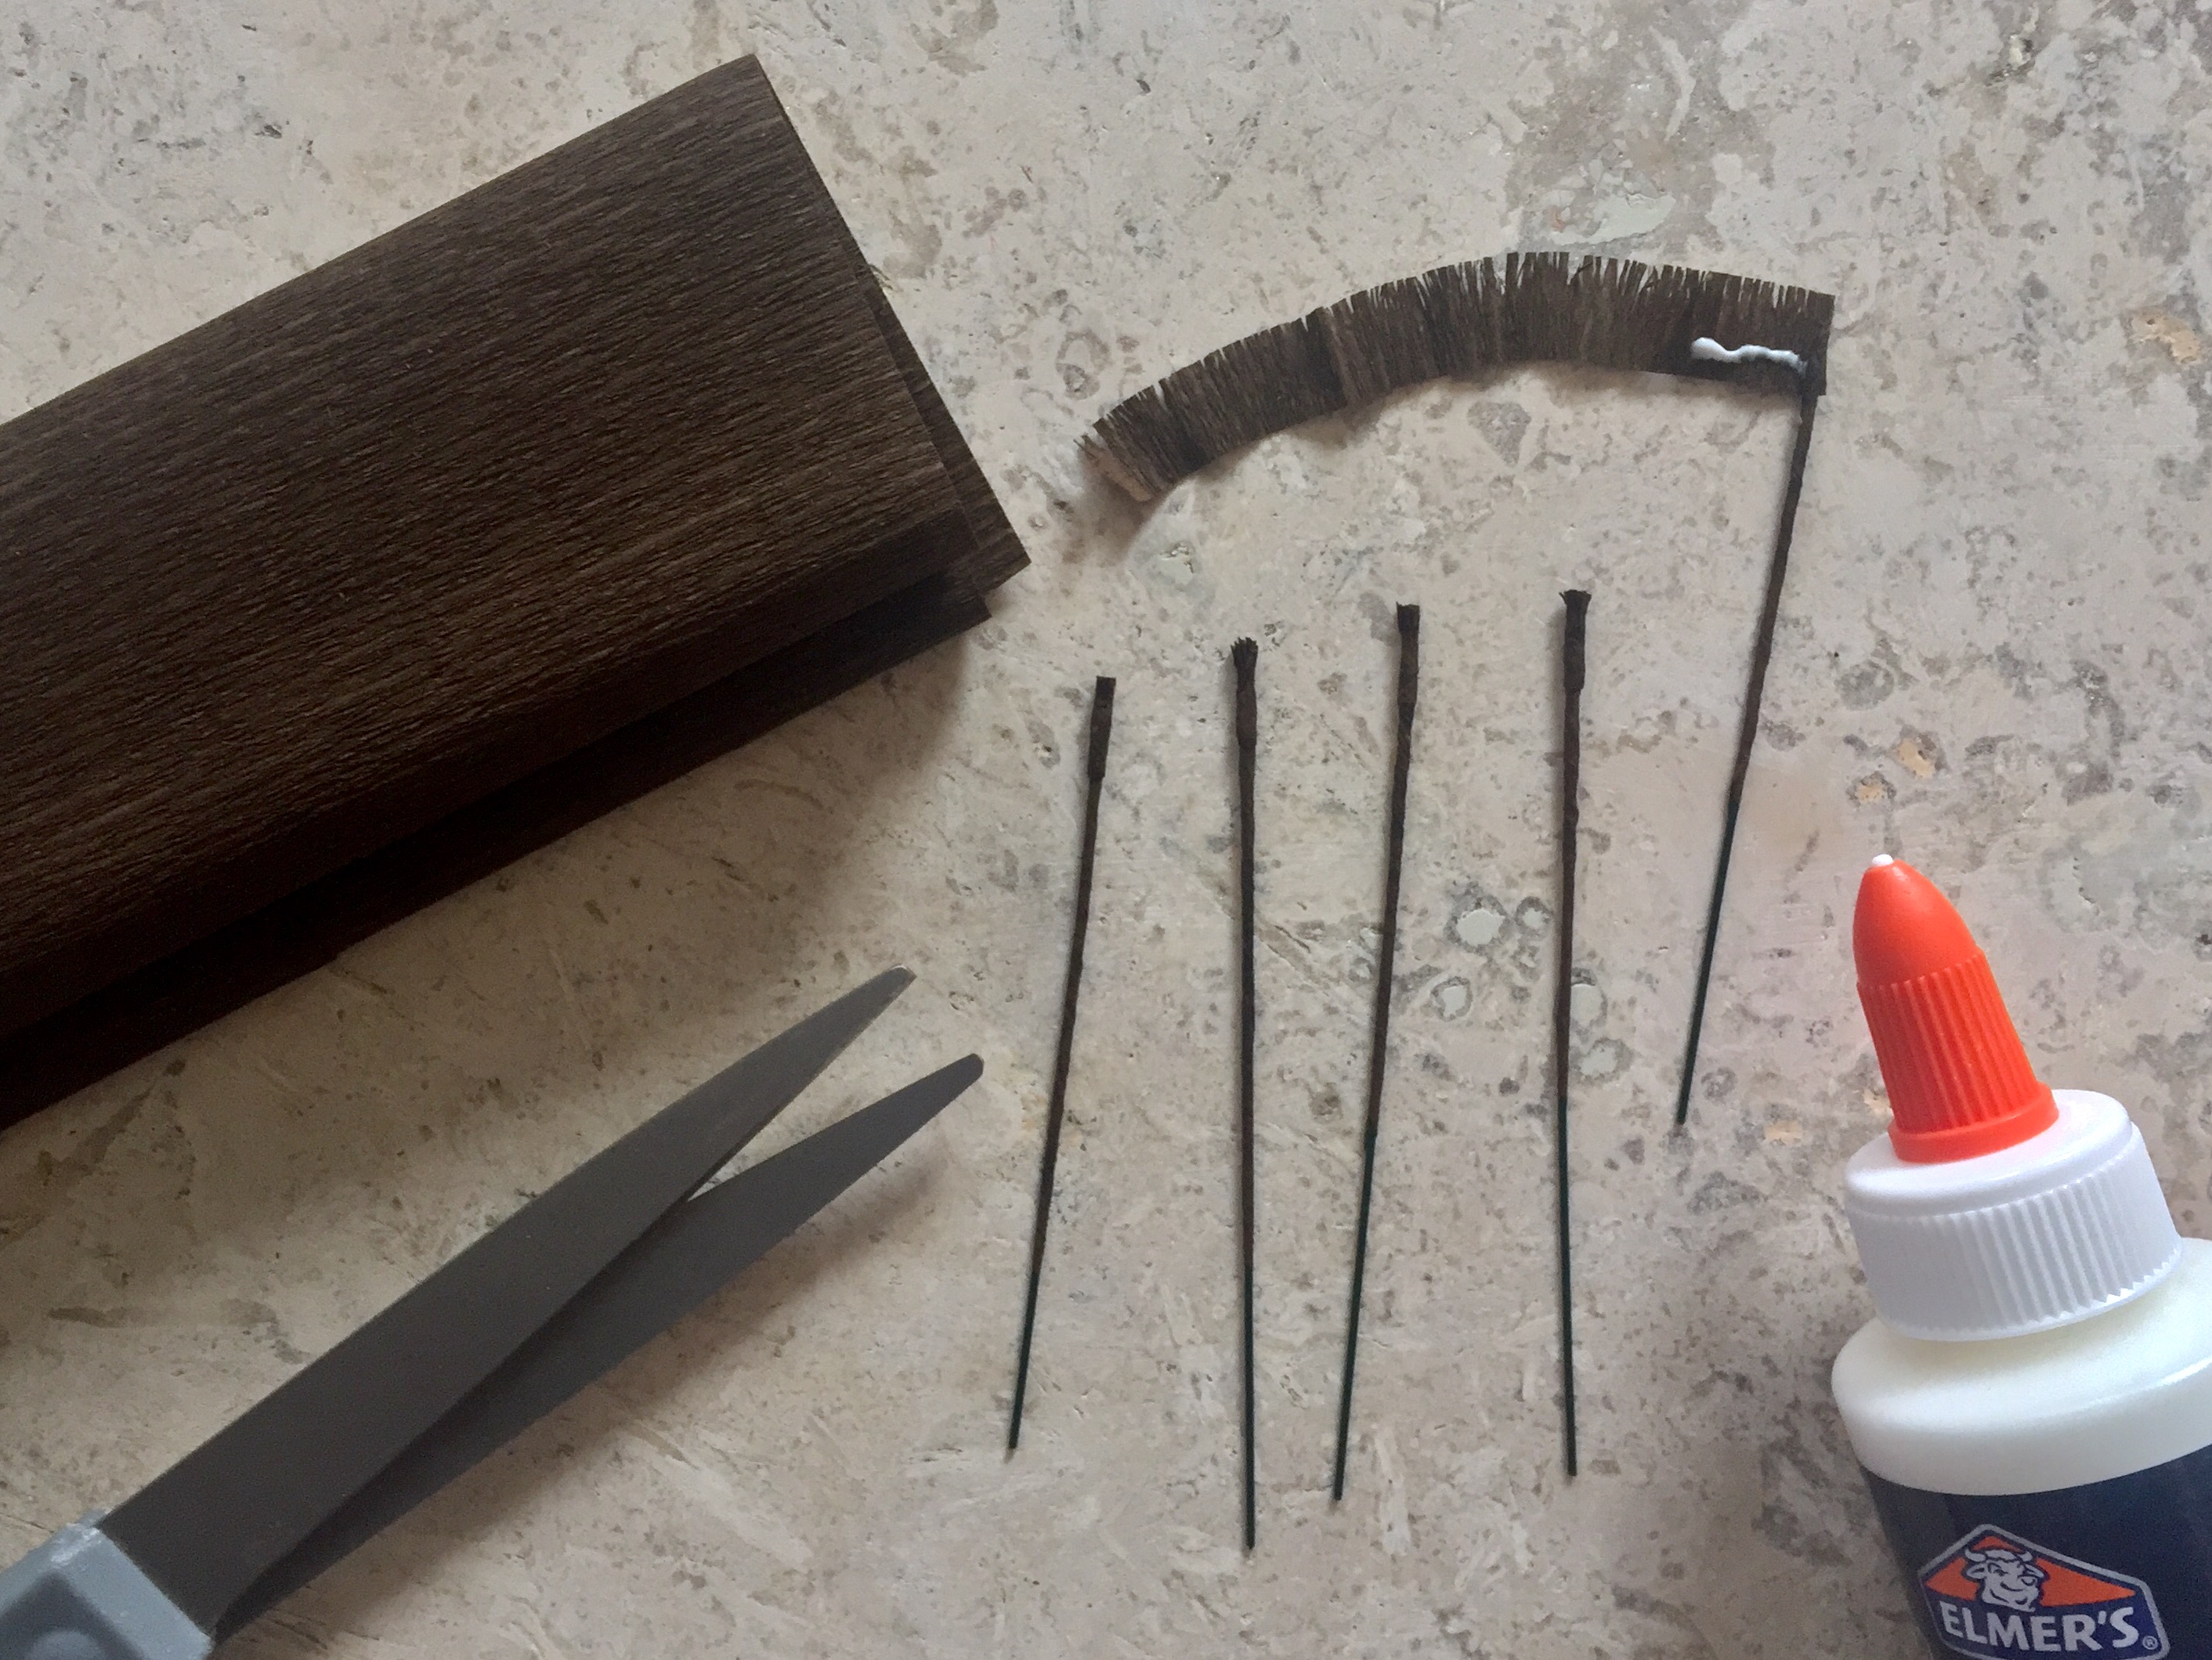
7. Cut the last 20 gauge wire stem into 5 pieces of approximately equal length. Wrap each piece with a 1/4″ wide strip of the dark brown paper and glue. Cut out another very thin strip of the dark brown paper, no more than 3/8″ wide, and snip a shallow, fine fringe on one side. Wrap the tip of each brown stem with a small amount of the fringe and glue.
ASSEMBLY:
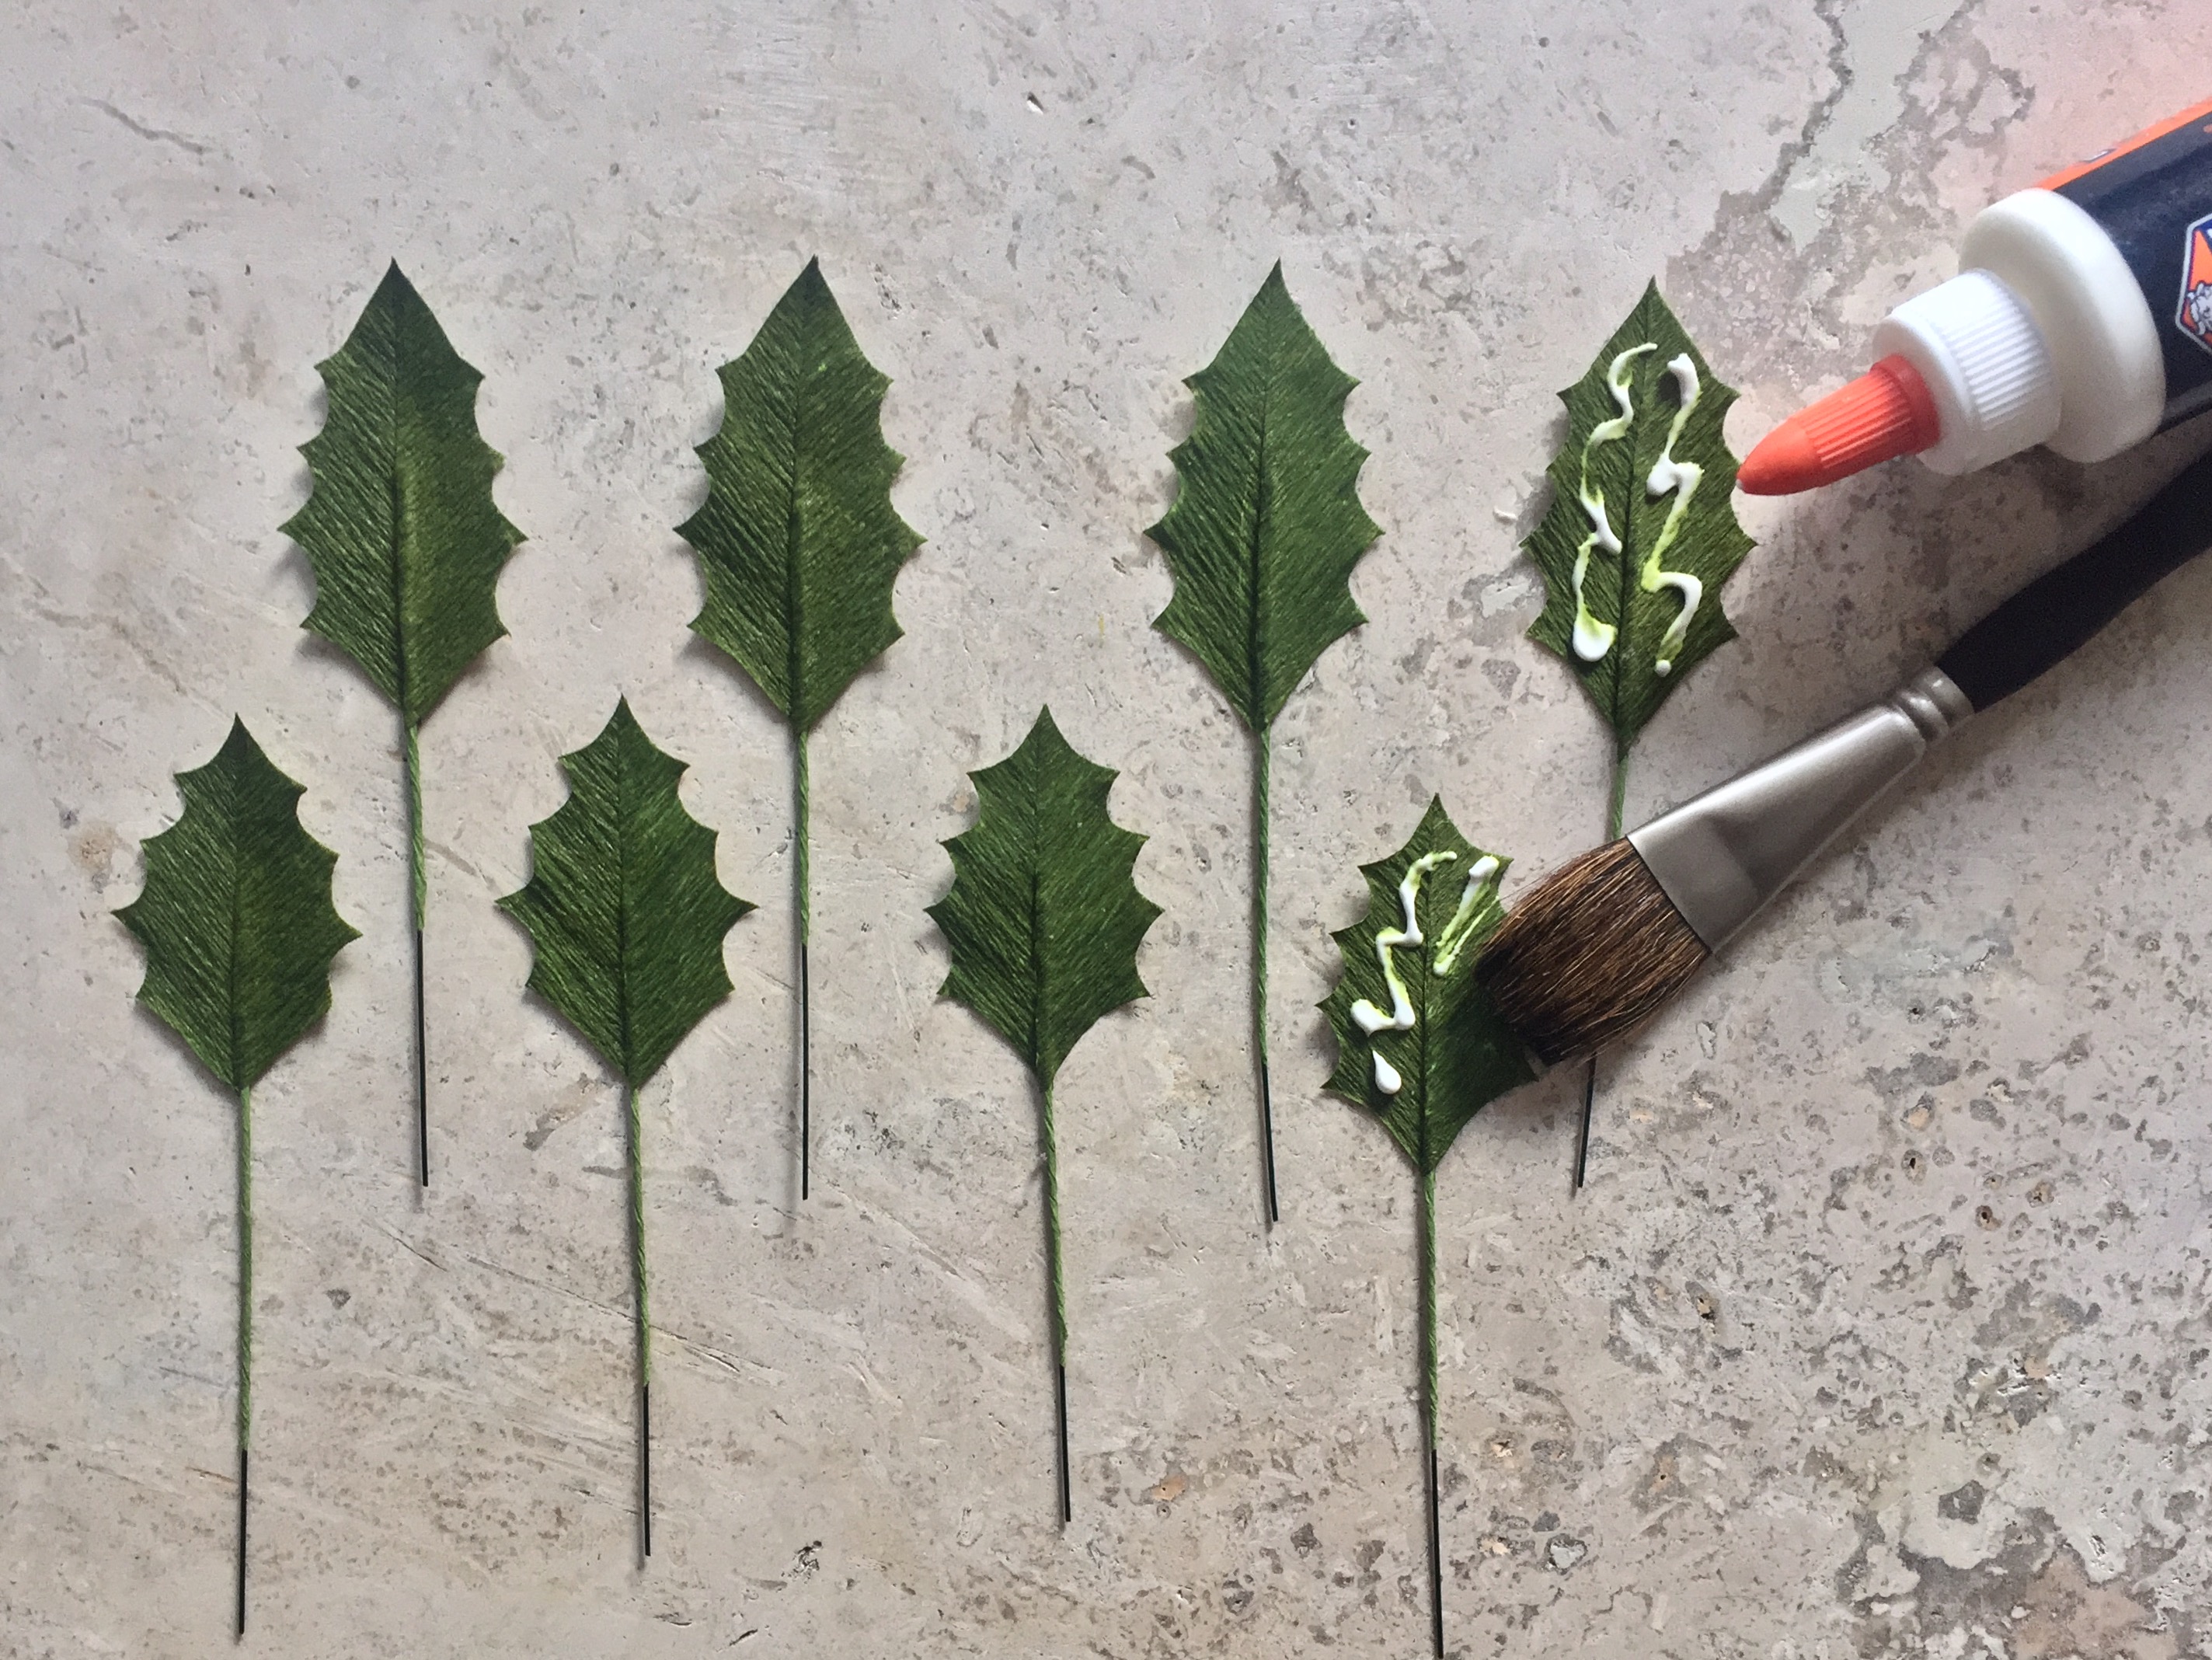
9. Wrap an additional 1/4″ strip of the lighter green paper around the base of each leaf, working your way down the stem. Bend each leaf to give it a more natural look.
10. Wrap the tip of the 18 gauge paper stem with a strip of the lighter green paper and glue to create a point.
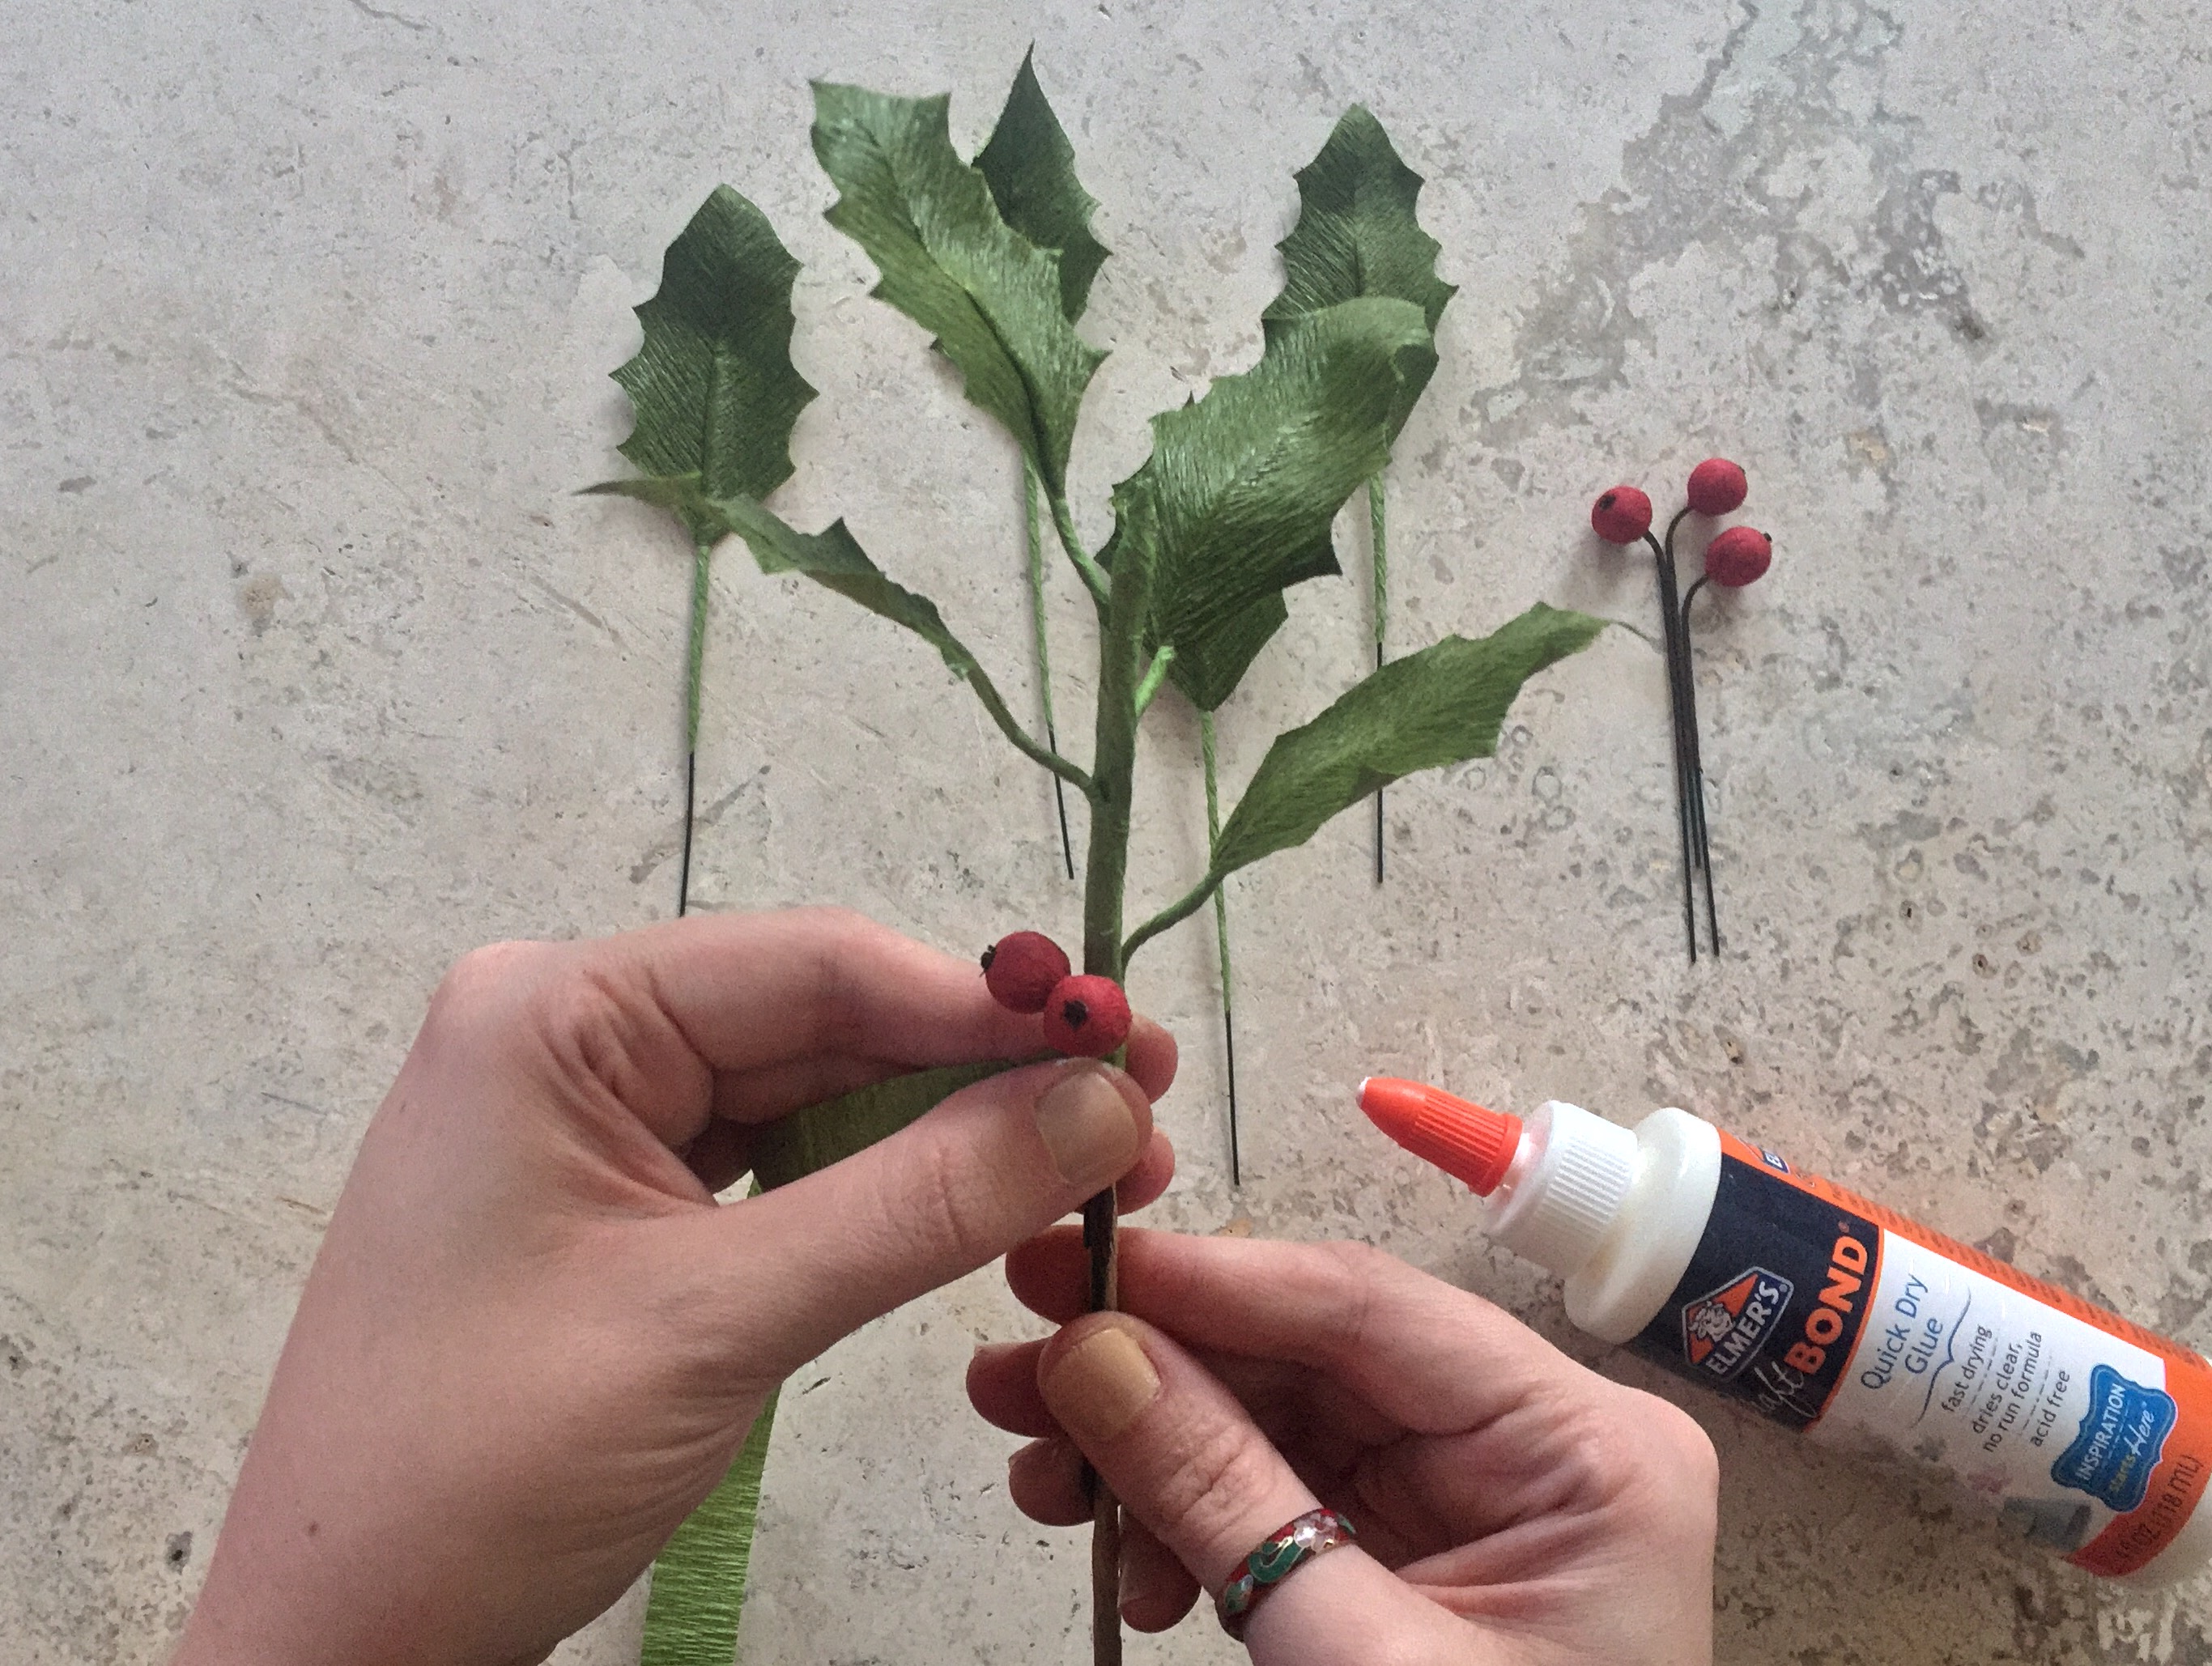
11. Continue wrapping the stem, adding leaves and glue as you go. Make sure to alternate between the small and the large leaves and stagger them as you work your way down the stem. After about 4 leaves, add a couple of berries.
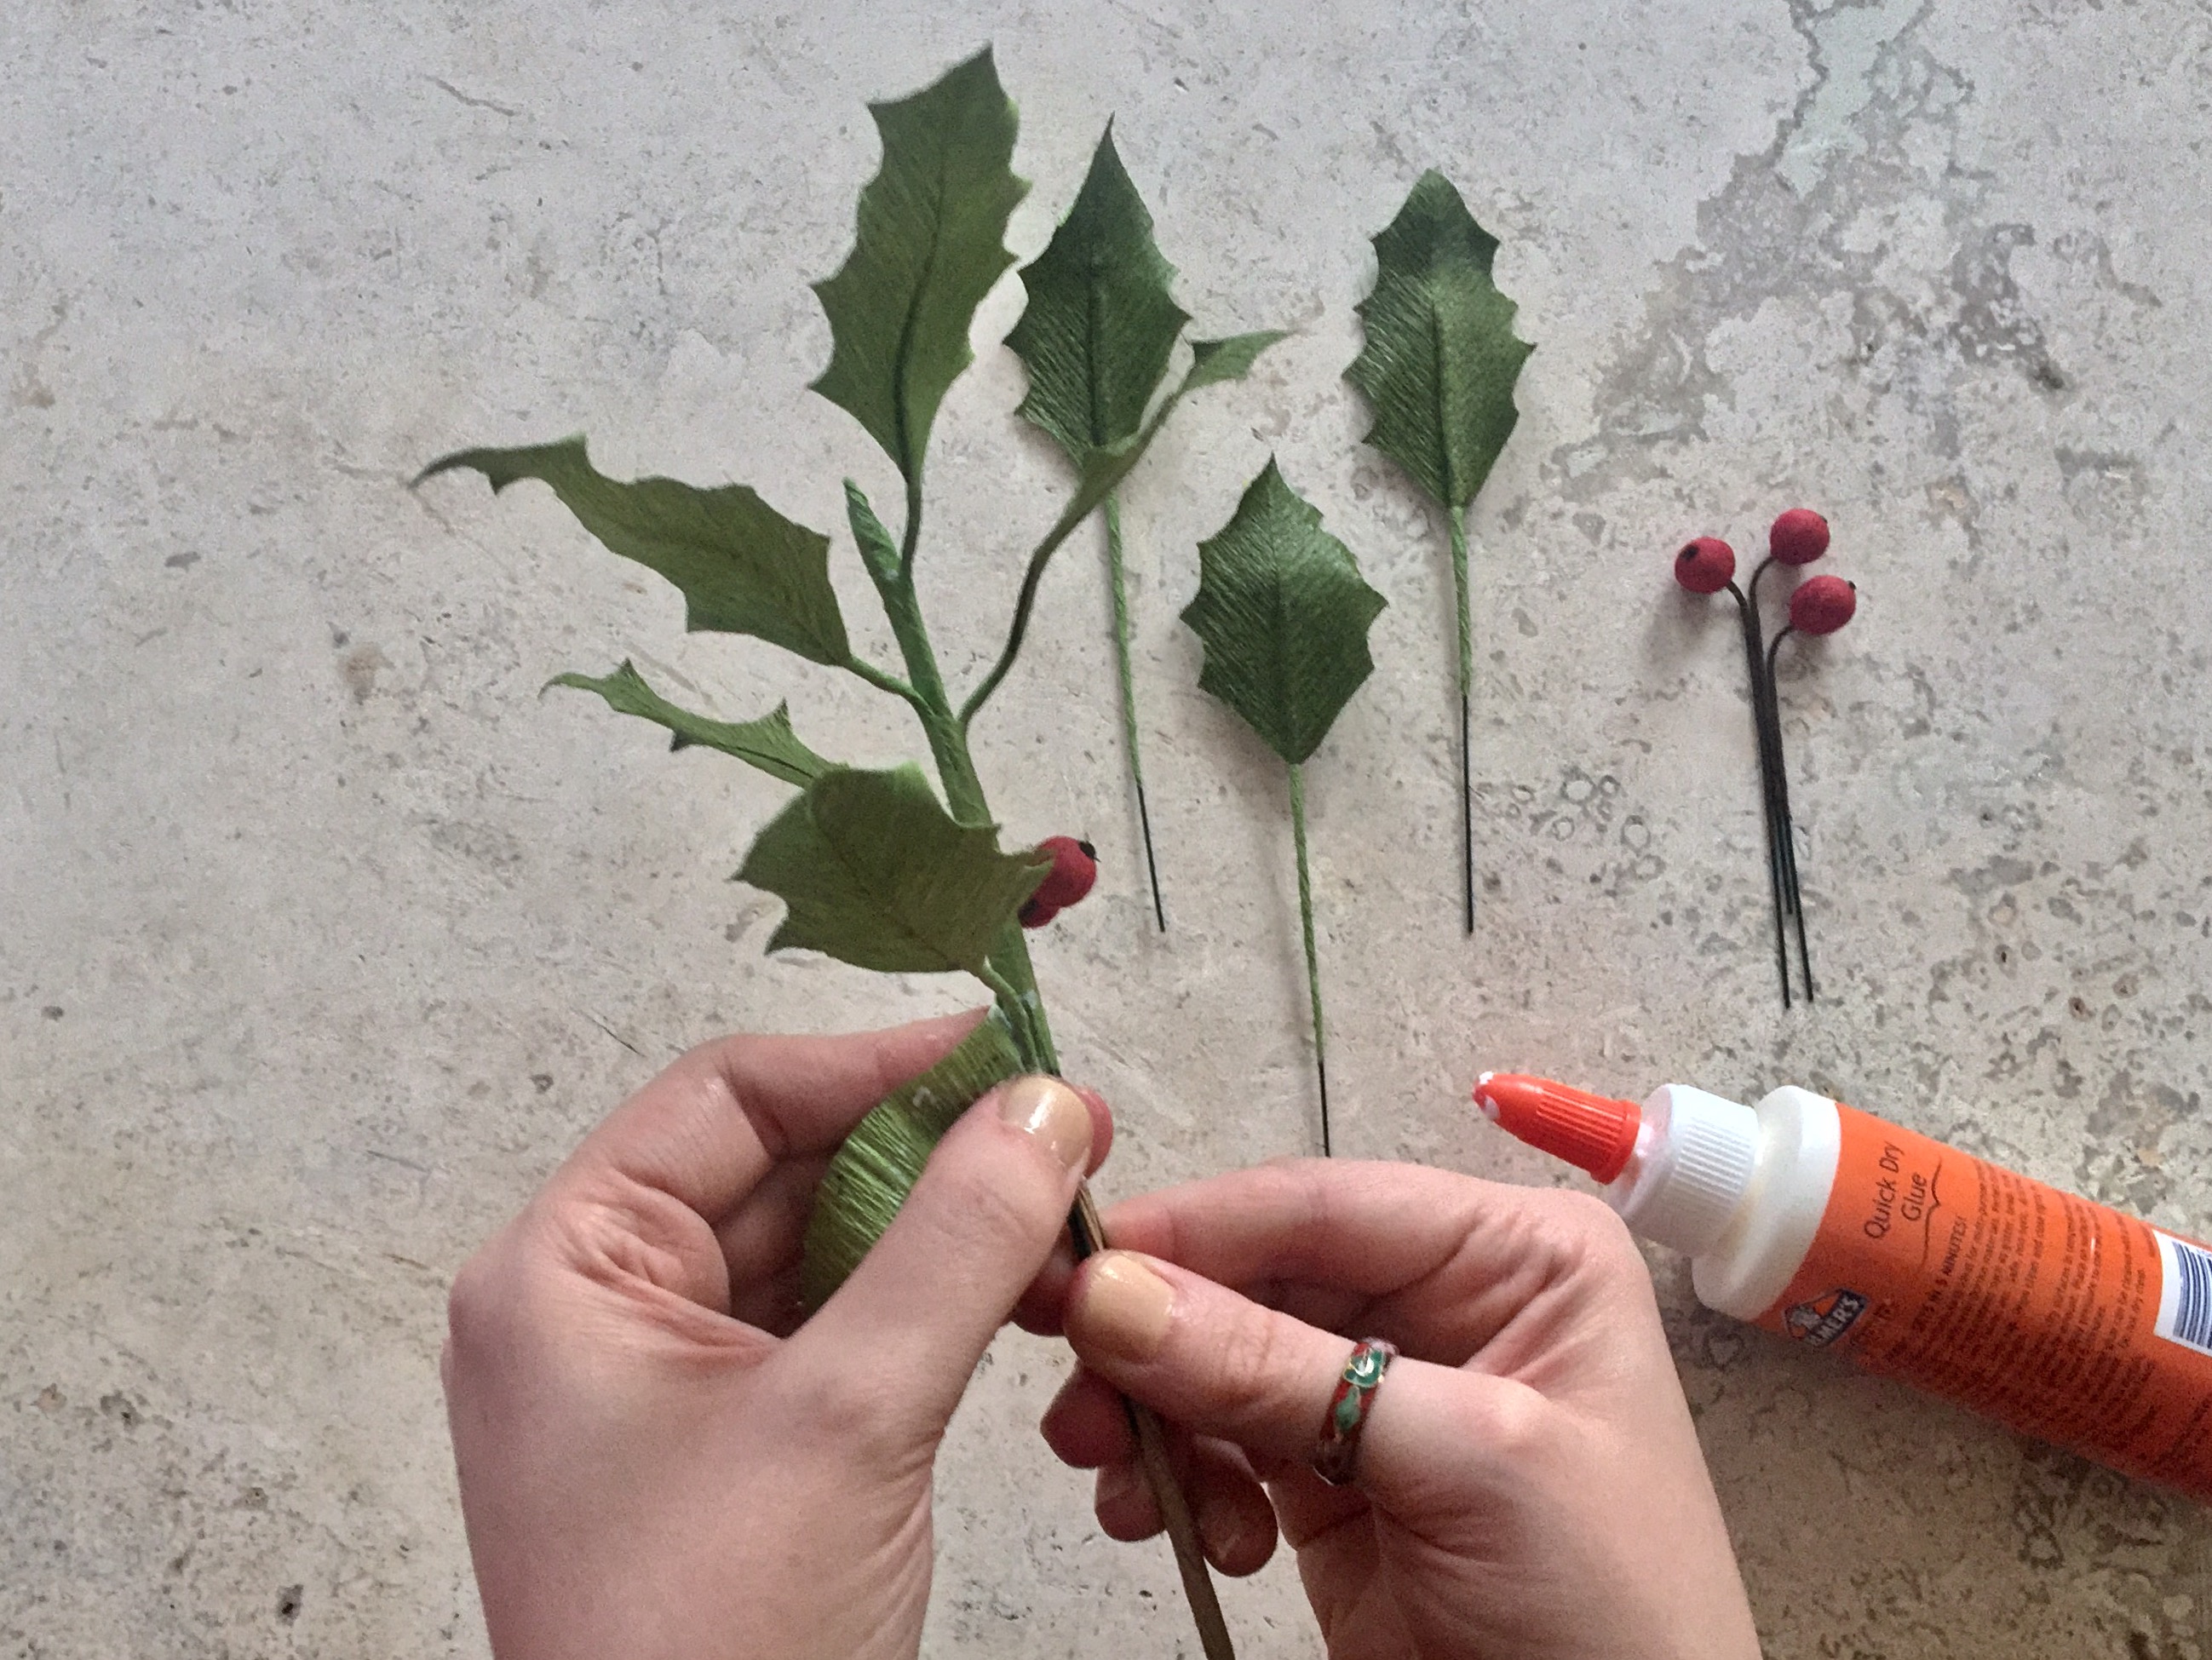
12. Add another leaf or two, the additional berries, and the additional leaves as you continue to wrap down the stem.
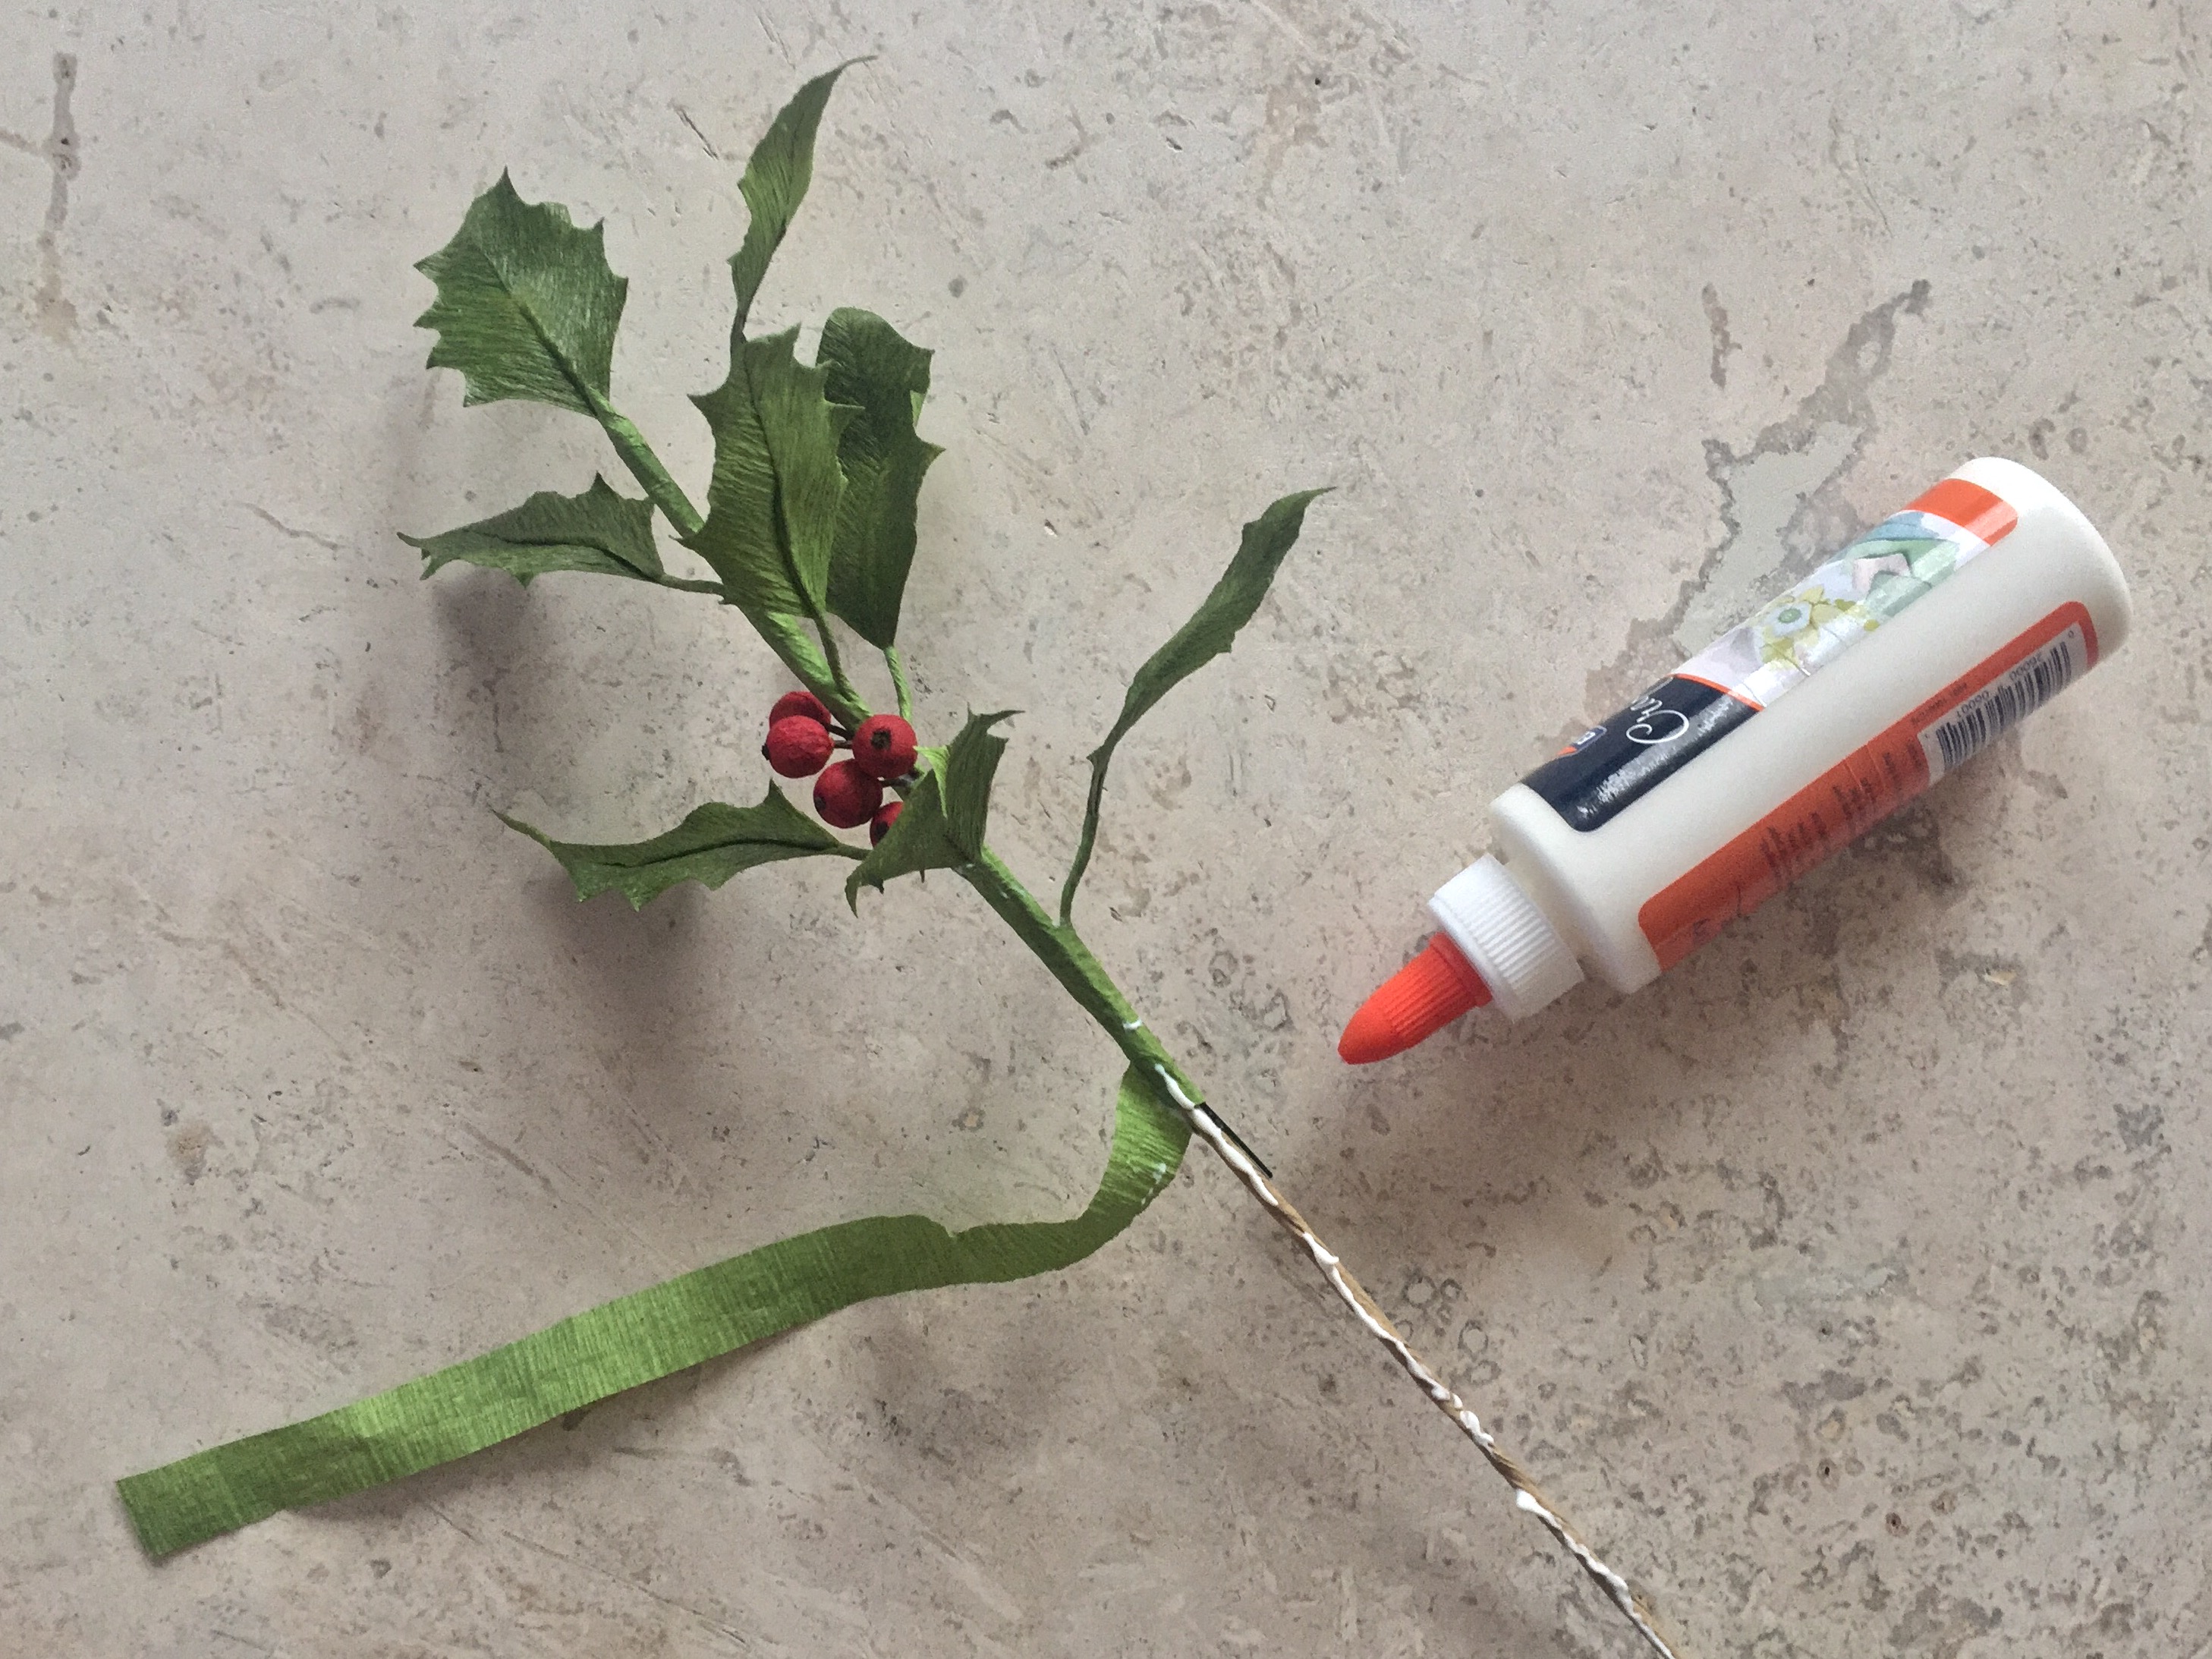
13. Continue to wrap and glue the strip of paper down the entire length of the stem and your DIY crepe paper holly boughs will be finished!