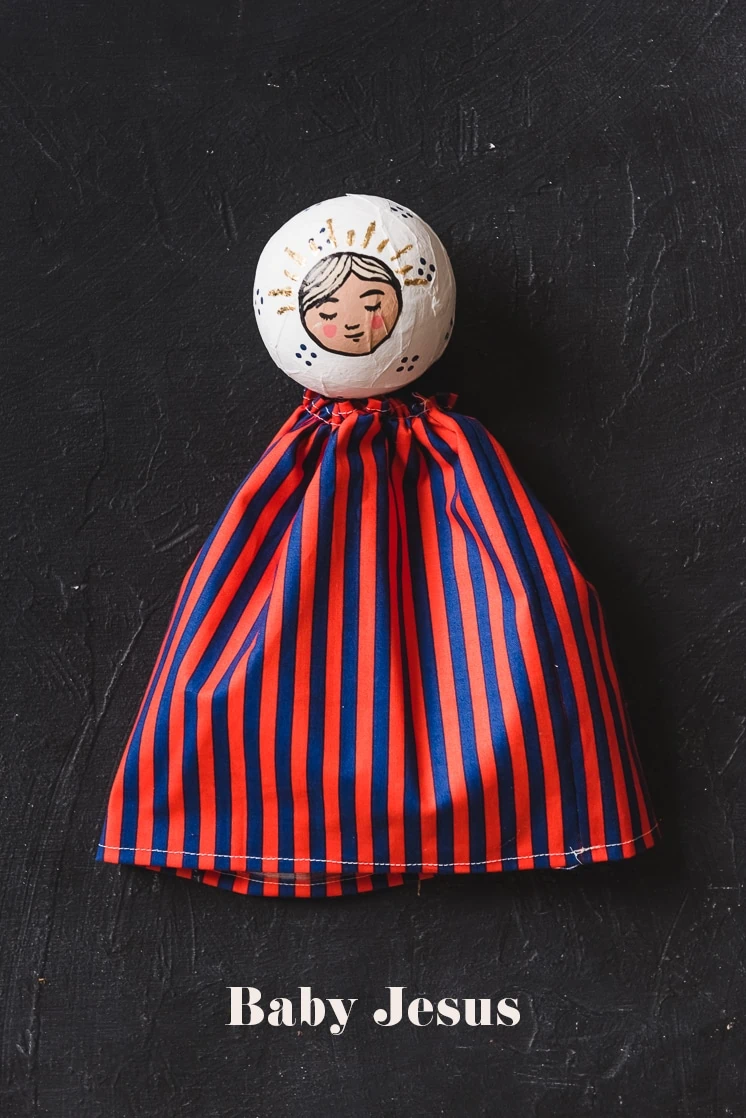
DIY Nativity Puppets
Nativity puppets are a delightful way to bring the magical story of Christmas to life! These puppets, often crafted with intricate details and vibrant colors, make for a captivating and interactive retelling of the Nativity scene. Children and adults alike can enjoy using these puppets to act out the story of the birth of Jesus, fostering a deeper connection to the true meaning of the holiday season. With their charming expressions and movable limbs, these puppets add a whimsical touch to any nativity play or festive gathering. So, whether you're looking to entertain little ones during the holidays or simply add a joyful flair to your Christmas decor, nativity puppets are sure to bring smiles and warmth to your celebrations.
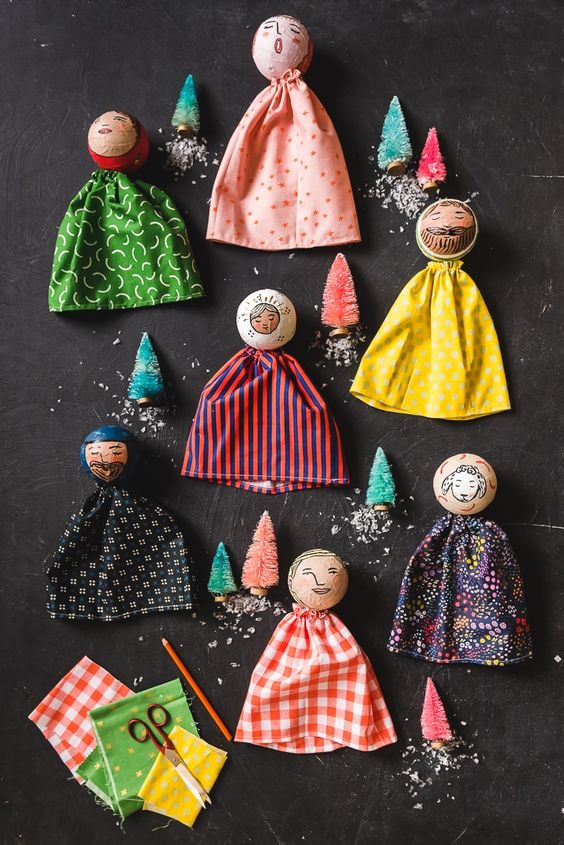
Materials:
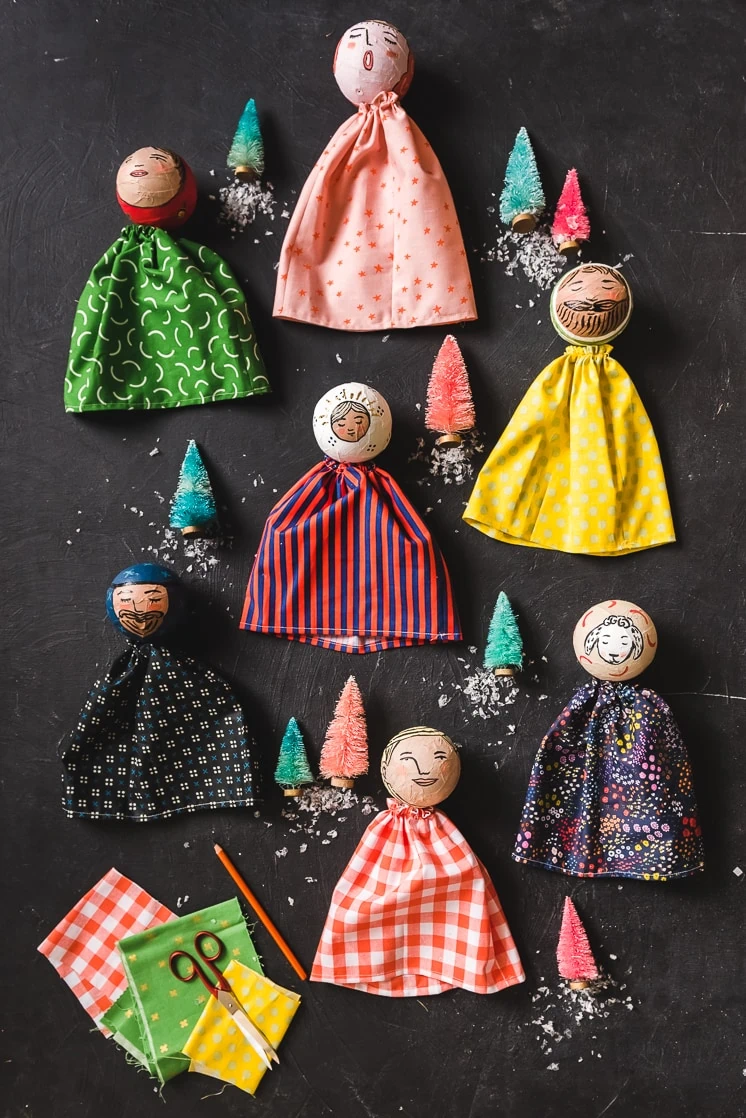
- Paper Mache Spheres–We included 7 characters
- Acrylic Paints
- Paintbrushes
- Electric Drill
- 7 #2 pencils
- Fabric–We used 7 different varieties
- Sewing machine or needle and thread
- Glue gun
Instructions:
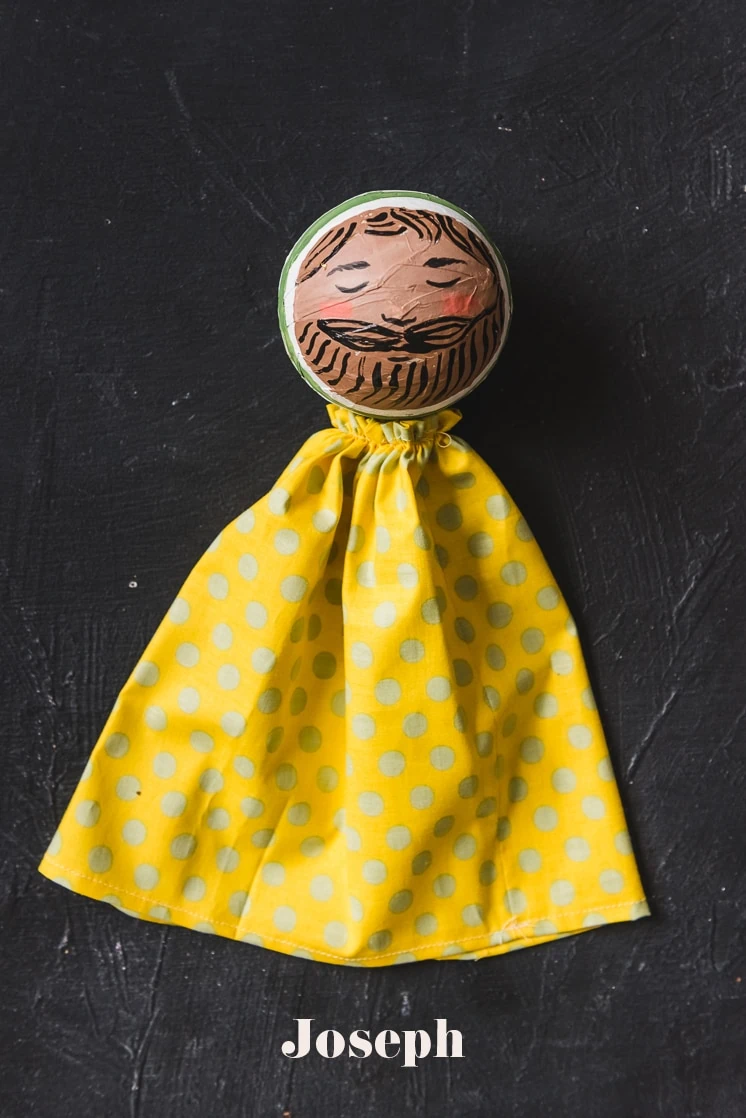
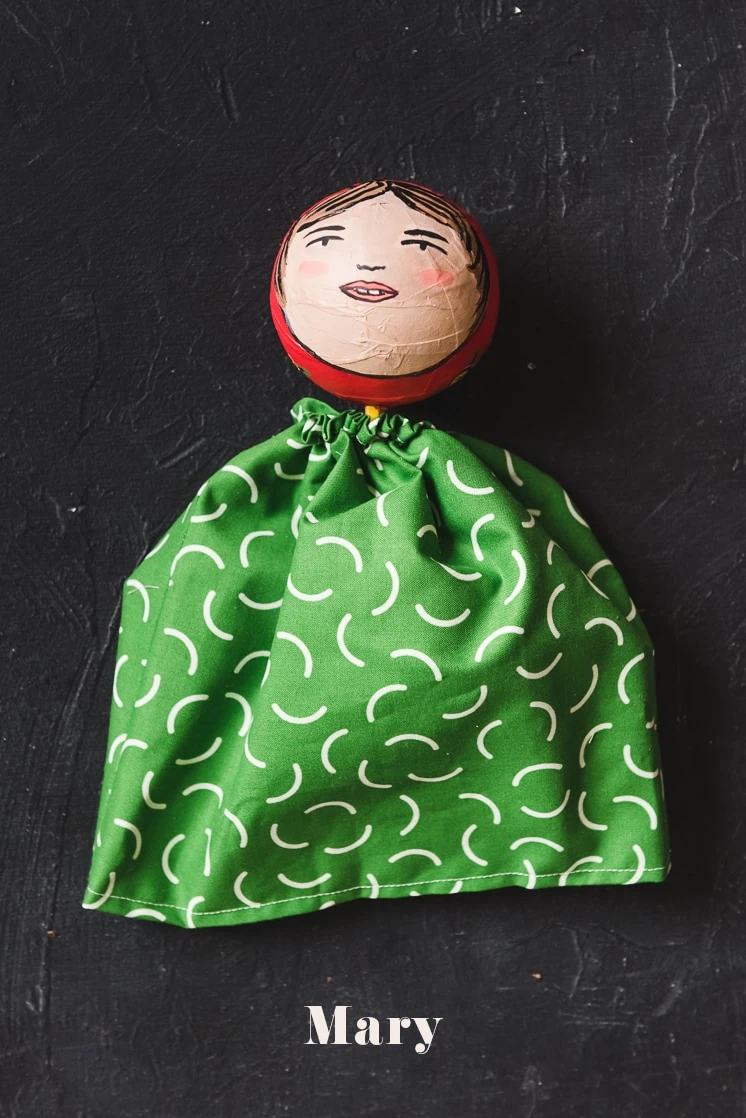
- Paint each ball as a member of the nativity using the acrylic paints. Let dry
- Using an electric drill, drill a hole in the center base of each face, just wide enough to fit a pencil through snuggly. We used a Drillbit.
- Insert a pencil into each one and set aside.
- Cut each type of fabric into an 18″ by 10″ piece.
- Finish the 18-inch long sides of the fabric by folding under 1/4-inch and sewing. This is optional but creates a cleaner finish.
- Then fold each piece of fabric in half longways, with right sides together, and stitch so you create a cylinder of fabric.
- Iron the seam allowance open so it lays flat.
- Sew a gathering stitch (using a long seam allowance) along the top of the fabric cylinder.
- Gather the top by pulling the bobbin threads tightly so the top part cinches together.
- Slide the pencil into the fabric and hot glue the gathered portion to the base of the head.
No comments
Write a comment