Rudolph the Red Nosed Reindeer Tree Decoration
Decorating for the holidays is always joyful, and adding Rudolph the Red-Nosed Reindeer tree decorations can really bring a touch of whimsy and nostalgia to your festive setup! This adorable decoration featuring the iconic Rudolph with his shiny red nose adds a cheerful element to your tree. Whether you're a fan of the classic stop-motion movie or just love the character, this ornament is sure to bring a smile to your face every time you see it twinkling among the branches. It's a fun way to infuse some holiday magic into your home and spread a bit of Christmas cheer to all who see it!

To make this reindeer hanging decoration you will need:
- 4 wooden clothespins
- 2 littles eyes (googly or not)
- One little red pompom
- Glitter in the colour of your choice (here we used gold glitter)
- Some gold string/twine
- A black felt tip pen
- Liquid glue
- And ideally a glue gun too
Making Rudolph the red nosed reindeer tree decoration step by step
The first stage of this DIY is to make Rudolph’s head and front.
For this, put some liquid glue on the top of one side of the peg (the part that you pinch to open the clothespin).
Next, sprinkle it with the glitter.
Now, glue just below where the glitter stops, the two little eyes
Add a drop of glue blow to stick the red pompom to make the nose
Finish this stage by cutting a length of string and sticking it at the back of the peg (making a loop so you can hang it)

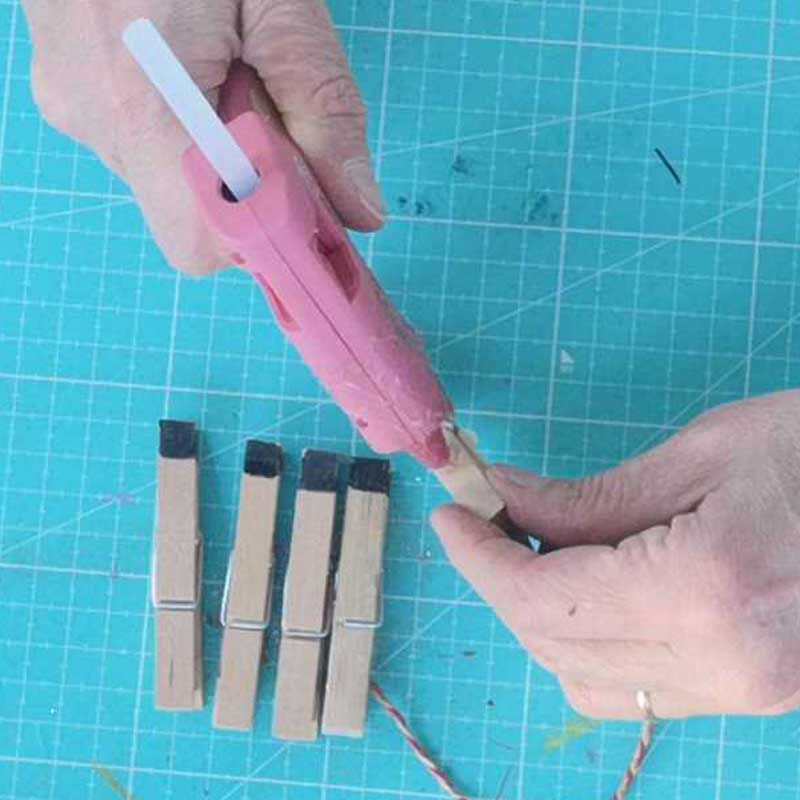
The following stage consists of making Rudolph’s body by coloring a small black square at the top of each of the 3 remaining pegs. Next turn them upside down so the little black squares make the hoofs and stick ticking the 3 clothespegs together with the glue gun.

Finally, stick Rudolph’s head at one end of the body offset towards the top.

And here it is, your very own Rudolph the red nosed reindeer!