Crochet Oxeye Daisy
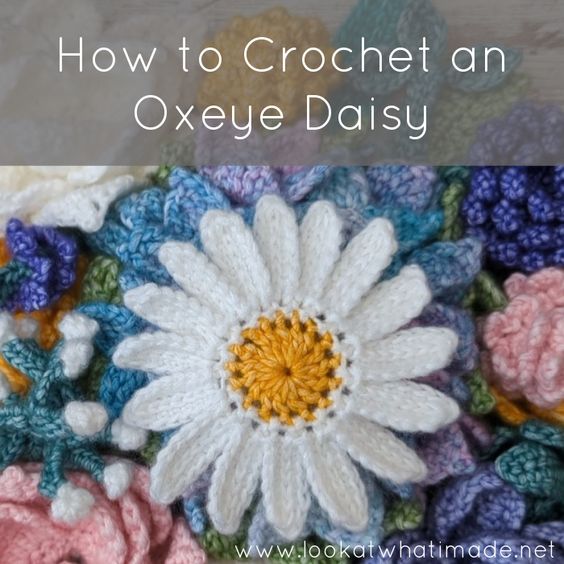
The Crochet Oxeye Daisy is a delightful project for crafters looking to bring a touch of nature into their homes. This charming crochet pattern allows you to create a lovely flower that will never wilt or fade. With its vibrant colors and intricate details, the Crochet Oxeye Daisy is sure to brighten up any room and bring a smile to your face. It's a fun and rewarding creative endeavor that is perfect for beginners and experienced crocheters alike. So grab your yarn and crochet hook, and let's create some everlasting beauty together!
Abbreviations
US Terminology
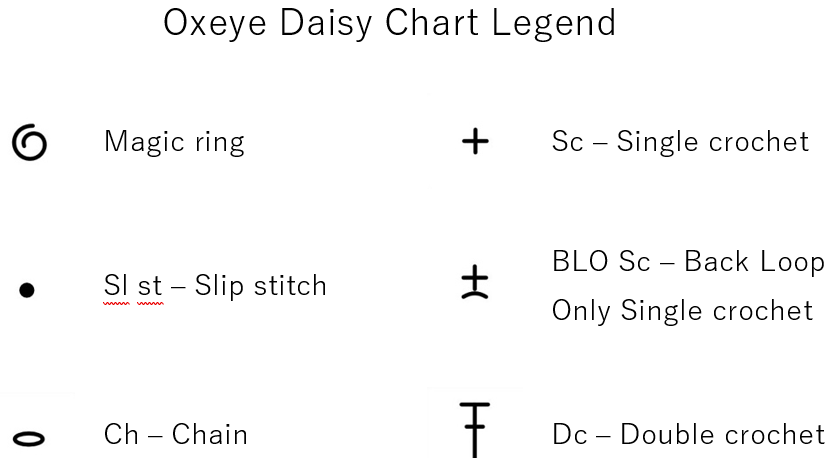
- Beg – Beginning
- Ch – Chain
- Dc – Double crochet
- Rem – remaining/remains
- Sl st – Slip stitch
- St/sts – Stitch/stitches
- * – Repeat instructions the number of times specified
Special Stitches
Surface Sl st
With your working yarn behind your work, insert your hook into the indicated st/sp. Yarn over and pull through your work, then pull through the loop on your hook, completing your slip stitch.
Materials
- 4mm crochet hook
- Yarnsmiths Pebble Haze DK (50g/145m; 33% acrylic, 67% cotton)
- Yellow – 2C110 Yellow Amber
- White – 2C040 Marble
Instructions
Round 1
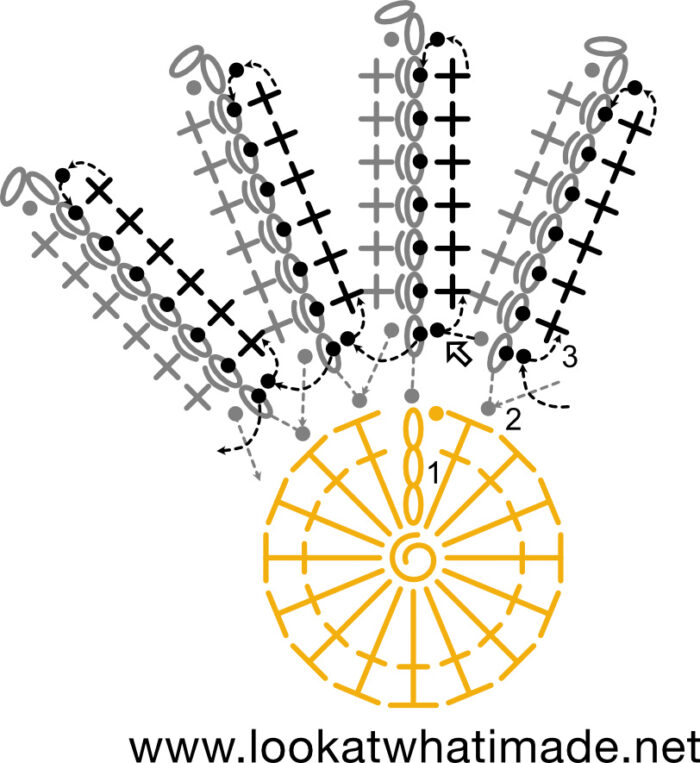
With Yellow and working into a magic ring: Ch 3 (counts as first dc), 15 dc. Join to the top of the beg ch-3 with a sl st. Fasten off and work away your ends. {16 dc}

Round 2
In this round, you will be making the first half of each Petal.
Join your yarn by making a sl st in any stitch around. Ch 9. Working into one loop only: sl st in the second ch from the hook, sc in the next 6 ch sts, sl st in the last ch st. *Sl st in the next st of Round 1. Ch 9. Working into one loop only: sl st in the second ch from the hook, sc in the next 6 ch sts, sl st in the last ch st.*
Repeat from * to * until you wave worked into each dc from Round 1. {16 Half-petals}

Round 3
In this round, you will be completing each Petal.
*Working into both rem loops of each ch st of the next Petal: sl st in the first ch, sc in the next 6 ch sts, sl st in the last ch. You will notice that there are 7 ‘holes’ down the middle of your Petal. Make a surface sl st in each of these 7 holes.*
Rep from * to * until you have completed each Petal. Fasten off and work away your ends. {16 Petals}
When you are done, the flower will curl a bit
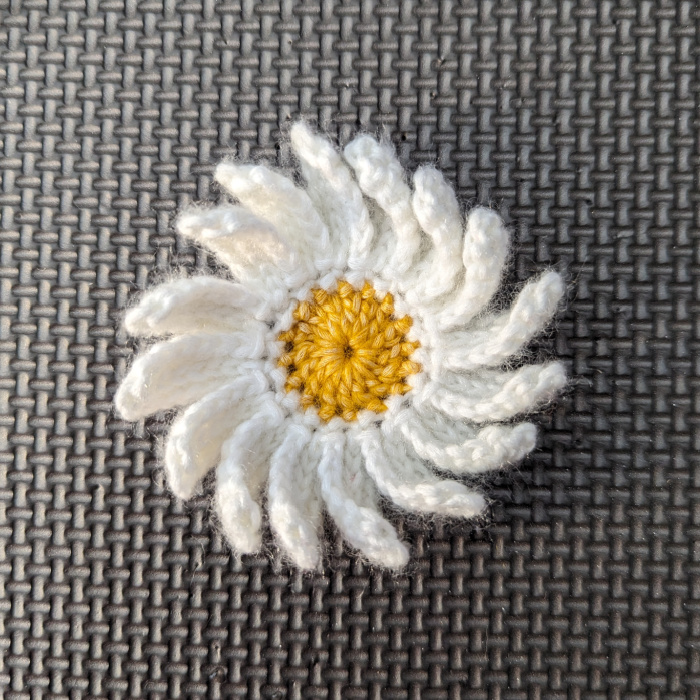
It’s nothing a good blocking won’t cure. I steam-blocked mine, but you can wet-block with equal success.
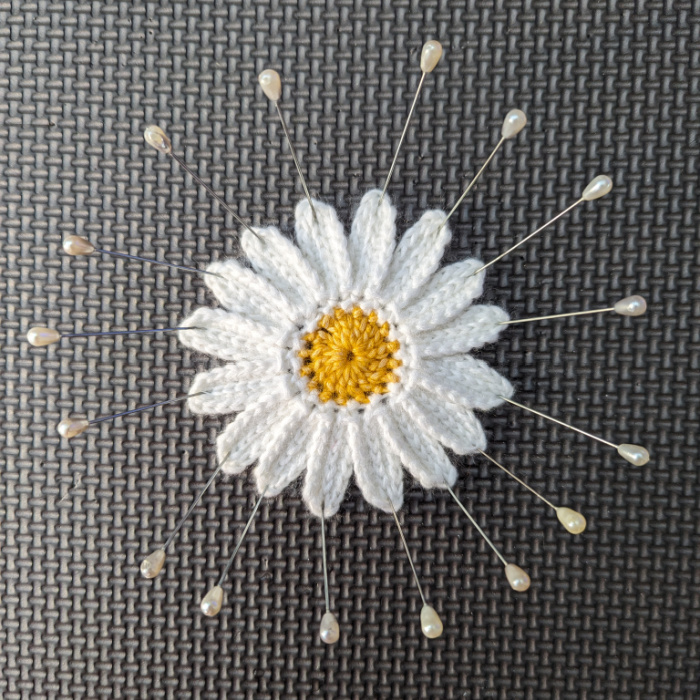
After blocking, the petals will be nice and flat.
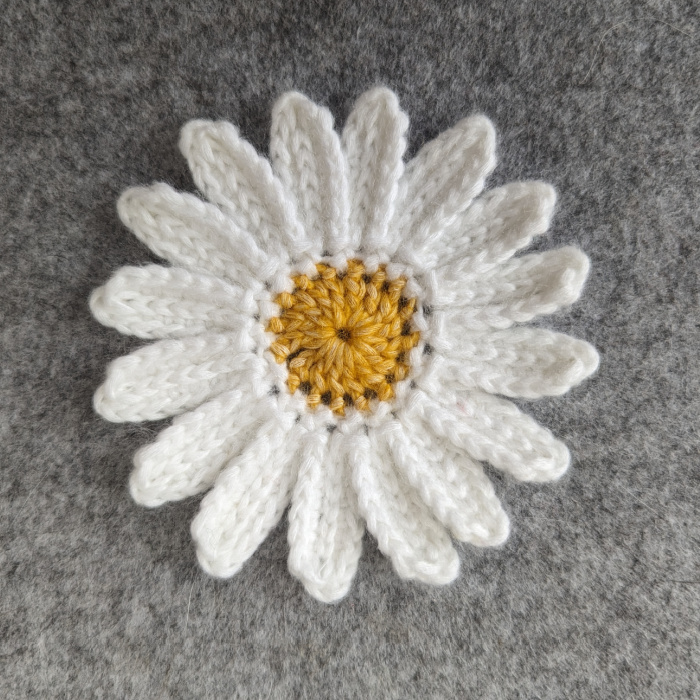
You can, of course, use oranges or purples if you choose to make Cape Daisies instead