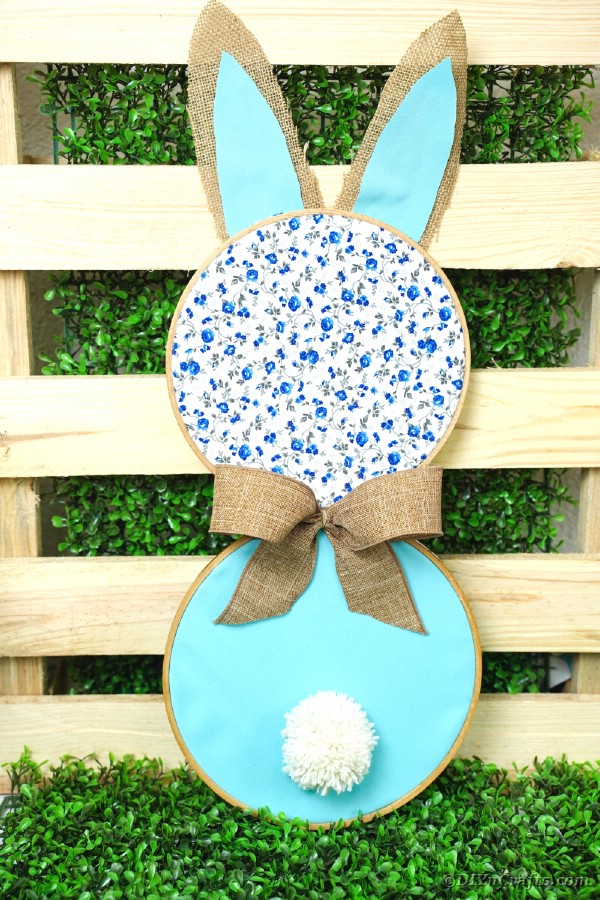
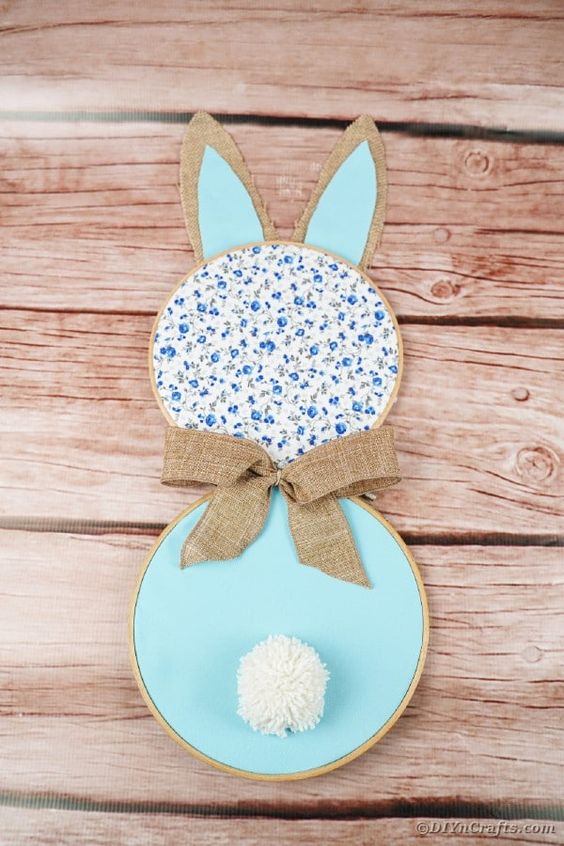
Cute DIY Easter Bunny Wall Art Decoration
Looking to add a touch of whimsy and charm to your home decor this Easter season? Why not consider some Easter Bunny wall art to bring a smile to your face and welcome the spirit of the holiday into your living space? Whether it's a colorful canvas print of a cute bunny with a basket of eggs or a rustic wooden bunny silhouette to hang on your wall, Easter Bunny wall art is a delightful way to celebrate the season and spread some joy to all who enter your home. With their playful and endearing designs, these art pieces are sure to brighten up any room and create a festive atmosphere that will have your guests hopping with delight. So why not hop on over to your favorite home decor store or have fun crafting your own Easter Bunny wall art to add a touch of Easter magic to your walls this year?
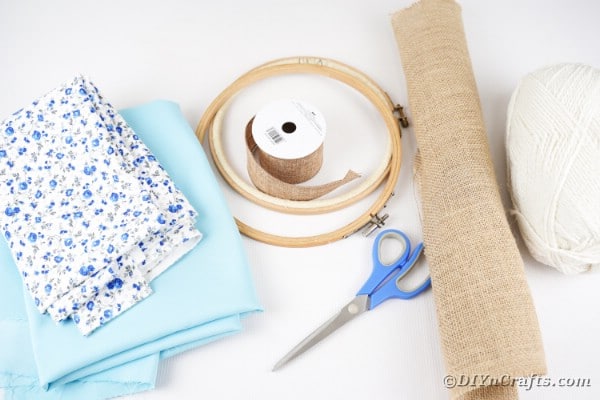
Supplies Needed
- Embroidery hoops
- Fabric
- Burlap
- Burlap ribbon
- White yarn
- Scissors
- Hot glue gun
- Hot glue sticks or hot glue rope
- Needle
- Thread
How to Make Easter Bunny Wall Art
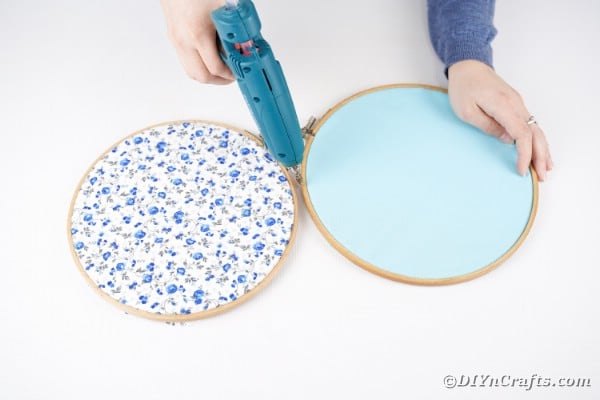
Start by measuring your fabric to fit in the embroidery hoop.

Place the fabric inside the embroidery hoop, and trim off any excess.

Repeat this process for both hoops.
Now you will hot glue the two hoops together, one on top of each other.
After you have glued them together, use a needle and thread to sew them together with a few stitches as shown below.

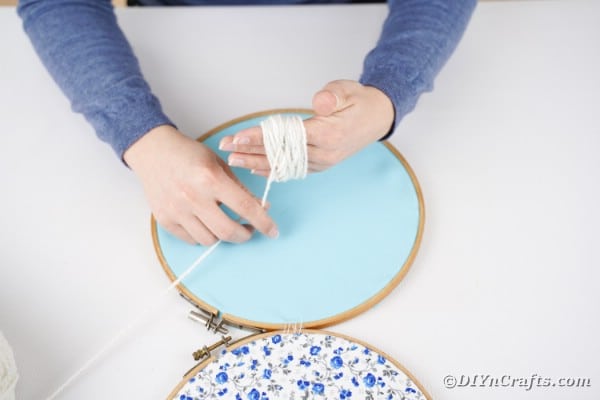
Wrap the yarn around your hand and create a pom pom for the bunny tail.
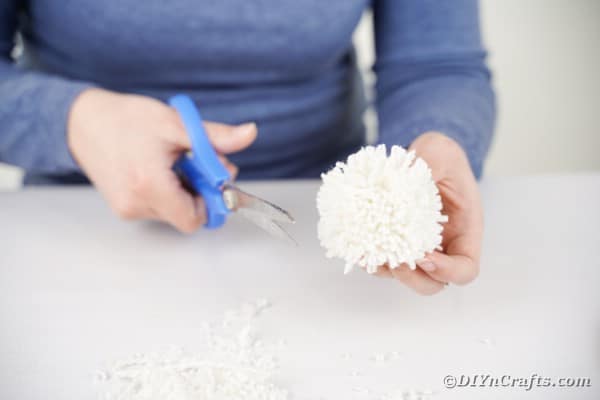
Trim the edges of the yarn pom pom to make it a nice fluffy tail.
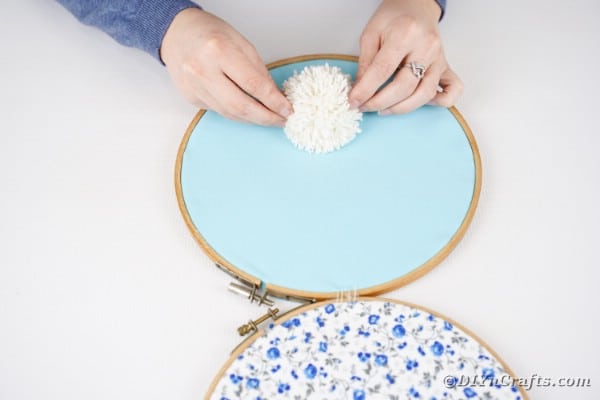
Glue the bunny tail pom pom in place.
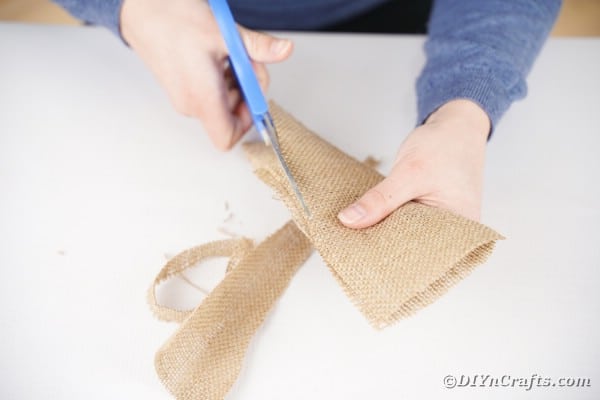
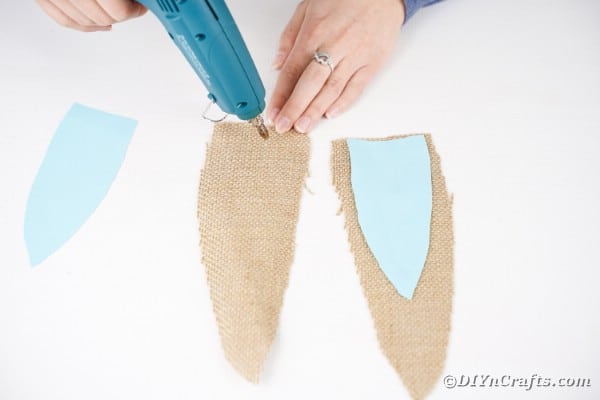
Next, you will cut two large ears shapes from burlap
Cut two slightly smaller pieces of fabric to fit inside the burlap ears, and attach them with glue.
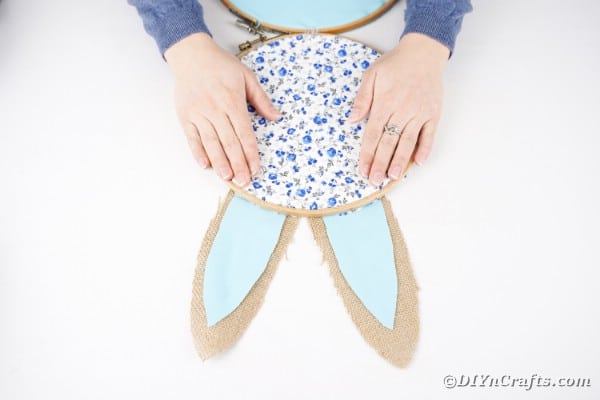
Attach the ears on the back of the top embroidery hoop with glue.
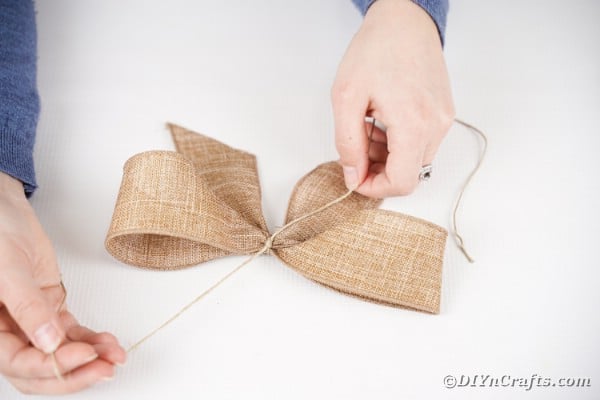
Using burlap ribbon, create a bow for the bunny.
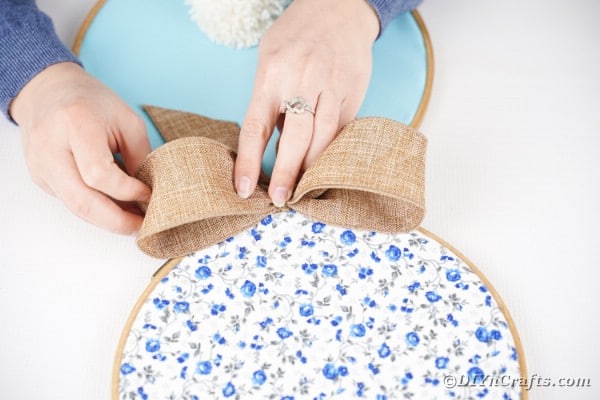
Glue the bow in place covering the seam between the two embroidery hoops
Display the bunny on a wall or your mantle.