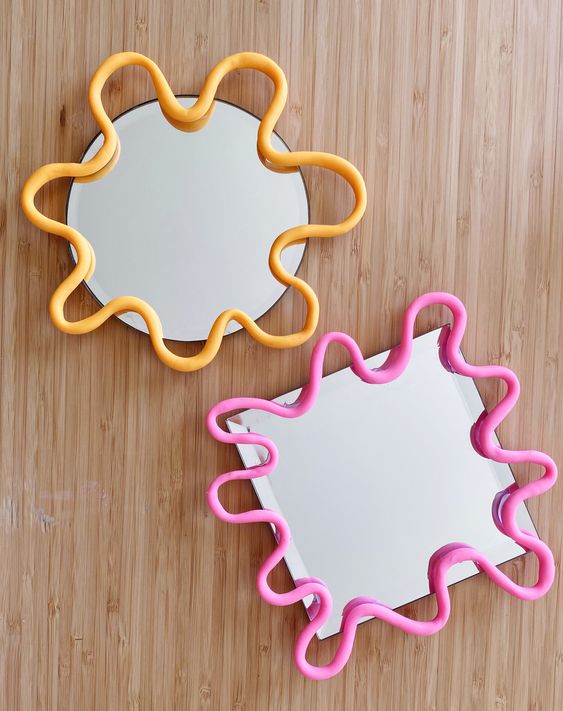
DIY Polymer Clay Mirror
Creating a polymer clay mirror is a delightful and creative project that can add a touch of uniqueness to your living space. To start, gather your colorful polymer clay and a plain mirror as your base. Roll out the clay into different shapes and designs, then carefully press them onto the mirror's frame, ensuring they adhere well. Don't forget to add your personal flair with intricate patterns or textured imprints for a truly one-of-a-kind look. Once you finish baking the clay according to the instructions, voilà - you'll have a charming and vibrant polymer clay mirror that reflects your artistic touch and brightens up any room with its whimsical charm. So unleash your creativity and enjoy crafting your own polymer clay mirror today!
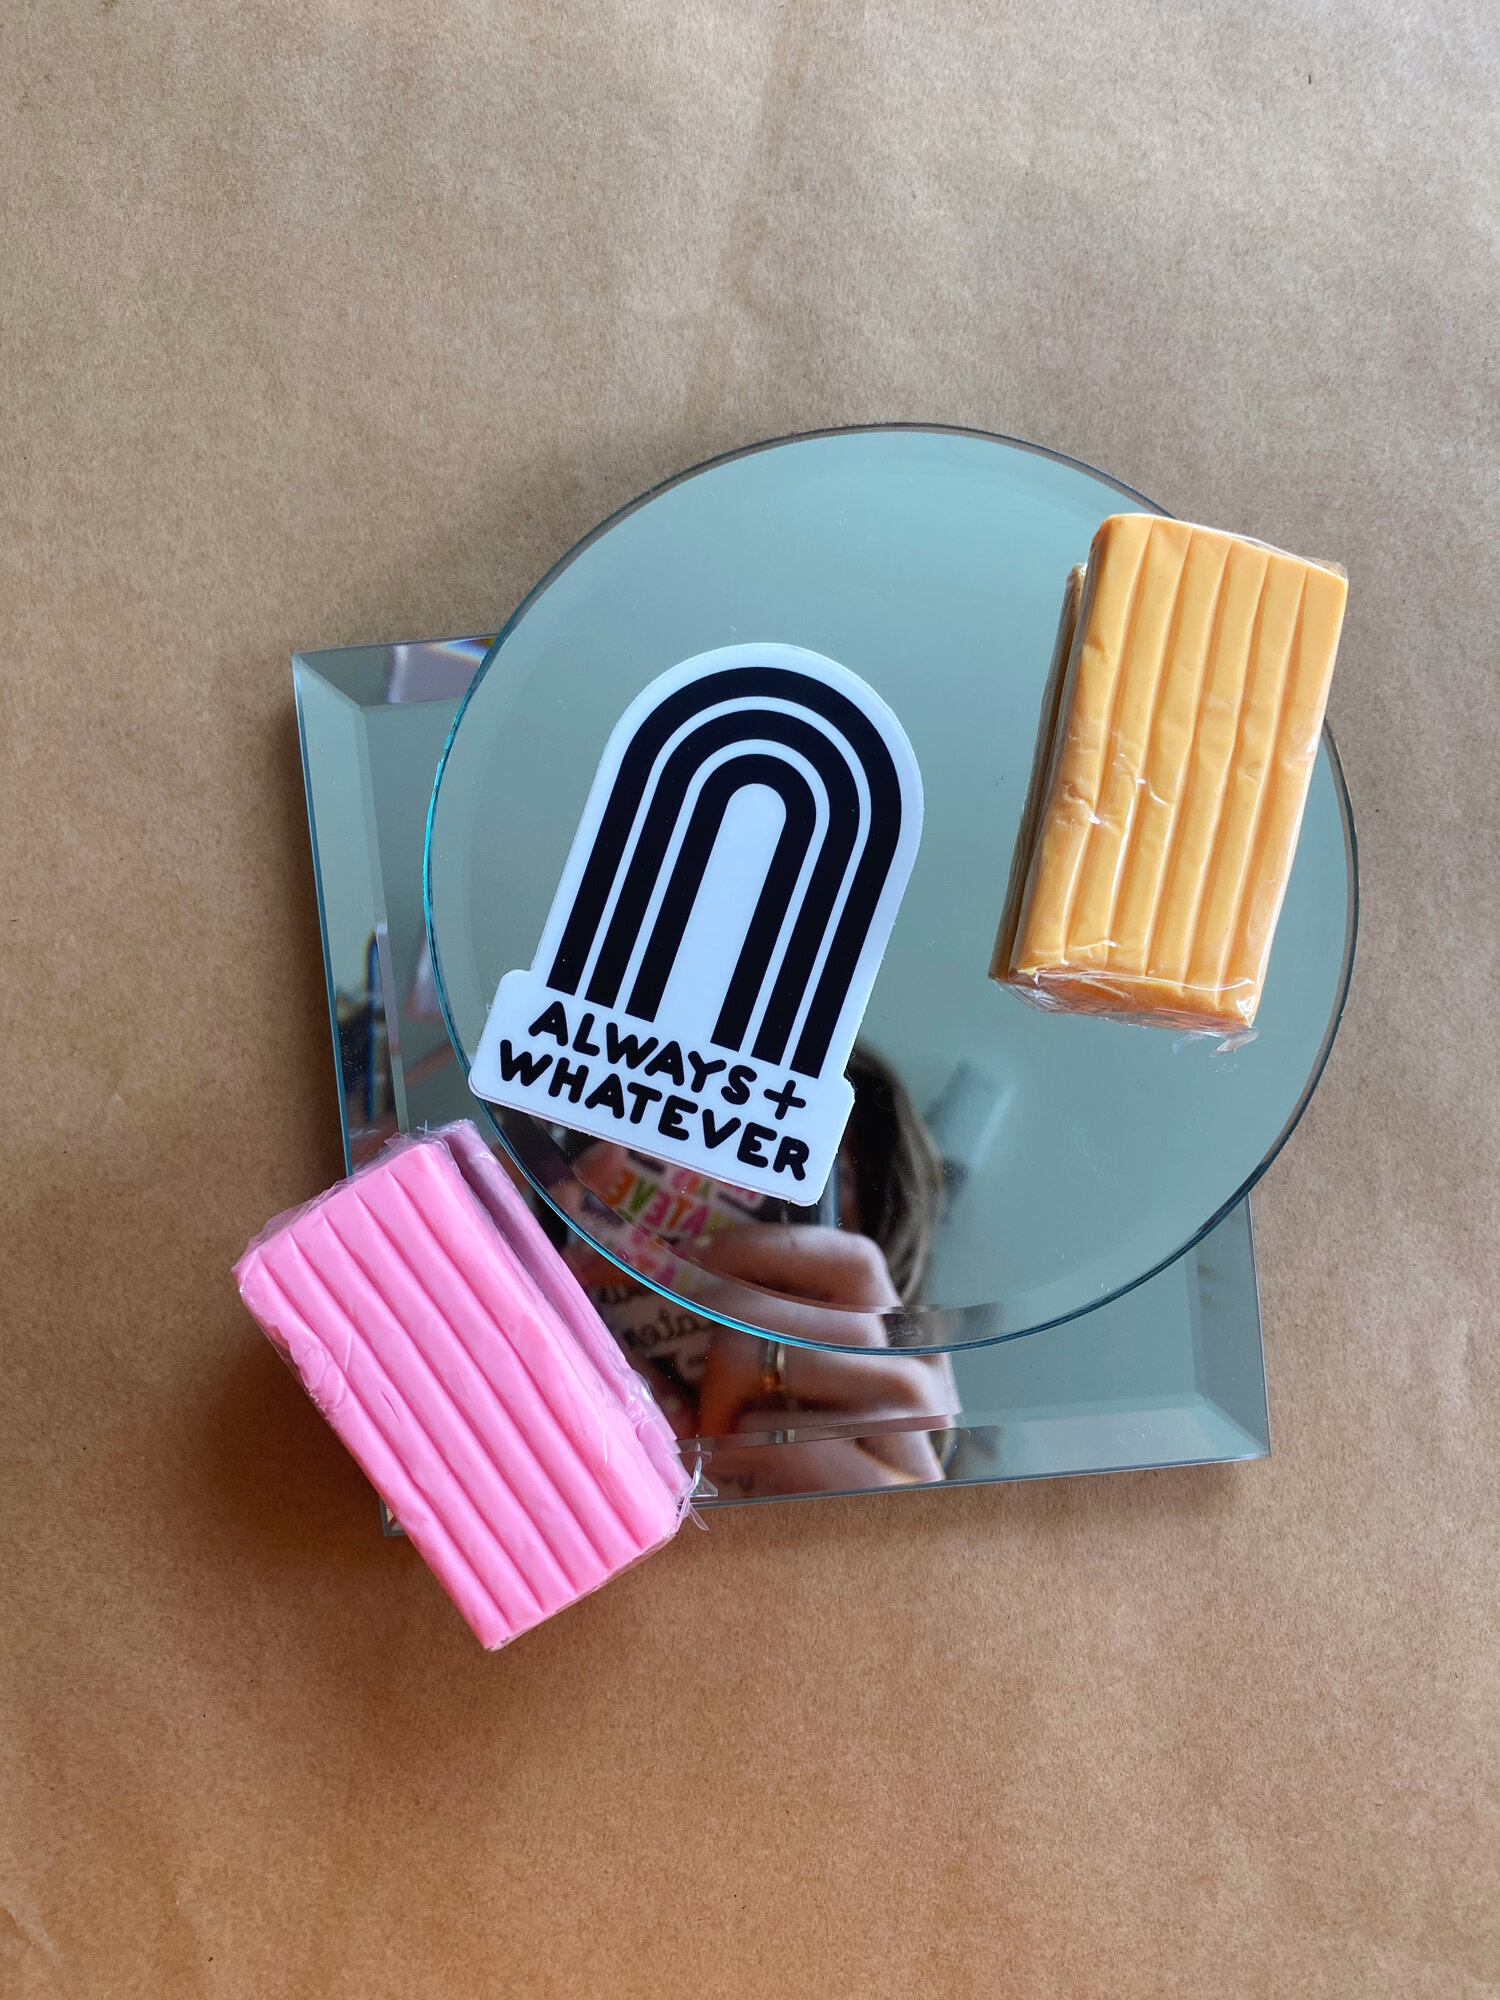
You’ll need:
- Polymer clay
- Mirror
- E600 glue or Super Glue
- Parchment paper
Preheat oven to 260°F, or follow directions on clay packaging.
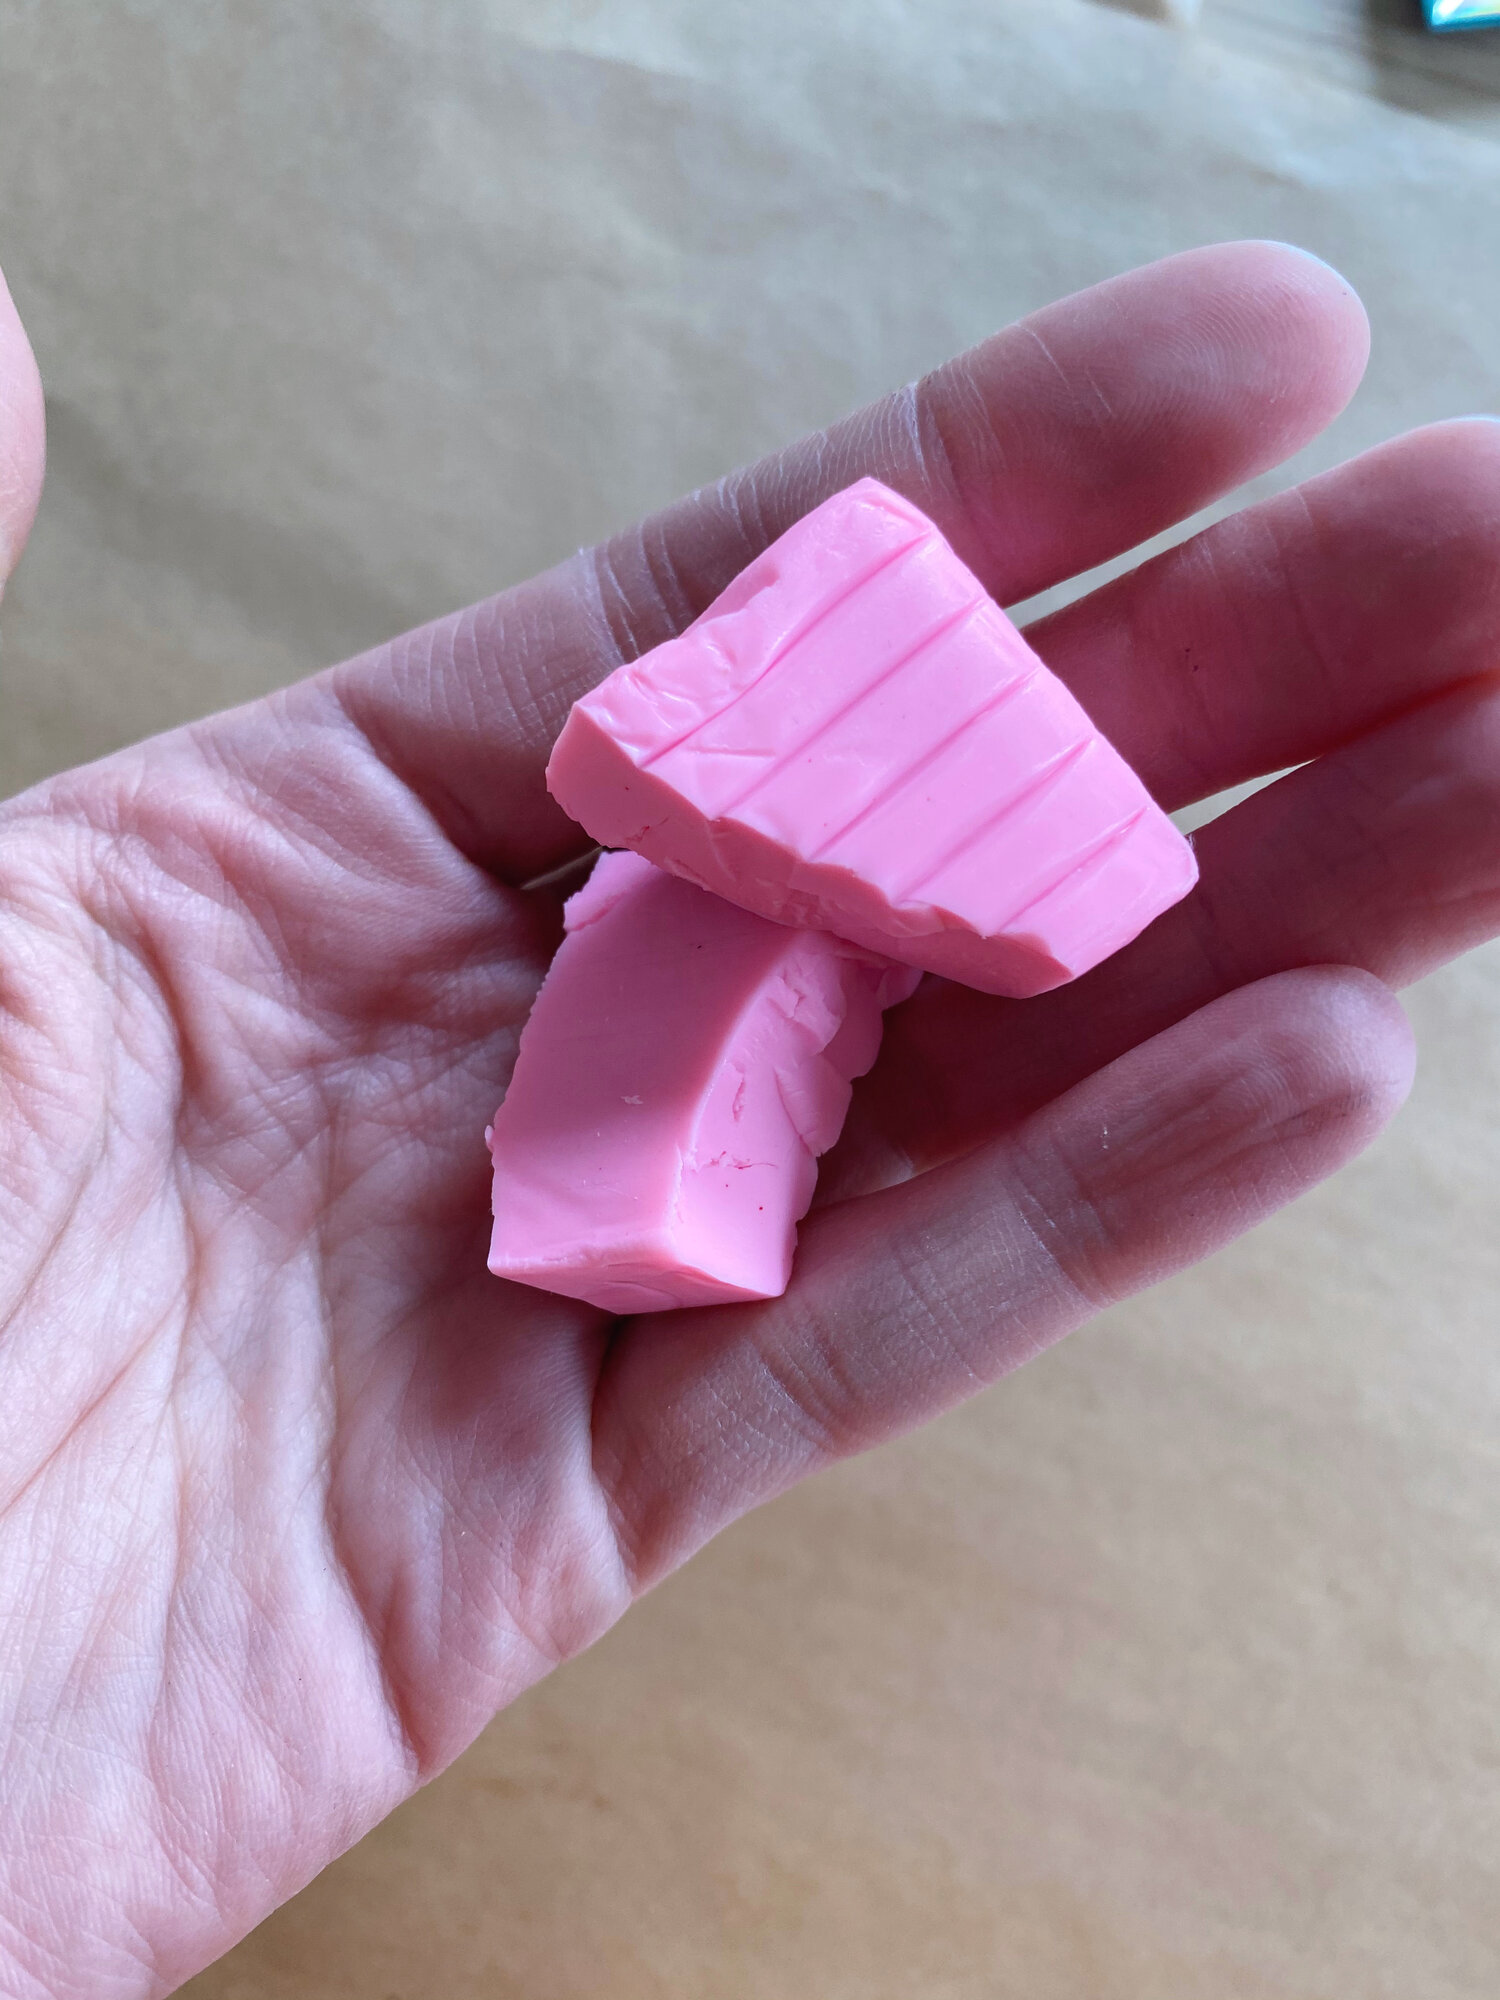
Step 1:
Condition the clay til it’s warm and workable.
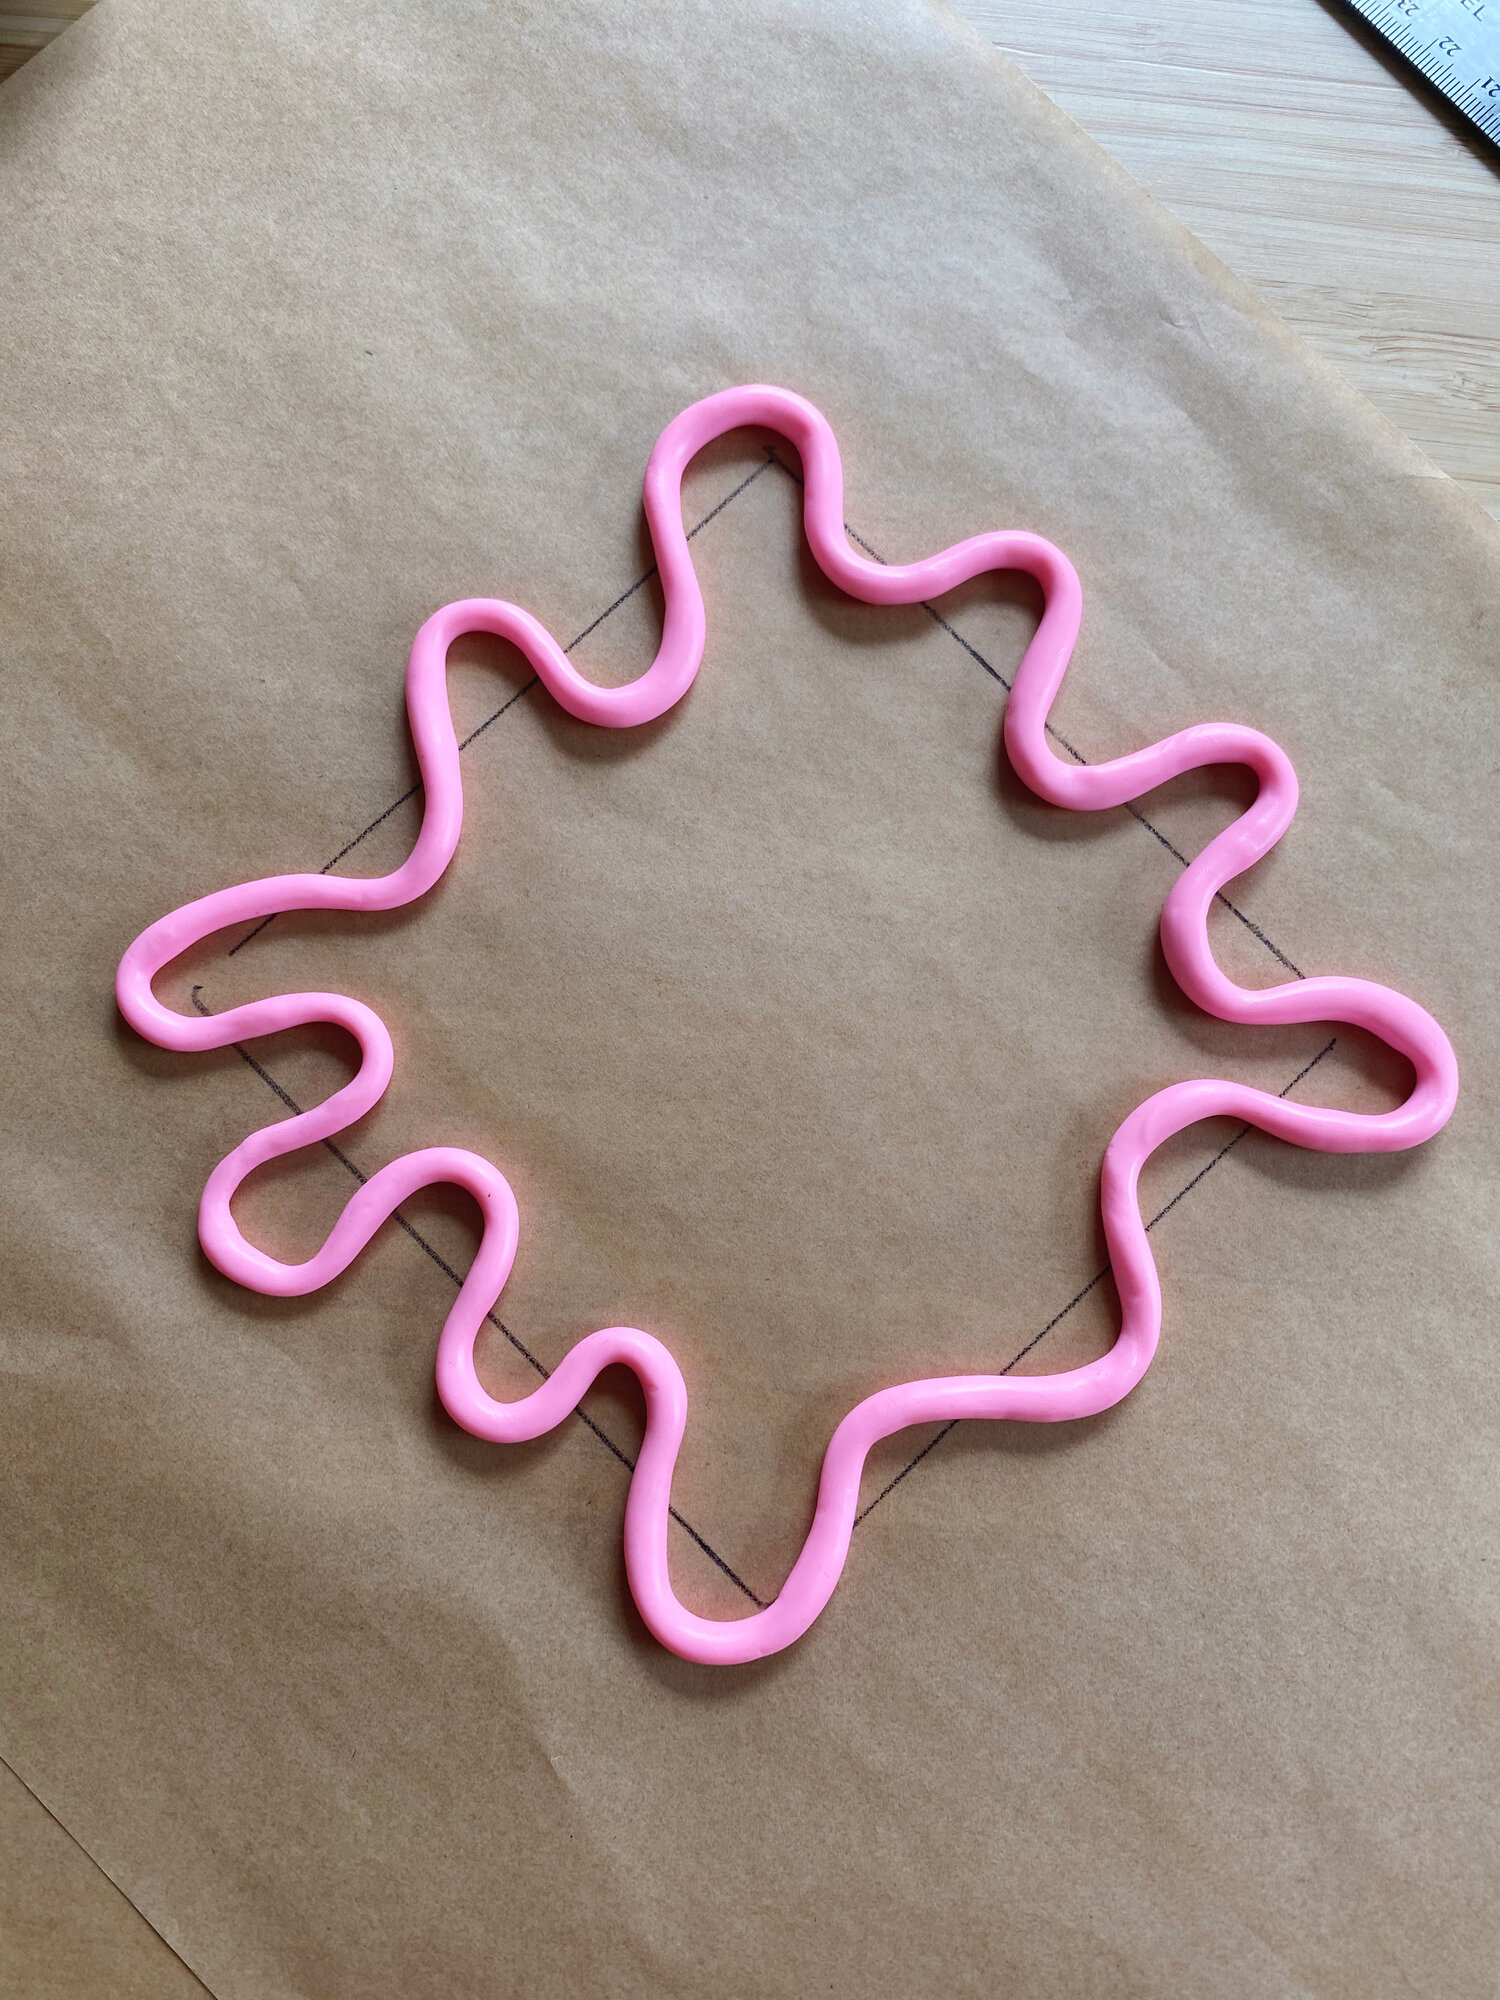
Step 2:
Trace the shape of the mirror onto parchment paper. Measure the perimeter of the mirror, so you have an idea of how long the clay needs to be.
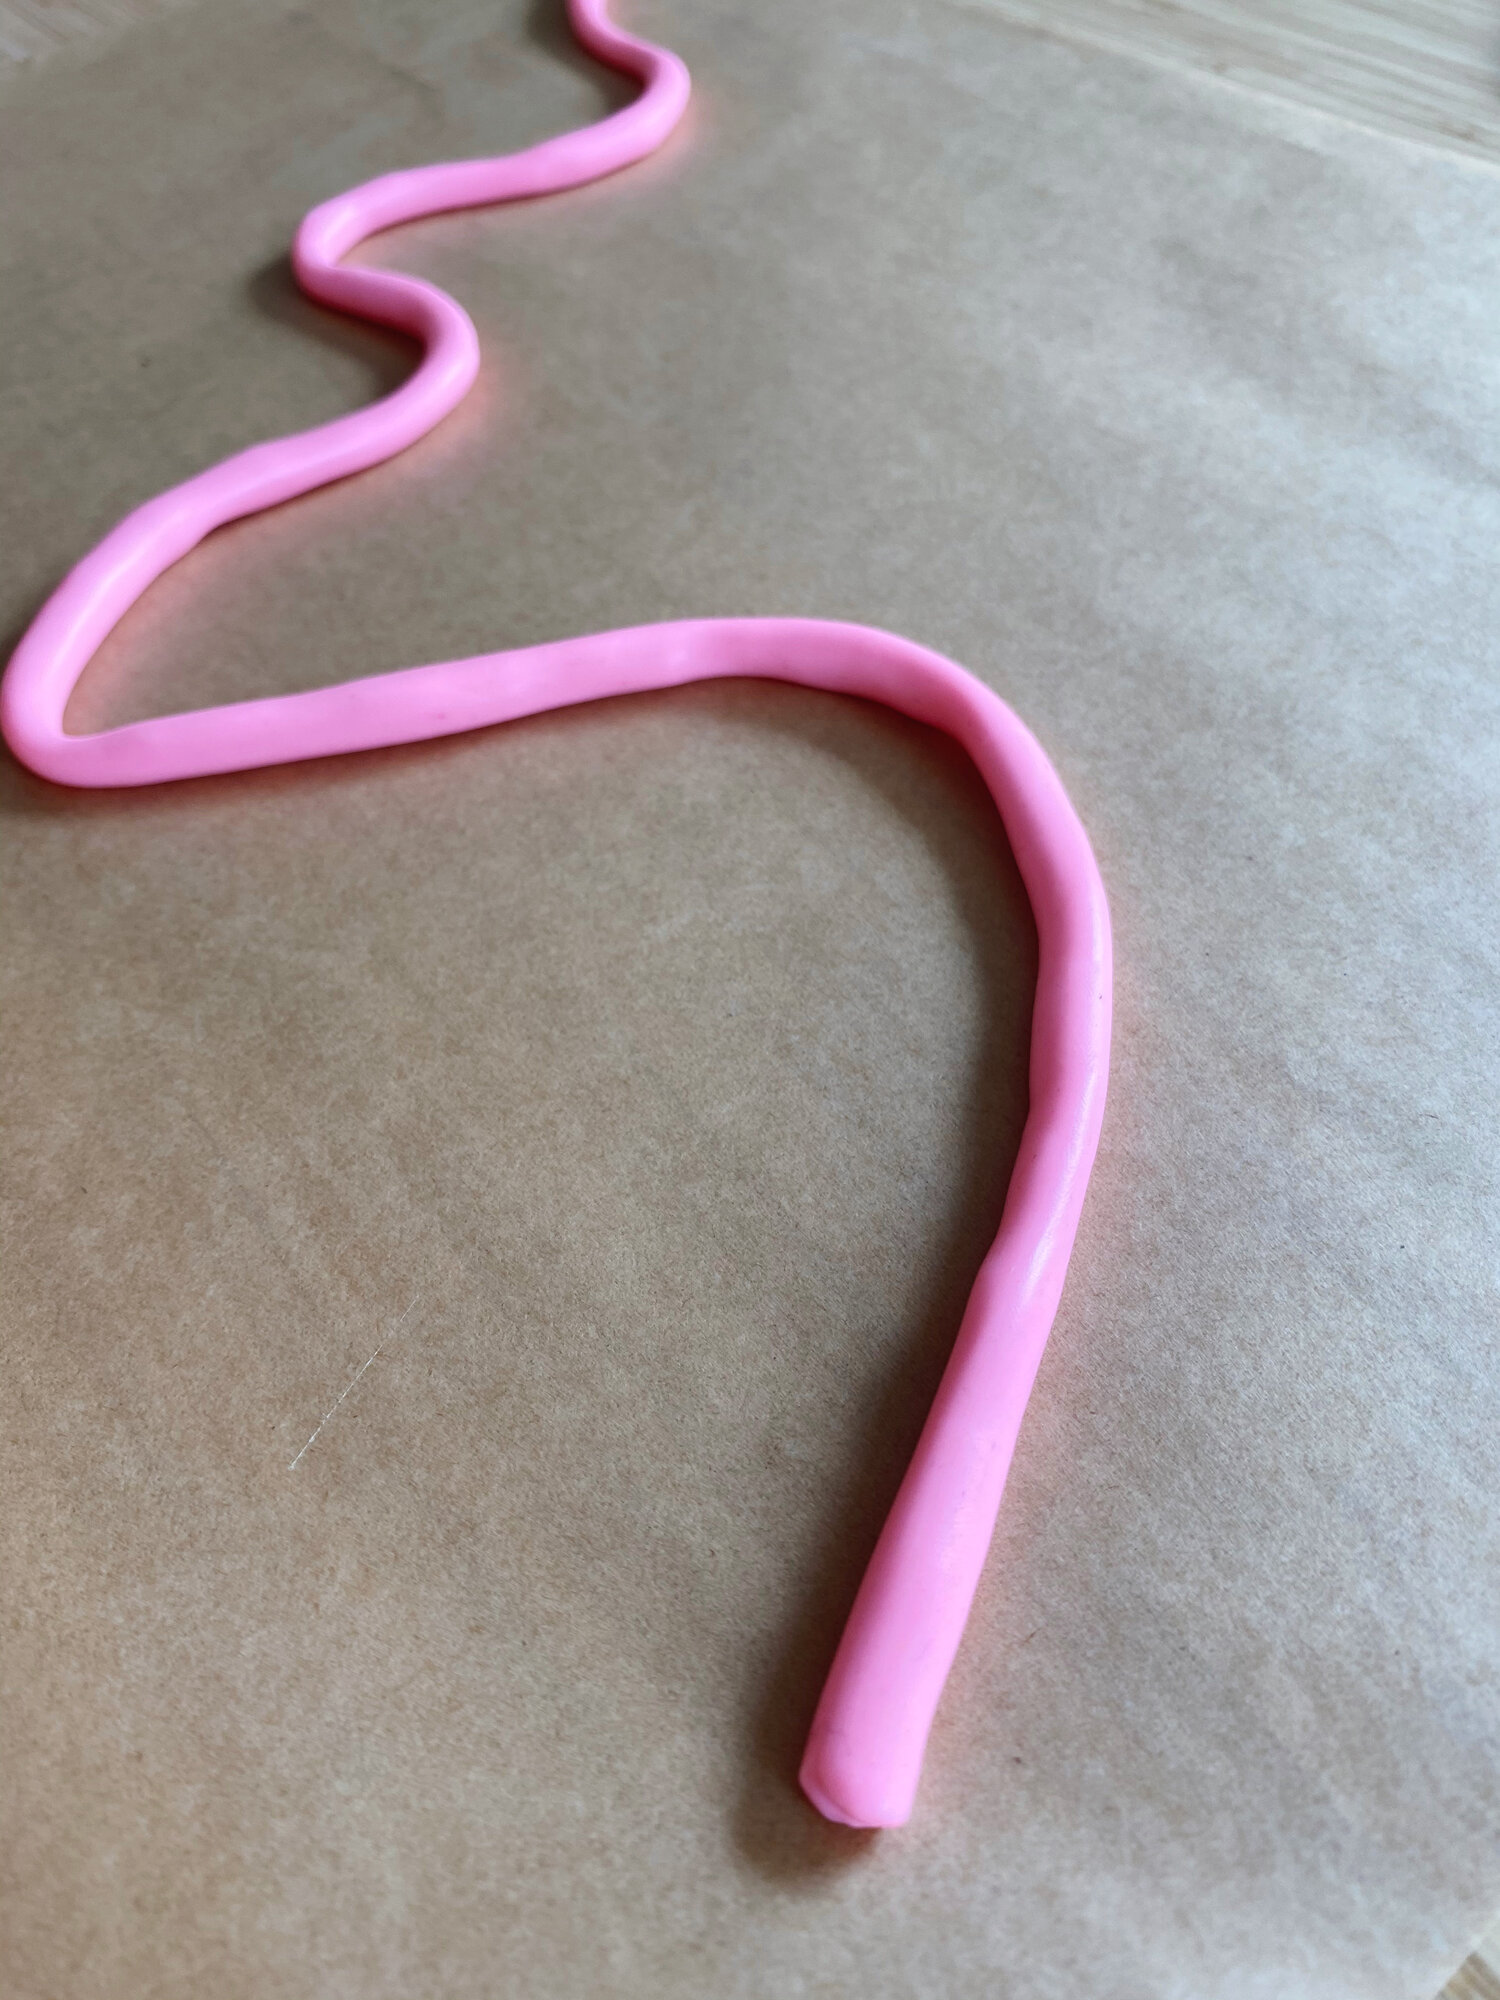
Step 3:
Using a rolling motion, make a long and skinny spaghetti-like noodle of clay. About 1/4 inch thick is best!
Step 4:
Place the clay onto the parchment paper in a squiggle/wavy design that you like!
Step 5:
Bake for 15-25 minutes depending on the thickness of your clay. Let cool completely.

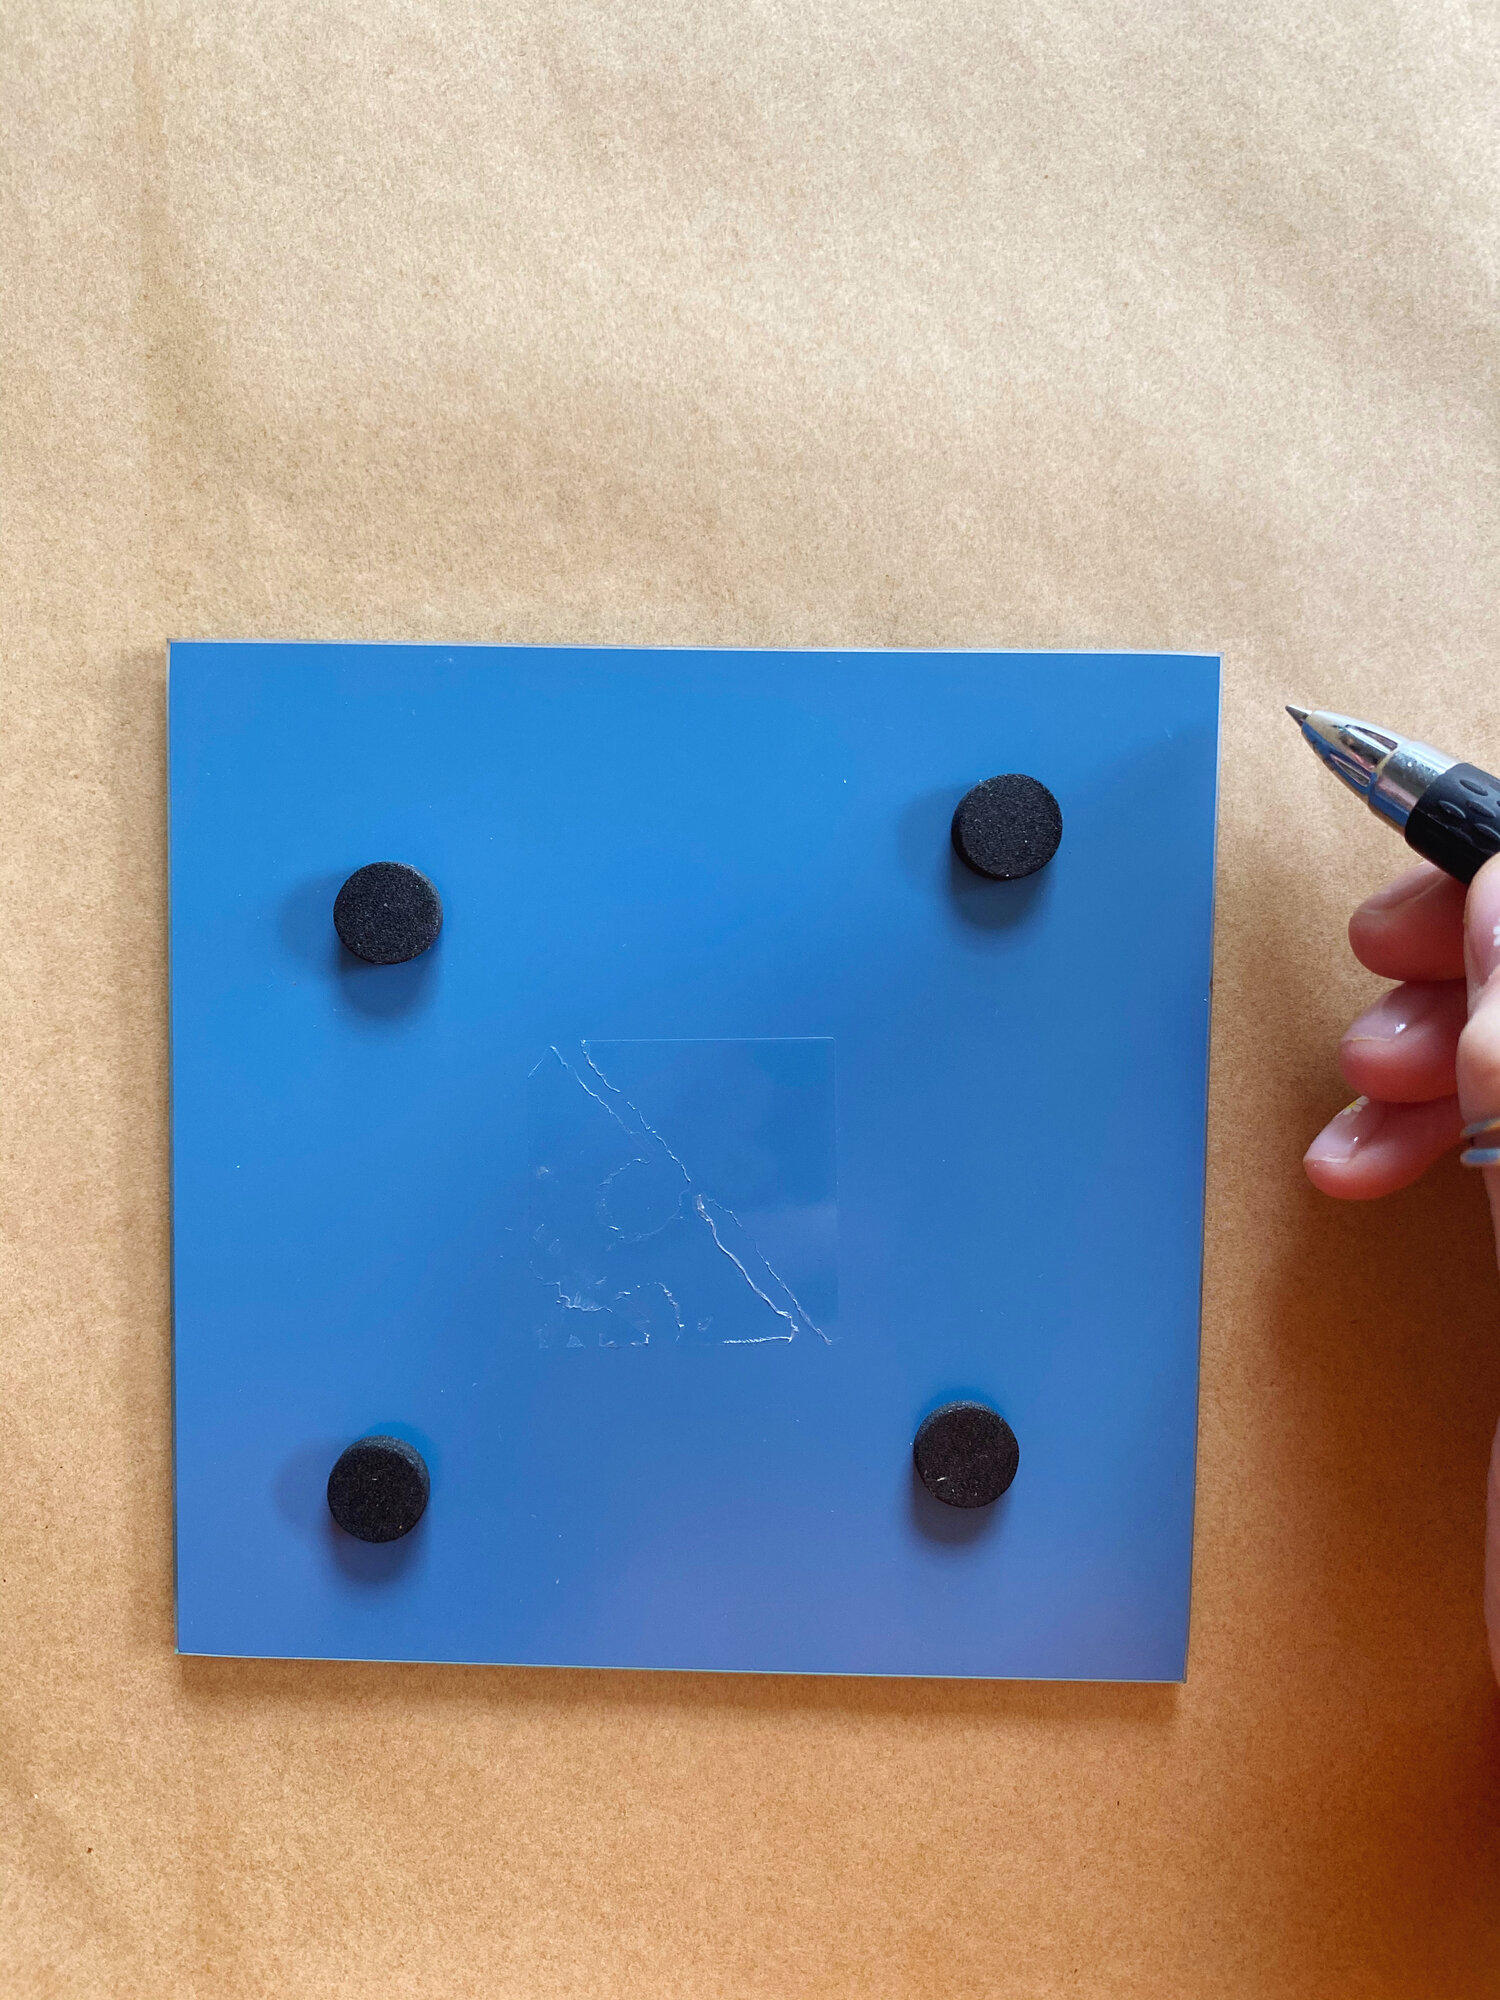
Step 6.
Glue clay frame onto the surface of the mirror. Let dry.
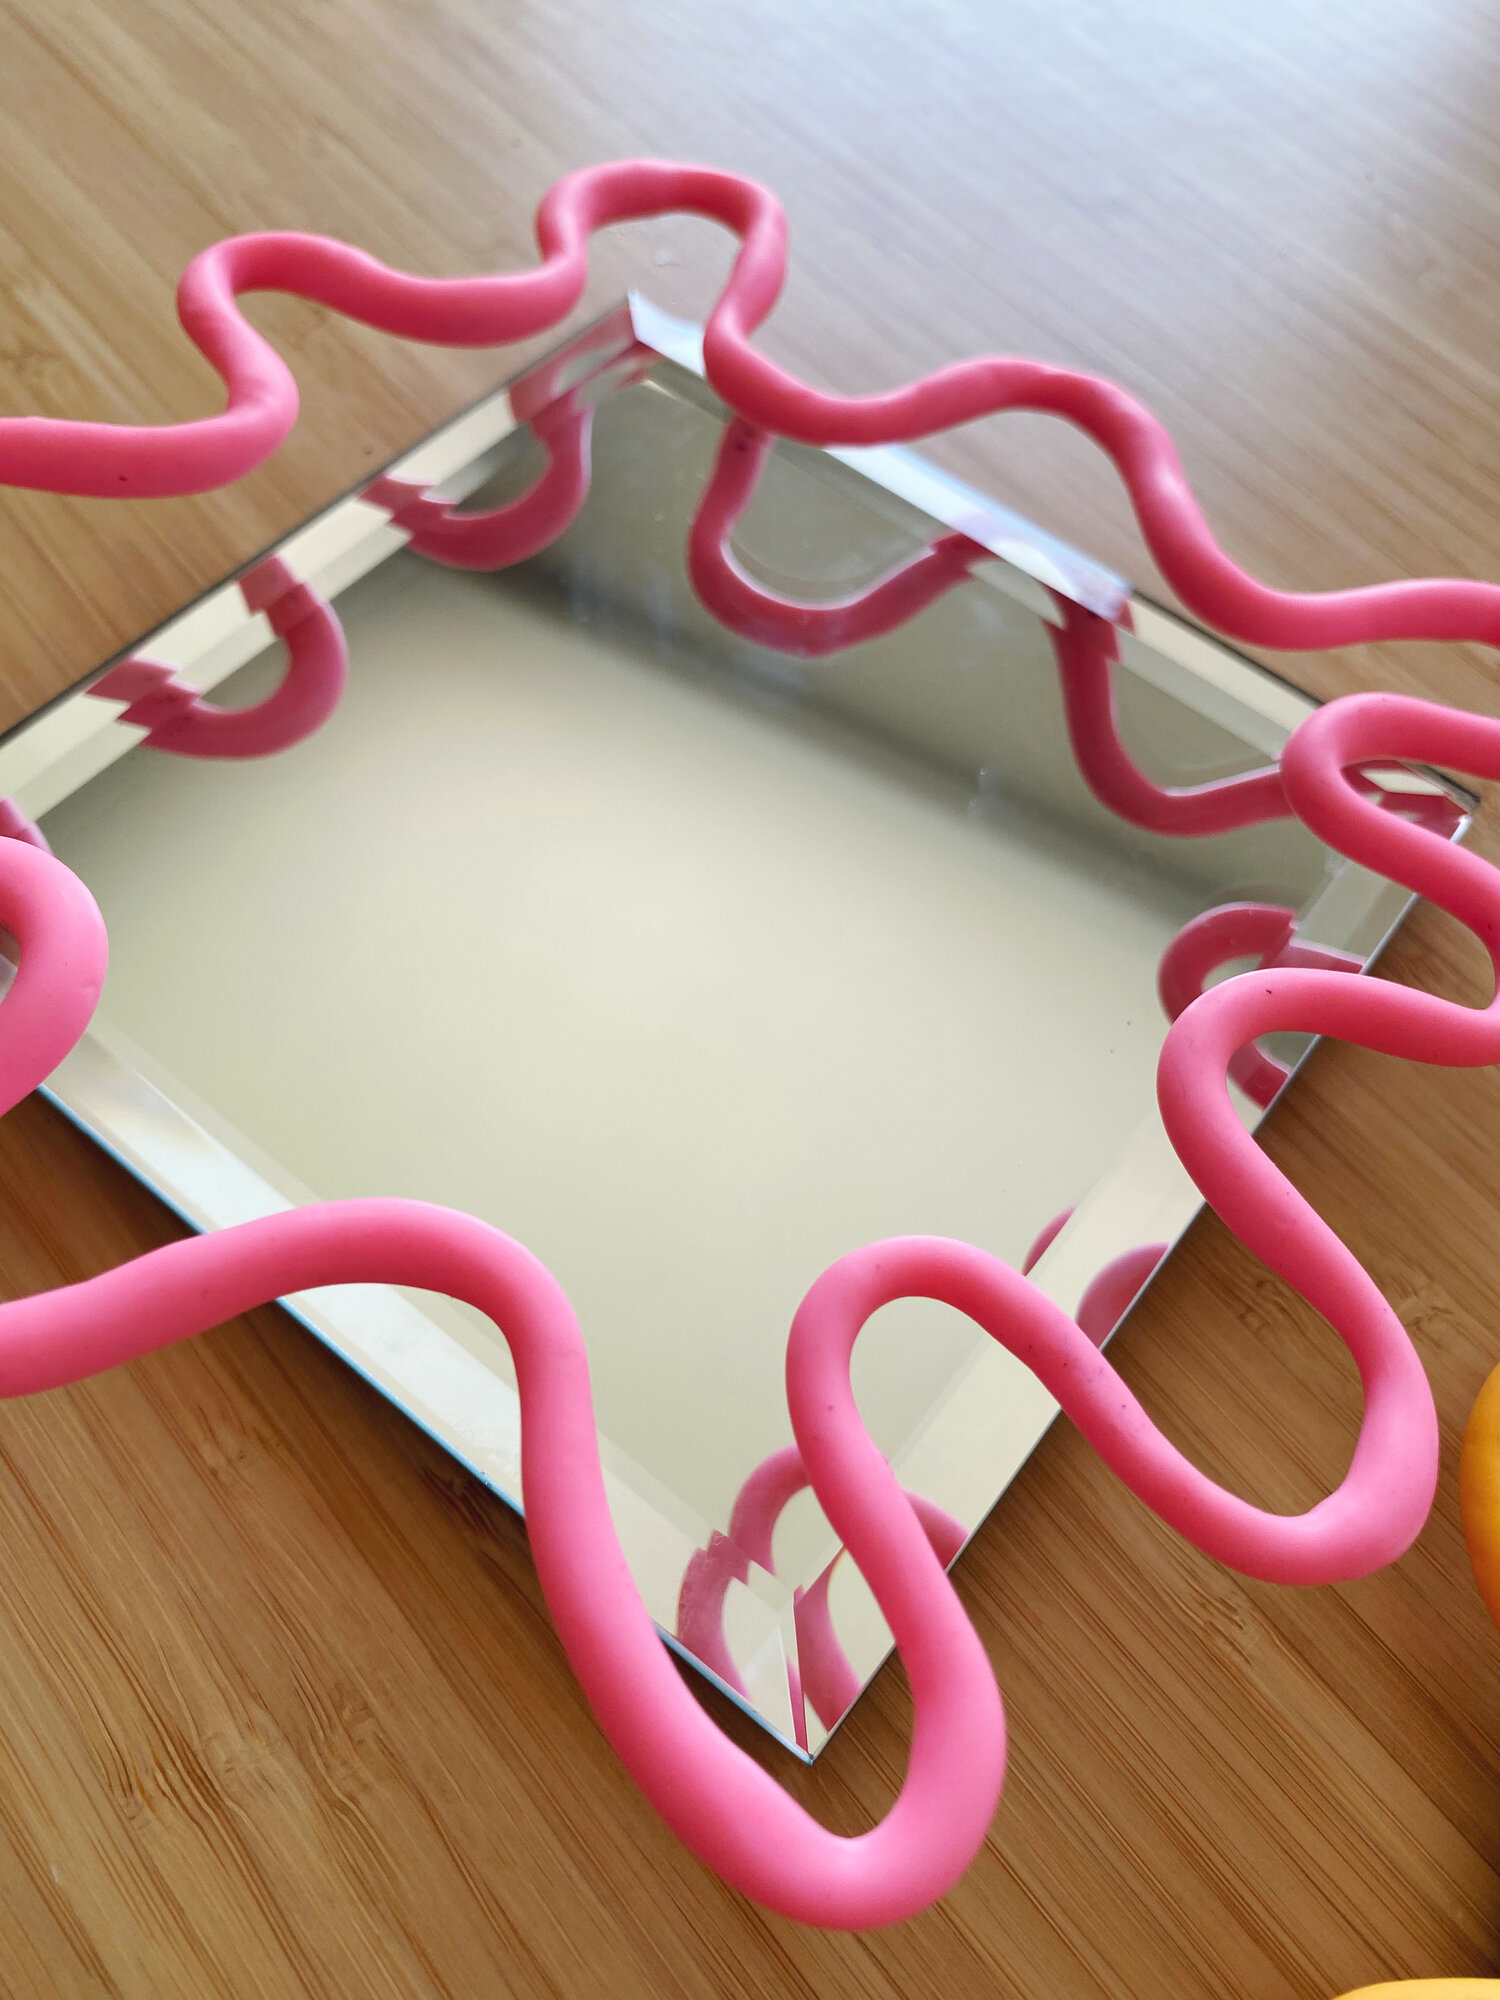
CUTEST EVER. Use as a centerpiece or prop up on a cute styled shelf. Give yourself a pat on the back!