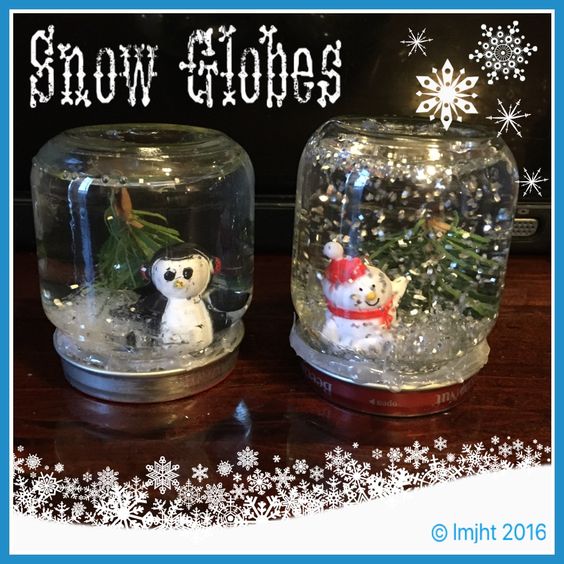
DIY – Snow Globes
If you're looking for a fun and creative craft project, DIY snow globes might be just the thing for you! These charming little creations can bring a touch of winter wonderland magic into your home, or make for delightful handmade gifts. To get started, all you need are some empty jars, figurines or objects to place inside, glitter or faux snow, water, and a bit of glycerin to help the glitter swirl gently. Simply glue your chosen figurine to the inside of the jar lid, add the glitter and water mixture, seal it up, give it a shake, and voila! You're now the proud creator of your very own snow globe. It's a simple and enjoyable project that's perfect for both kids and adults alike. So, gather your materials and let your creativity sparkle with these enchanting DIY snow globes!
What you’ll need:
- Empty Baby Food Jars
- Glitter & Confetti
- Small Plastic Penguin, Snowman, etc. (I used some clearance Christmas Toys and just stashed the Santas away for next
- Small Plastic Tree or Piece of a Plastic Evergreen Branch
- Polyester Fiberfill (stuffing)
- Hot Glue Gun
Directions:
- Heat the glue gun and use it to attach a small amount of the polyester fiberfill to the inside of the lid from thebaby food jar. This is your snow!
- Next use the glue gun to attach the toy and the plastic “tree” to the lid.
- Put approximately 1/2 to 3/4 of a teaspoon of glitter and confetti into the bottom of the jar.
- Fill the jar with water and place the lid on top (submerging the toys in the water.
- Make sure the lid is screwed on very tightly.
- Dry the jar of any spilled water.
- Apply a ring of hot glue around where the lid and the jar meet to prevent any leakage.
Voilá! You have your very own Snow Globe!!