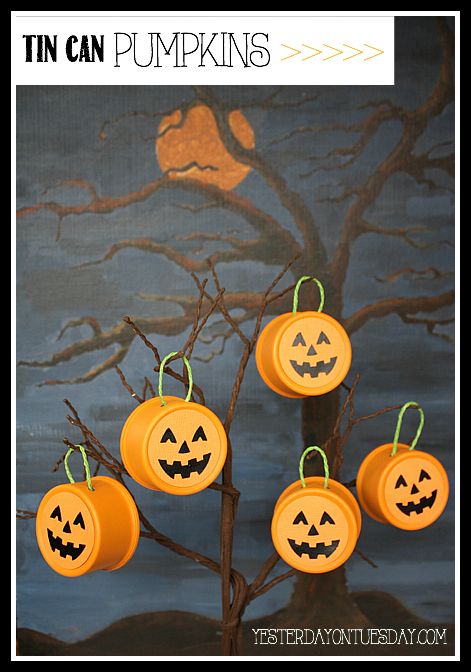
Tin Can Pumpkins
Tin Can Pumpkins are a creative and eco-friendly way to add a touch of autumn to your decor! To make these charming decorations, start by cleaning out any leftover contents from the tin cans before painting them in vibrant orange hues. Adding cute faces with black paint or markers will give them that classic jack-o'-lantern look. Not only is this a fun craft for all ages, but it also helps repurpose materials that would otherwise end up in the recycling bin. Display your Tin Can Pumpkins on your doorstep, mantle, or as a centerpiece to spread some seasonal cheer and sustainability all in one delightful decoration.
Supplies: Small tin cans, orange spray paint (I used Design Master in Orange), a Crop-o-Dile or large hole punch, a 1 1/2 inch round circle punch, orange scrapbook paper, a pumpkin paper punch (I used one from Martha Stewart– you could also just hand draw pumpkin faces), black vinyl, glue dots and green twine (mine is Recollections from Michaels).
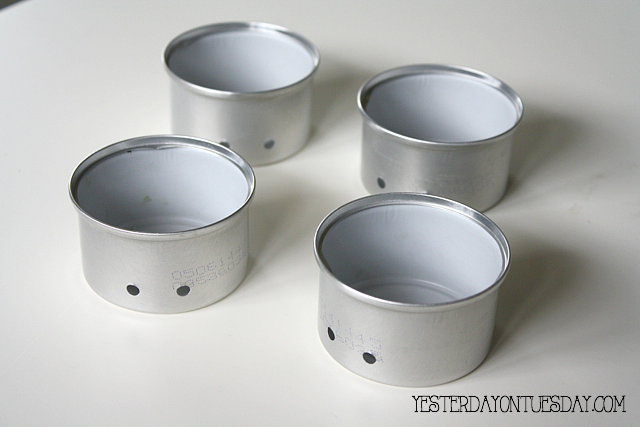
Step 1: Clean and dry the cans and punch two holes in them, about an inch apart. A Crop-o-Dile works well for this but a large hole punch would also do the trick.
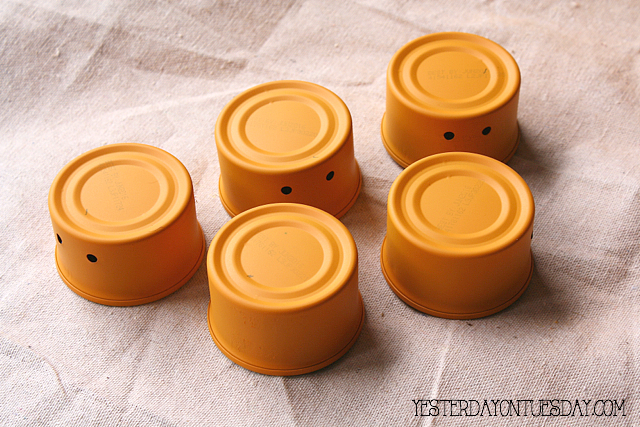
Step 2: Spray paint the cans orange

Step 3: Use a the circle punch to make the round pumpkin shape

Step 4: Use the Martha Stewart Pumpkin Punch to make the face or just draw the face on the orange circle.
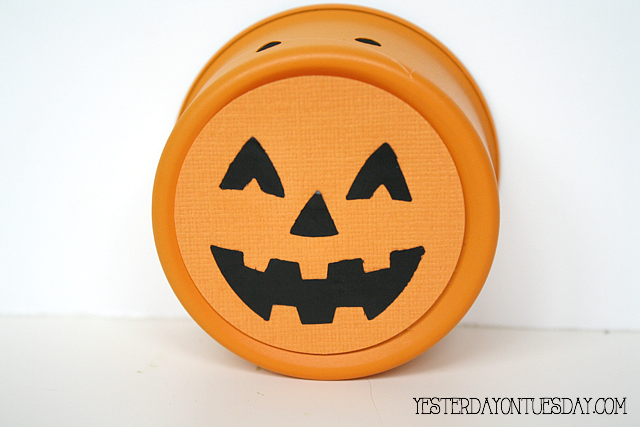
Step 5; If using the punch and vinyl, apply the vinyl and use Glue Dots to add the face to the tin can.
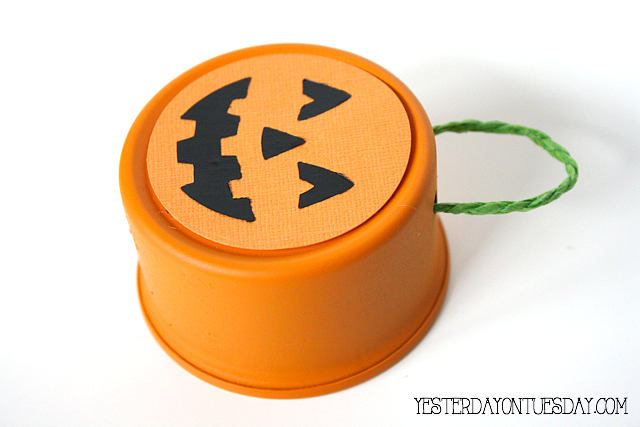
Step 6: Cut a piece of green twine and loop through the holes, tying inside the can.

Hang your pumpkins on a tree branch. I happened to have a wire tree that I painted brown, but a small tree branch would be perfect for this.
