Adorable Watermelon Votive
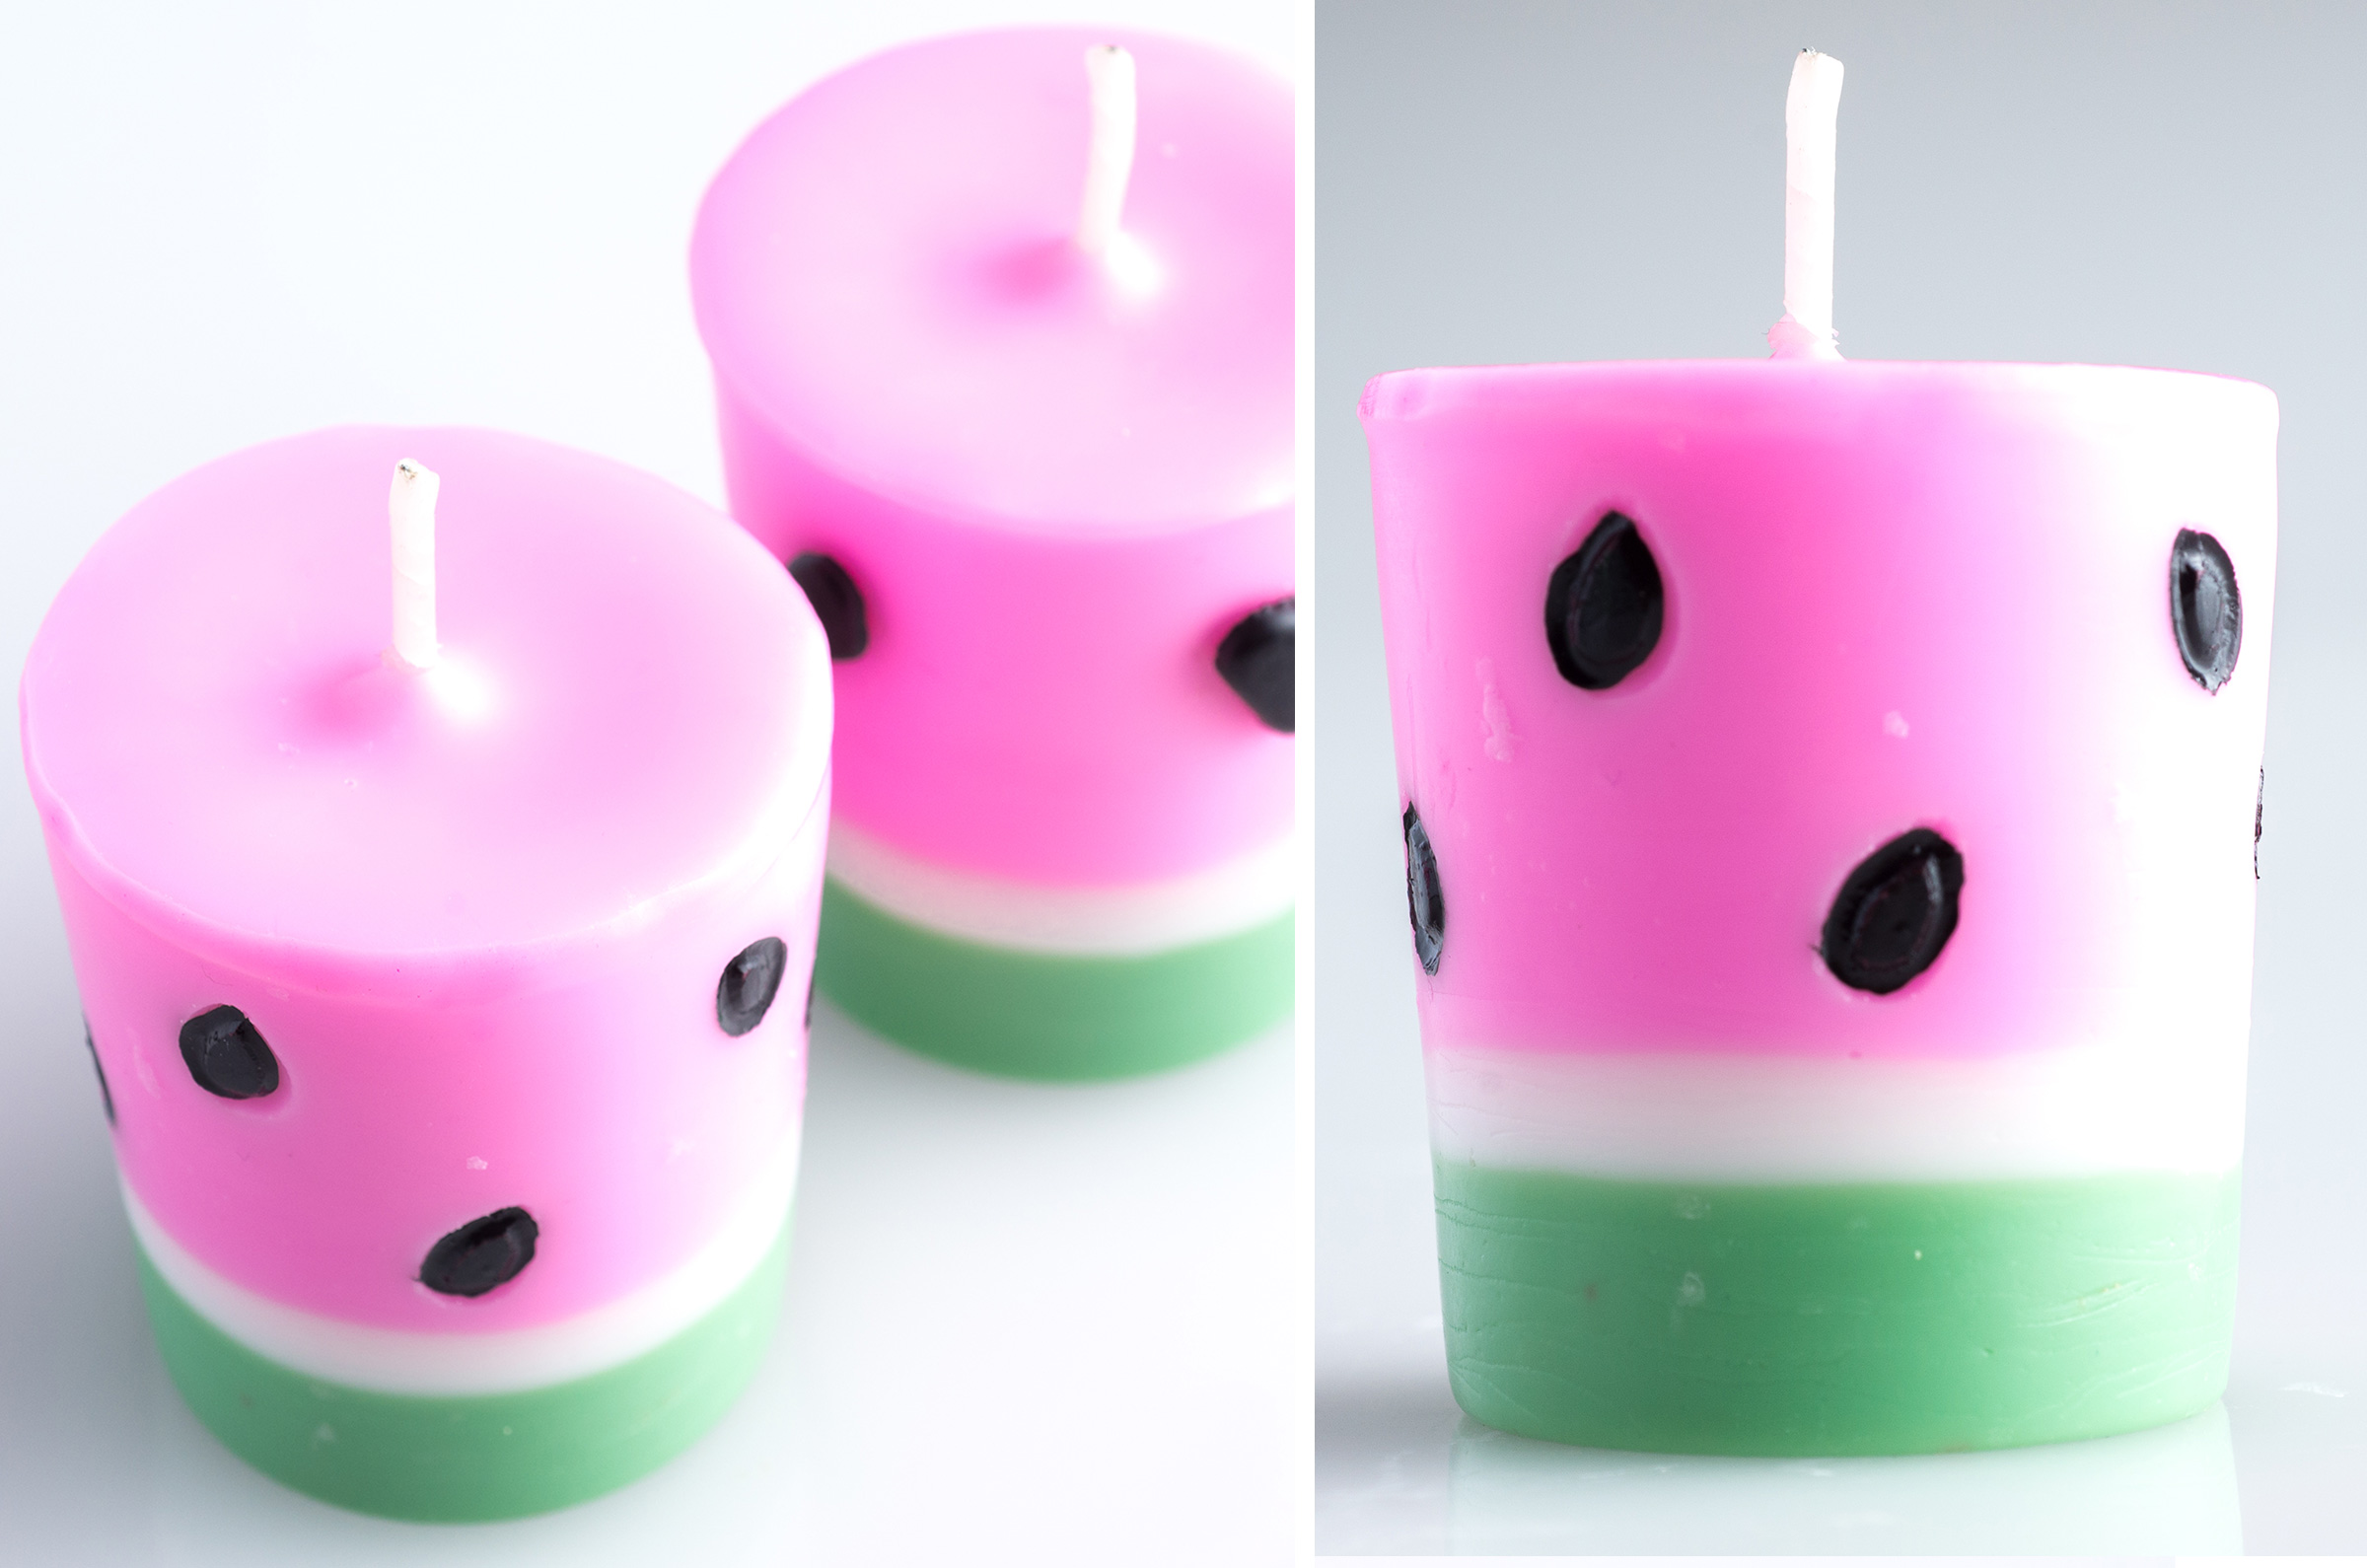
Behold the enchanting Watermelon Votive, a delightful piece that will add a touch of whimsy to any space. This adorable creation captures the essence of a juicy watermelon, with its vibrant colors and intricate details. Crafted with love and precision, this votive is a true work of art that will captivate your senses. This charming votive is not only a visual delight but also a functional piece. When lit, the flickering candlelight dances through the carefully carved openings, casting a mesmerizing pattern of light and shadow. Whether used as a centerpiece for a summer gathering or as a decorative accent in your home, the Watermelon Votive is sure to spark joy and bring a touch of playfulness to any occasion.

Materials List:
Votive/Pillar Wax (Suggestions:)
• KY 133 Versatile Paraffin Wax
• KY 143 Paraffin Pillar Wax
• KY Para-Soy Tart & Votive Wax (used in this tutorial)
Digital Scale
Watermelon Fragrance Oil
Candle Dye: Kelly Green/Lime Colorant and Pink
Pour Pitchers ***
Thermometer
Votive Molds (3)
36-24-24 Zinc Votive Wicks (3)
Presto Pot or double boiler to melt candle wax
Metal spoon to stir wax
Safety goggles
Apron to protect clothing
Wax paper, old newspapers or aluminum foil

Step 1
Cover counter with wax paper, old newspapers or aluminum foil to make clean up easier. Prepare the votive molds by placing a pre-tabbed votive wick w/self-centering tab in each mold. Set these off to the side.
Tip: Place the votive molds on a cookie sheet to make moving them easier.

Step 2
Melt the wax with the chosen method. IE: presto pot, double boiler. Make sure to follow the wax manufacturer’s melting & pouring guidelines for correct temperatures.
For this tutorial, KY Para-Soy Votive/Tart Blend** is being used so it will need to be heated to approx 165F per the manufacturer’s guidelines. Use a thermometer to correctly monitor the temperature.
Step 3
Set the pour pot on the digital scale and tare. Transfer needed amount of wax to pour pot — in this tutorial (3) watermelon votives will be created, so 7 oz* total of wax will be needed.
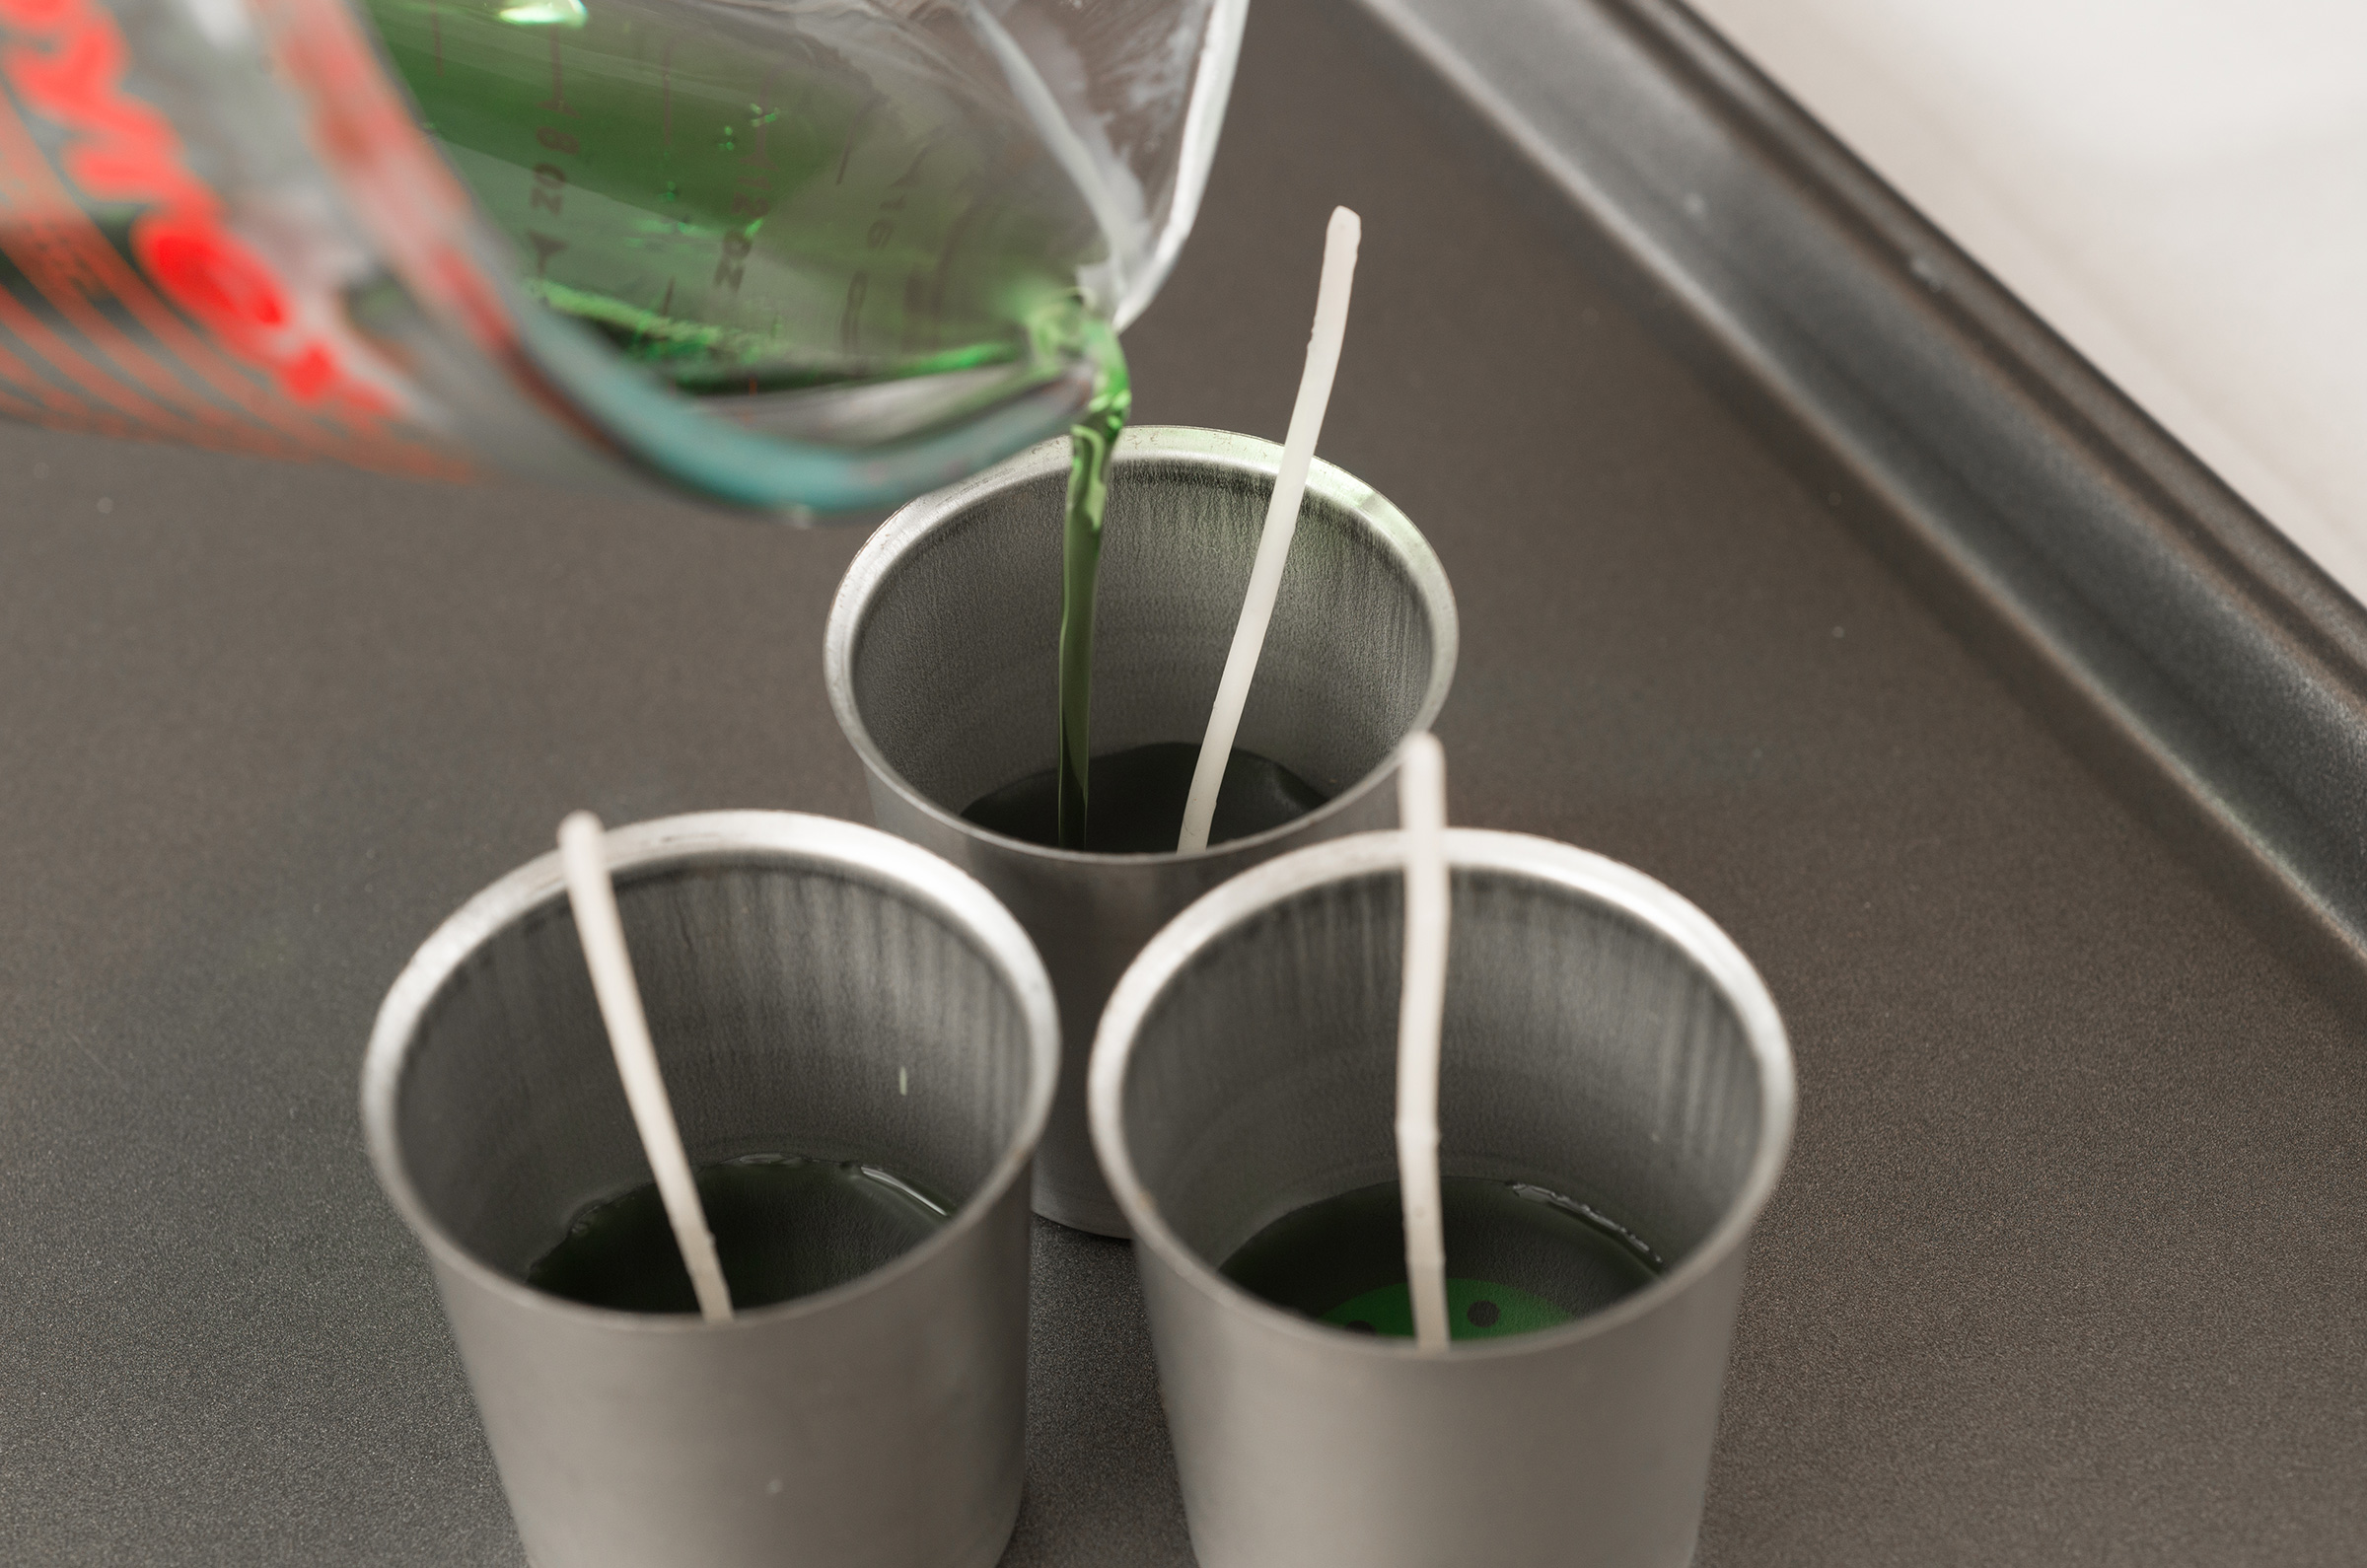
Transfer 2 oz* of wax, and add .2 oz of Rustic Escentuals Watermelon Fragrance Oil for the first layer. Stir well (approx 2 min), then add 1 drop of Rustic Escentuals Kelly Green/Lime Liquid Premium Liquid Candle Colorant. When mixture has cooled to approx 155-160° pour into votive molds. Fill the mold approximately 1/2”.

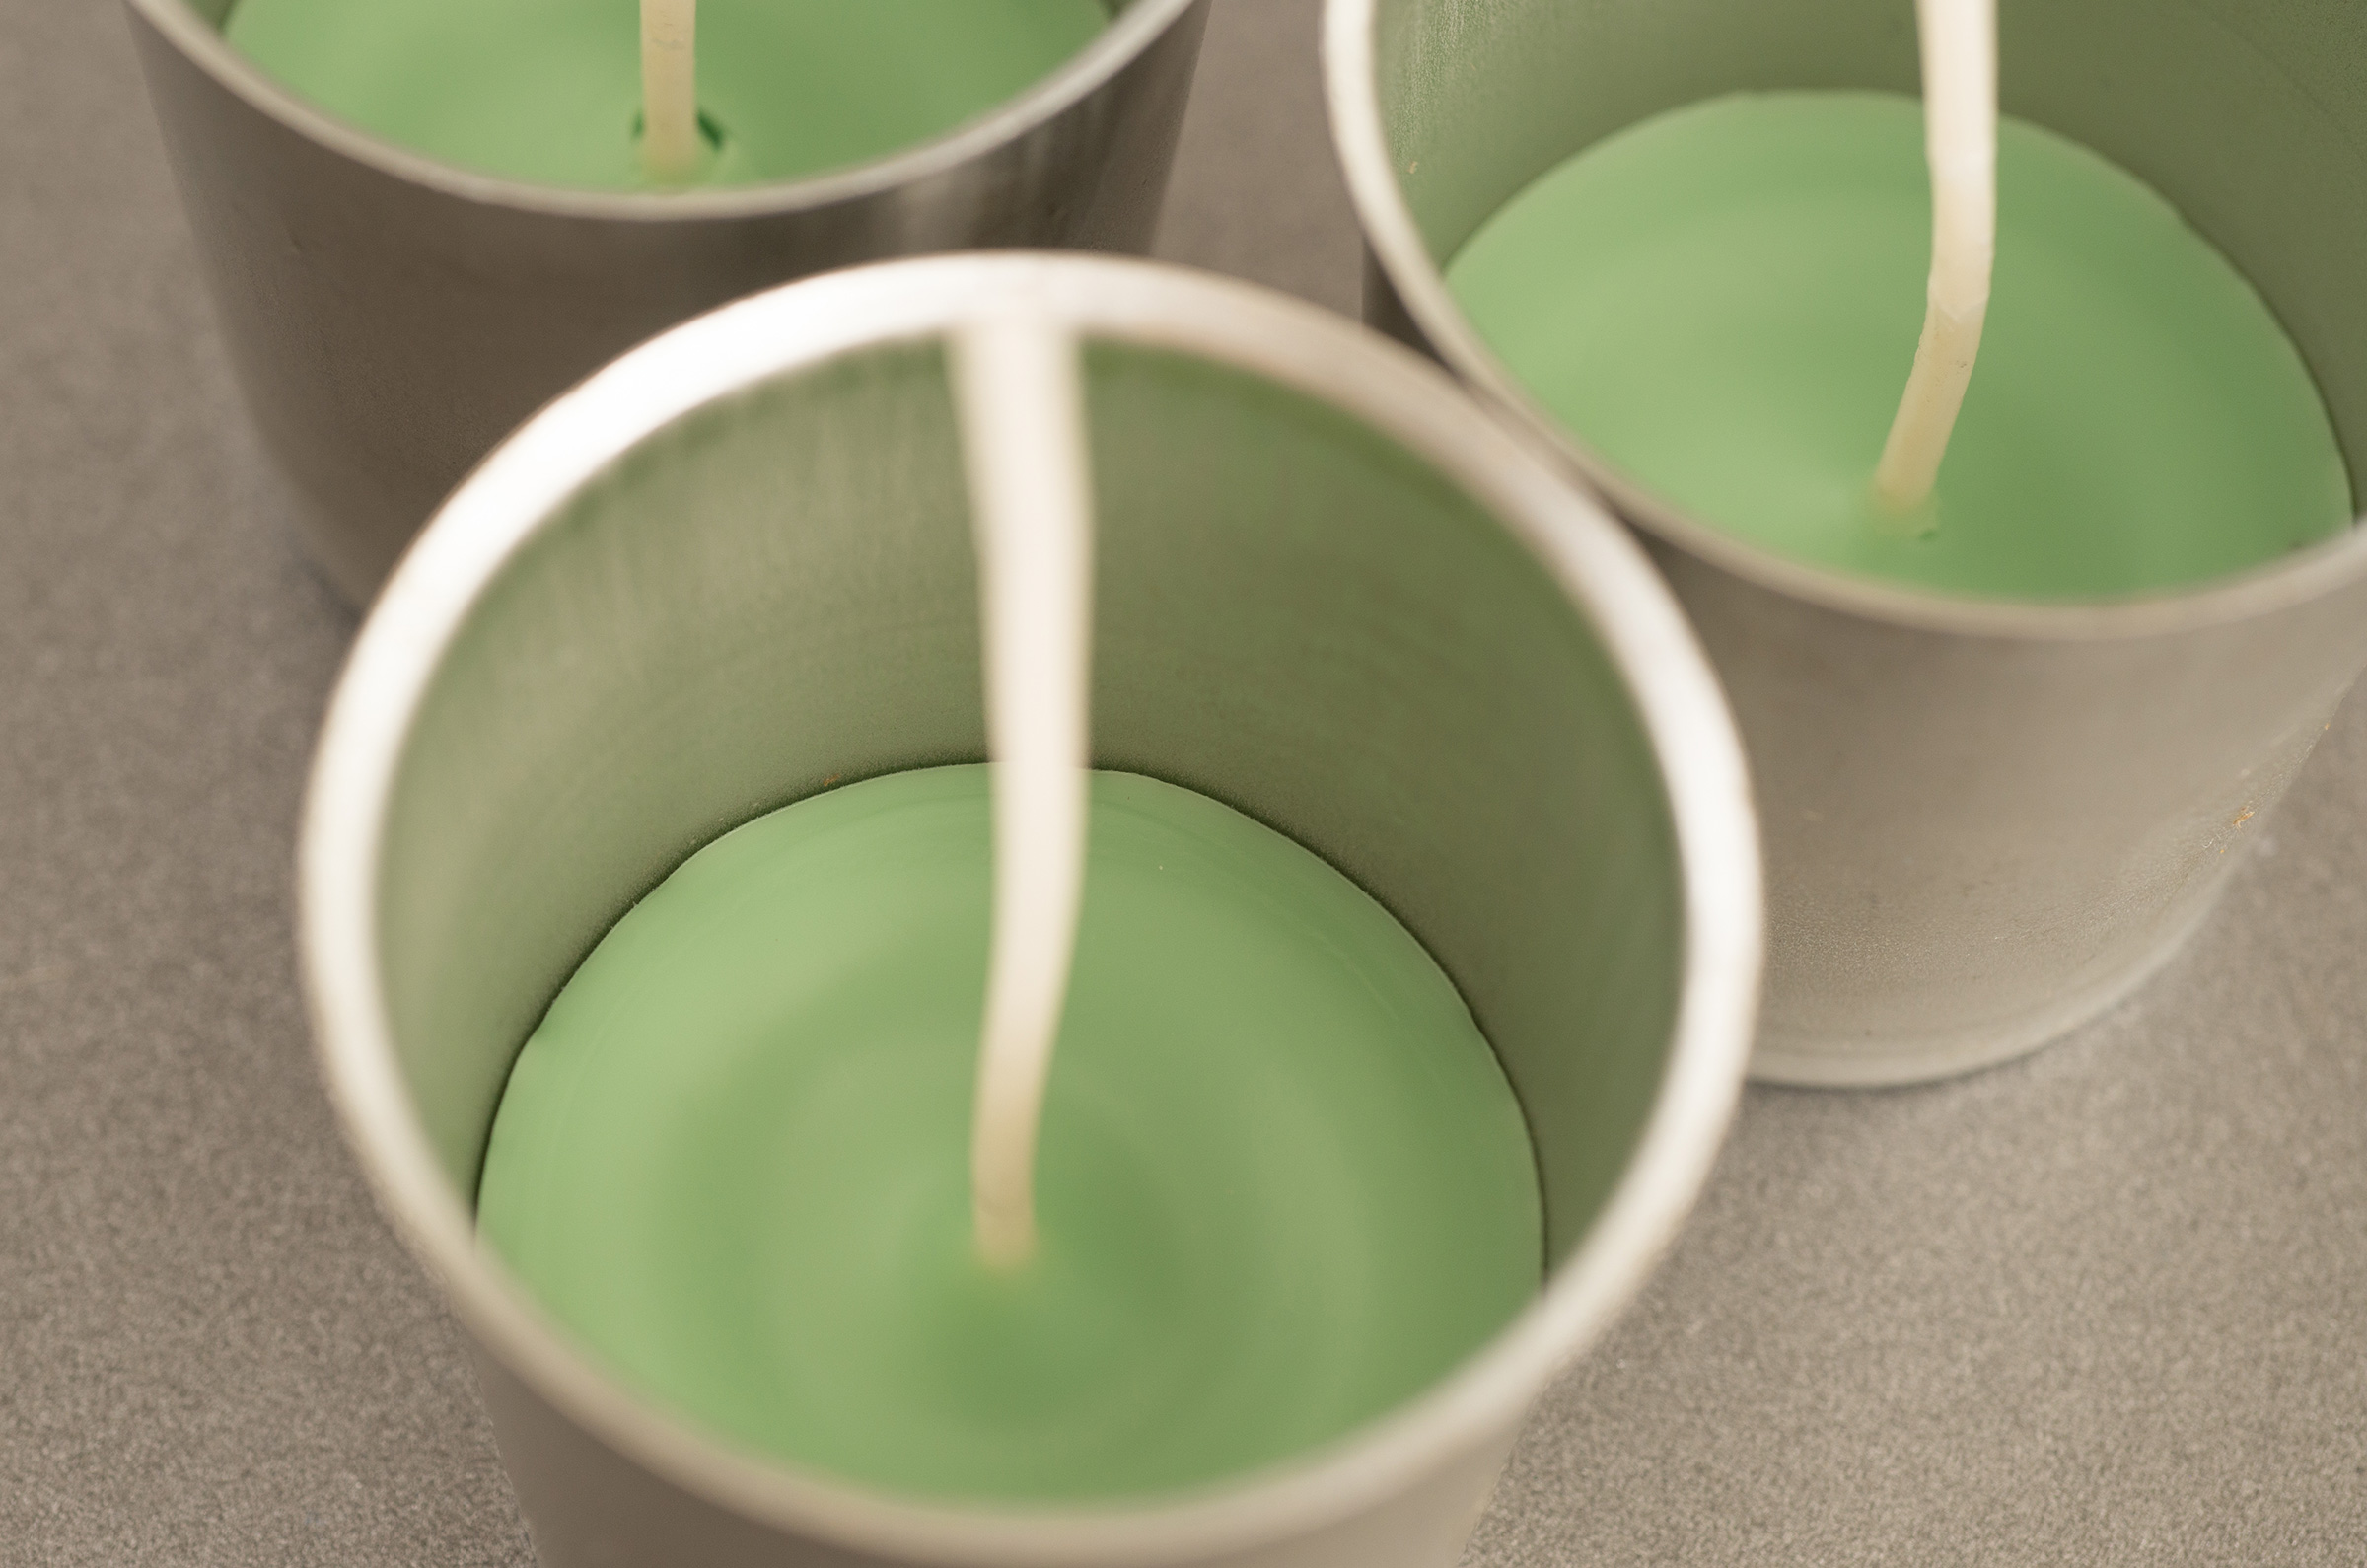
Once the first pour has cooled enough that it has stopped shrinking, it should look close to the below photo, prepare to pour the second layer.

Step 6
Set the pour pot on the digital scale and tare. Transfer 1 oz* of wax, and add .1 oz of Rustic Escentuals Watermelon Fragrance Oil** for the second layer. Stir well (approx 2 min), then add 1 drop of Rustic Escentuals Pink Liquid Candle Colorant. Stir well. If you want your votives to have more of a red tone, dip a bamboo skewer into a bottle of Rustic Escentuals Red Liquid Candle Colorant and stir into the melted wax – this will add a deeper color to the votive candles. When this mixture has cooled to approx 155° begin pouring the second layer. Fill approximately 1/4”. Allow layer to cool. This layer will cool fairly quickly so keep a close eye on it.

Step 7
Set the pour pot on the digital scale and tare. Transfer 4 oz* of wax, and add .4 oz of Rustic Escentuals Watermelon Fragrance Oil** for the final layer. Stir well (approx 2 min), then add 1 drop of Rustic Escentuals Pink Liquid Candle Colorant. Stir well. If you want the votives to have more of a red tone, dip a bamboo skewer into a bottle of Rustic Escentuals Red Liquid Candle Colorant and stir into the melted wax – this will add a deeper color to the votive candles. When this mixture has cooled to approx 155° begin pouring the final layer. Fill to where the votive mold begins to flare out leaving room for the re-pour. Allow layer to cool.

When the wax has finished shrinking, do the re-pour. Fill all the way to the brim of the votive mold making sure not to overfill.

Step 8
Let the candles cool completely. If they don’t fall out by simply inverting the mold, give the metal votive mold a firm, quick tap on a sturdy surface — this should loosen the candles and then they’ll fall right out. Trim the wick to 1/4”. For a cute decorative touch: create watermelon seeds using black wax. Drip a little on a piece of wax paper, peel off and adhere to the side of the candle with non-toxic glue.

Notes:
*Wax weights are approximate and not exact.
** Wax, fragrance & colorant selections in this tutorial are for demonstrative purposes only.
*** Pyrex glass measuring cups were used in this tutorial as to show wax amounts & colors in the photos
All measurements are by weight, not volume.
SOME SAFETY PRECAUTIONS
- Cover counter with wax paper, old newspapers or aluminum foil to make clean up easier.
- Be sure to wear safety goggles for eye protection. You do not want to be splashed in the eye with hot wax! Remember with wax – safety first.
- Waxes used in making candles are very similar to cooking oils – they are flammable and they are poured at high temperatures, but with certain precautions, accidents may be avoided. NEVER HEAT WAX ABOVE 210°F.
- For safety, wax should be melted in a double boiler. Wax should NEVER be heated directly over an open flame or burner. Direct heating can cause wax to explode and result in serious injury.
- Use of a thermometer is advised to ensure proper wax pouring temperature.
- Never leave hot wax unattended. Keep children and pets away from the area where wax is being melted and poured.
- Never pour water in a wax fire. Water will cause the fire to spread. To extinguish a fire in a pan, cover the pan with its lid. Use a dry chemical fire extinguisher.
- Never pour melted wax into the sink or other drains.