How to Make Summery Painted Fruit Drinking Jars
Step into a world of refreshing flavors and eye-catching aesthetics with this exquisite project of Summery Painted Fruit Drinking Jars. These delightful jars are not just your ordinary beverage containers; they are a true embodiment of summer vibes and fruity goodness. Each jar is meticulously hand-painted with vibrant colors and adorned with intricate fruit designs, making them a feast for both the eyes and taste buds. Whether you're enjoying a zesty lemonade, a tropical fruit punch, or a refreshing infused water, these jars will transport you to a tropical paradise with every sip. So, why settle for ordinary when you can embrace the extraordinary? Grab your Summery Painted Fruit Drinking Jars today and let the flavors of summer dance on your taste buds!

Materials
- Jar
- Transparent red or pink paint for glass
- Transparent yellow paint for glass
- Green crafting string
Tools
- Scissors
- Hot glue and glue gun
- Black marker
- Orange marker
- Yellow marker
Instructions
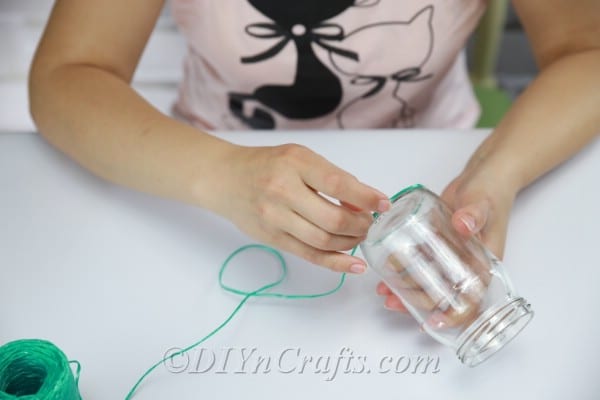
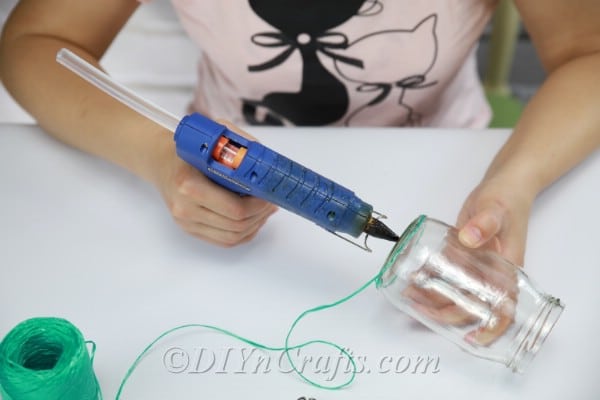
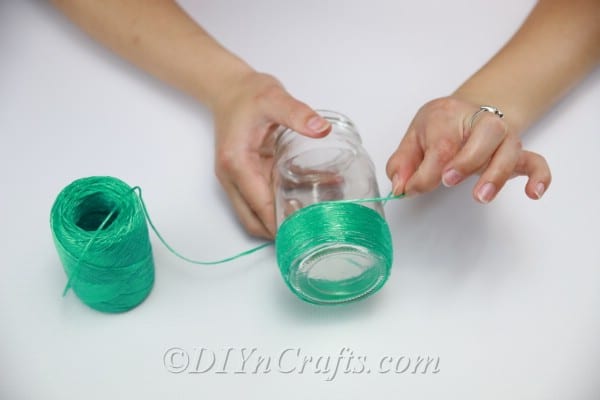
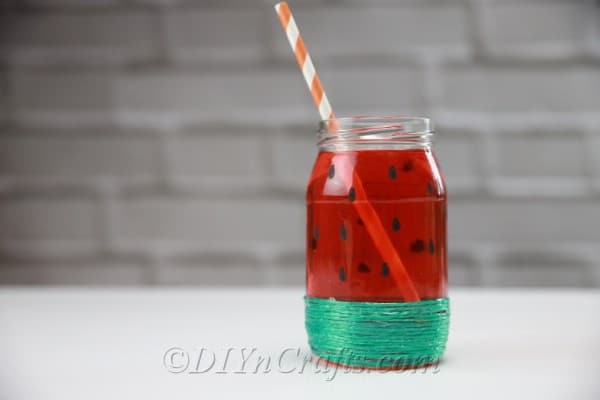
- For our first step, we will be winding the green craft string around and around the base of the jar on the outside. Start it off as close to the bottom as you can, and apply hot glue as you go. This step may take you a while simply because you are wrapping the string around the jar so many times. When you get to about a quarter of the way up, cut the string. Glue down the last bit of the string. Don’t feel like wrapping the string around your jar bunch of times? You could alternatively use a wide green ribbon, or just apply green paint. This would create a different look as well. Try any or all of these ideas and see which you like best. There are a lot of small ways you can vary this project to personalize it and give it your own spin.

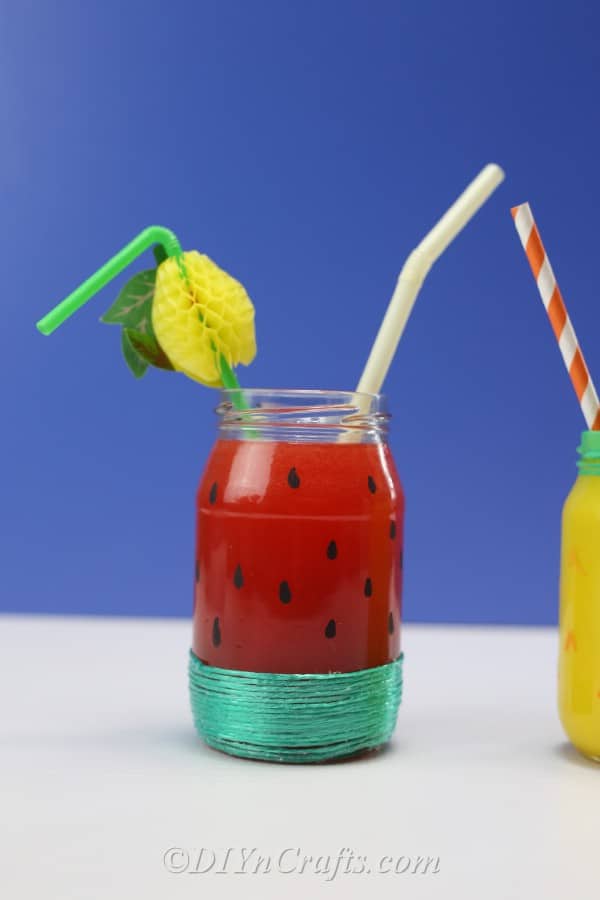
Using the black marker, draw on the shapes of watermelon seeds around the outside of the jar above the green section. If we are making the pineapple jar, we use the orange marker to draw little v-shapes for this step, and if we are making the strawberry jar, we draw little dots with the yellow marker instead. Note: If making the pineapple or strawberry jar, save this step until after step 3 below, or your paint will cover up your dots or v-shapes.


At this point, if you want, you can call the project complete, especially if you plan to serve beverages with a red or pink color inside your jar. But if you prefer, you can use transparent glass paint on the outside of the watermelon jar to give it a permanent red or pink tint. This color works for the strawberry jar as well, and you can use yellow for the pineapple jar.
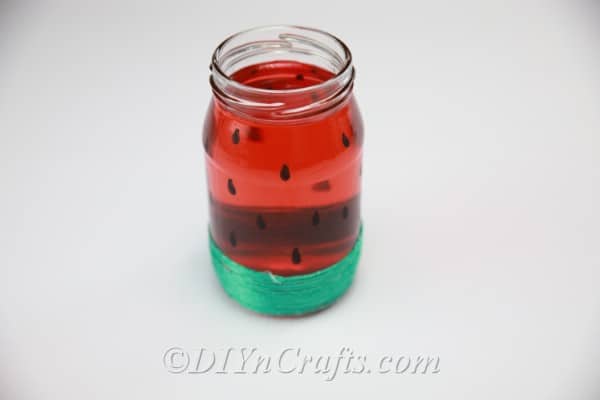
The final step is to insert a drink straw and pour your beverage of choice. Any drink looks refreshing and delicious when served in a fruit jar.

Notes
Note that in this tutorial, I’m making the watermelon jar. But you can follow the exact same steps to make the pineapple or strawberry jar. You just change the paint and marker colors you use and draw different patterns. You can follow these steps to make any other type of fruit jar you want too!