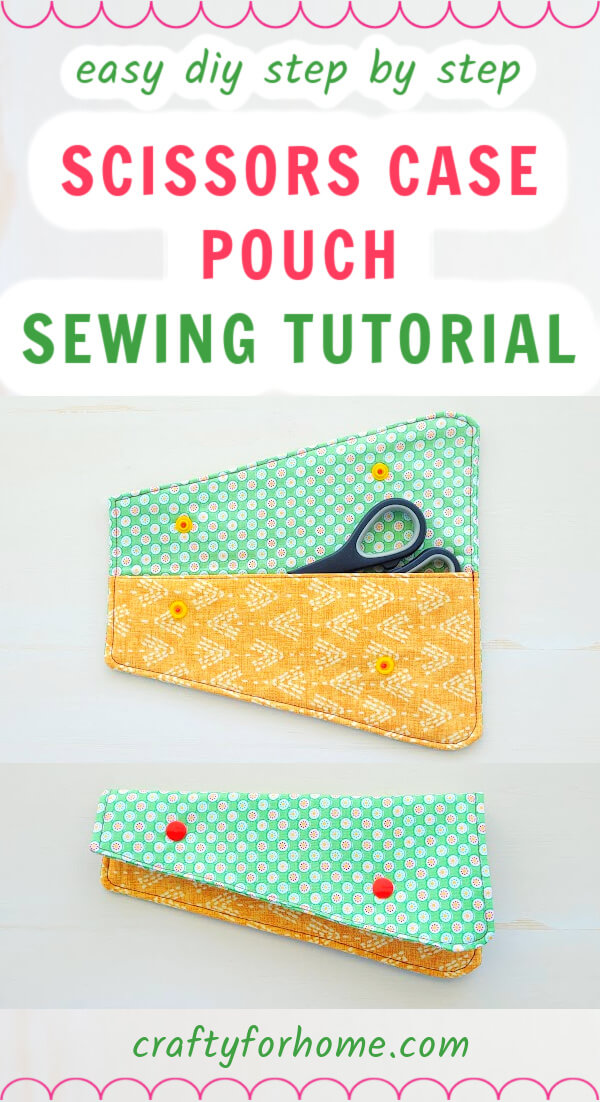
How To Make Scissors Keeper
A practical and thoughtful accessory for any crafter or craft room! The Scissors Keeper is a clever device that keeps your scissors organized, secure, and within easy reach. This handy keeper features a secure closure to fit most scissors, keeping them from getting lost or damaged. Whether you're a crafter, seamstress, or DIY enthusiast, the Scissors Keeper is a must-have tool that keeps your workspace tidy and efficient.
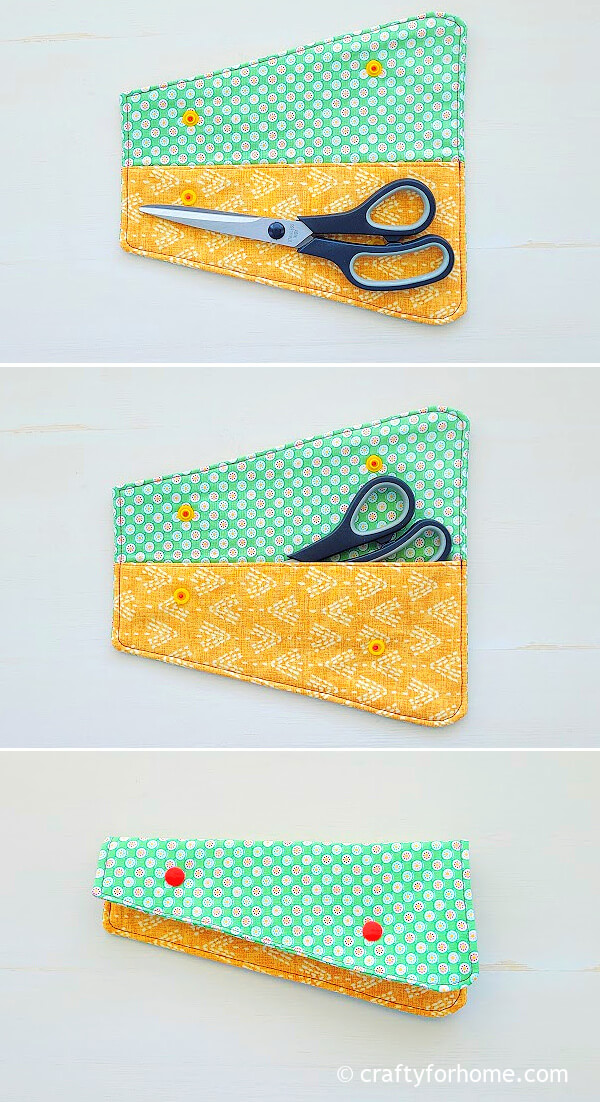
This scissors holder fits 8.25″ long scissors.
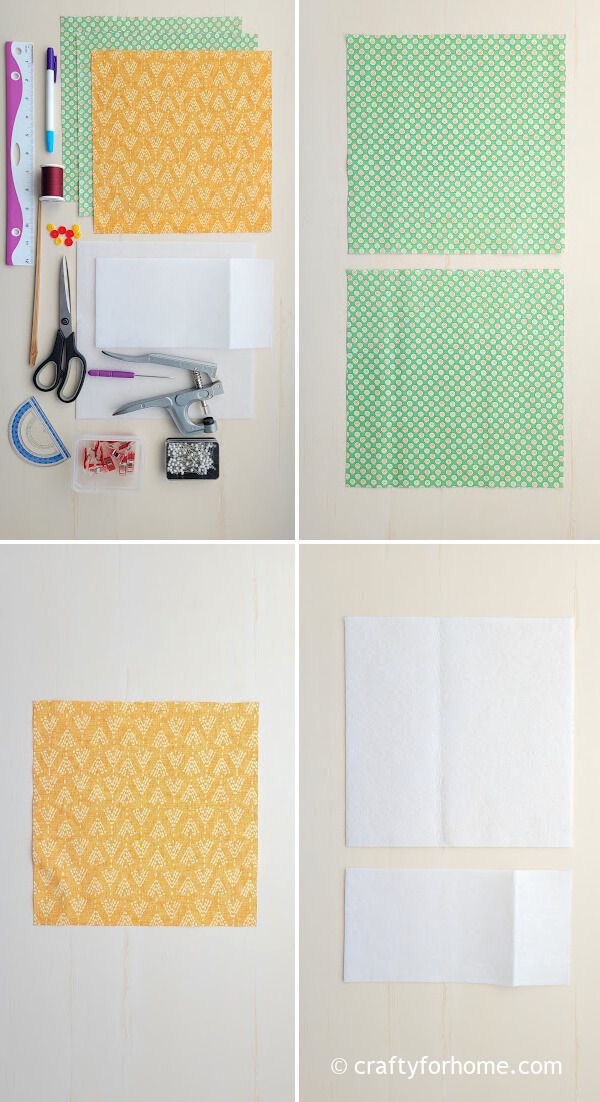
SUPPLY TO MAKE SCISSORS POUCH
Add layers with fusible fleece or batting. Make one pouch using two fat quarters or three layer-cake-size fabrics. A half-yard of fabric will yield two scissors holders.
To make a scissors holder from fabric scraps, ensure each piece is 10″ square.
- 2 pieces of 10″ square fabrics for the back layer or the flap
- 1 piece of 10″ square fabric for the front layer or the pocket
- 1 piece of 10″ square fusible fleece for the back layer
- 1 piece of 5″ x 10″ fusible fleece for the front layer
- 2 pairs of snap buttons with the plier kit
- Disappeared ink marker, I use this dual-purpose fabric marker
- Pins or quilting clips
- Ruler
- Scissors
- Chopstick
- Sewing machine
- Ironing machine or clothes iron
Make the scissors holder pattern using the measurements below, and apply the measurements to each fabric piece and fusible fleece. For the half-size fusible fleece, measure each spot on one side only.
Measurement for each fabric pieces.
Mark a spot 2.5″ from both top corners toward the center edge.
Draw the line from each bottom corner to the 2.5″ marked spot.
Mark 1″ from the left and right bottom corner and 1.5″ from the corner toward the marked line.
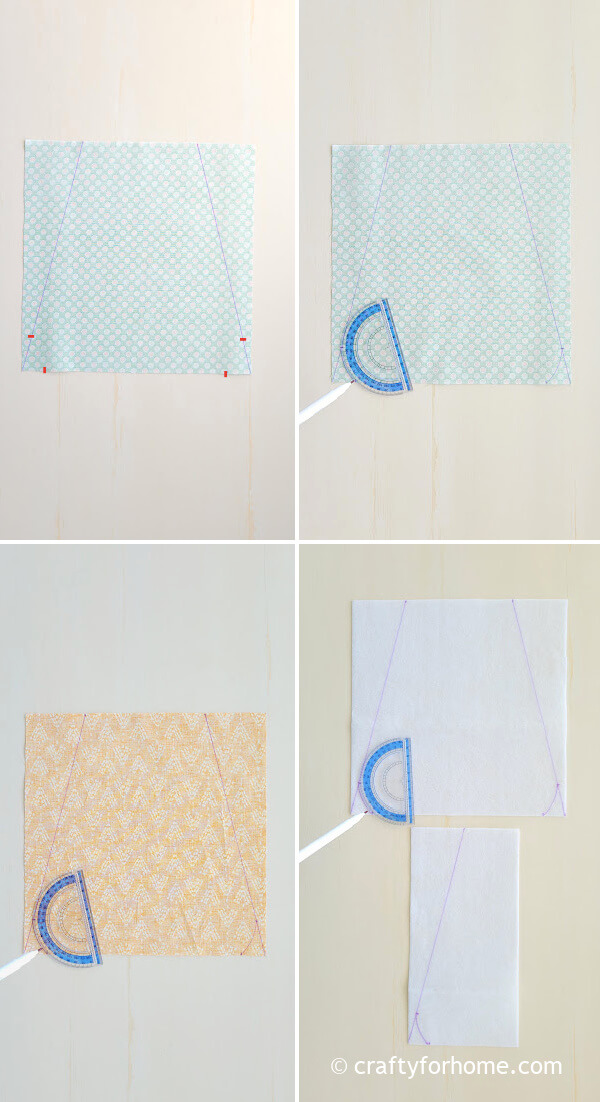
Use the protractor or any circle object to draw a curved line on the bottom corners to connect the 1″ and 1.5″ marked spots.
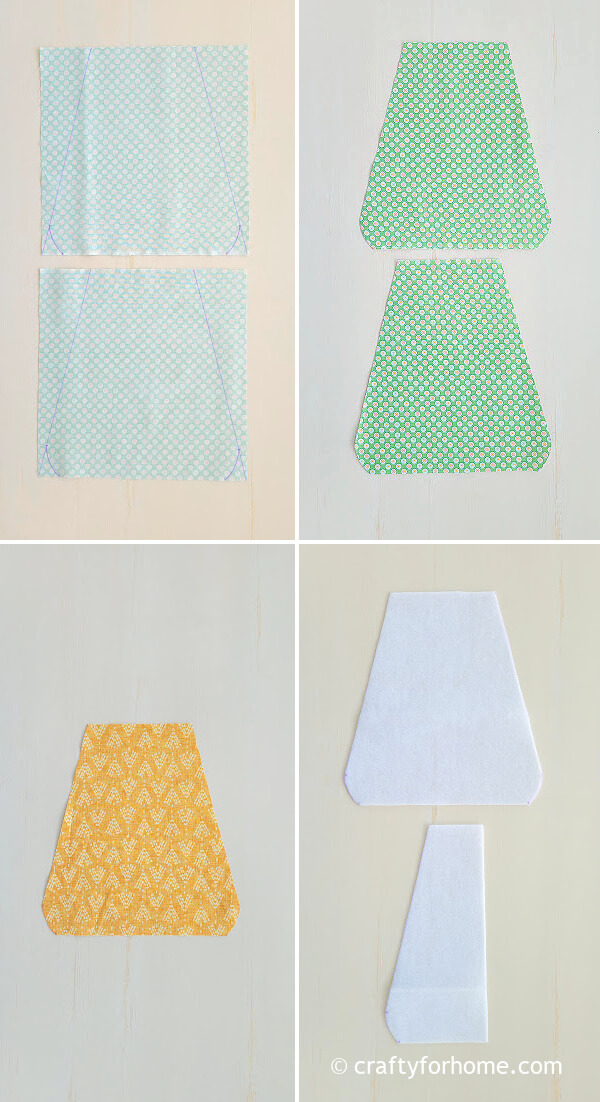
Cut all materials along the curve and lines.

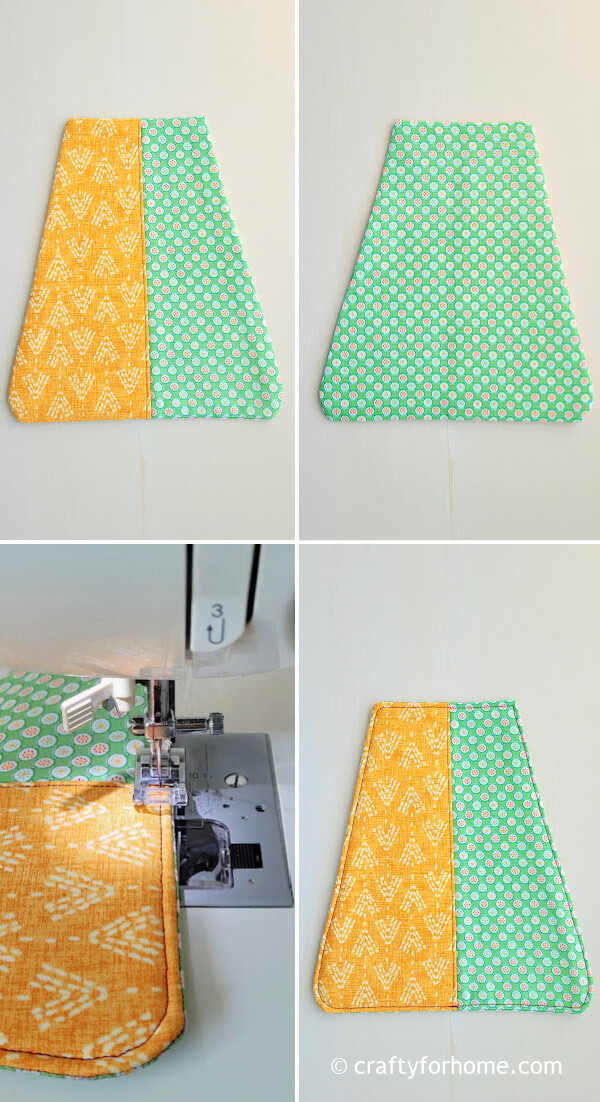
Put the fusible fleece on the wrong side of the fabric for the front layer.
Fold the fabric in half so the fusible fleece is inside the fabric, then press the fabric with the clothes iron.
Topstitch the folded edge.
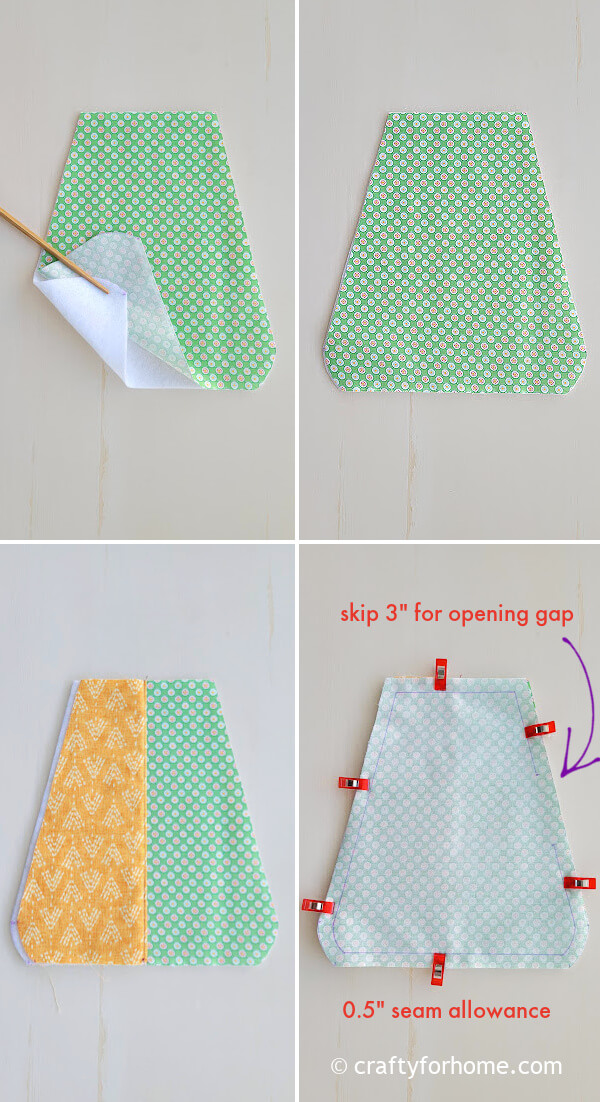
Pin all materials in this order:
Fusible fleece, the right side of one fabric for the back layer facing up, the front layer for the pocket, and the right side of the other fabric for the back layer facing down.
Sew along the edge of the fabric with a 0.5″ seam allowance. Skip 3″ for the opening gap on the top edge.
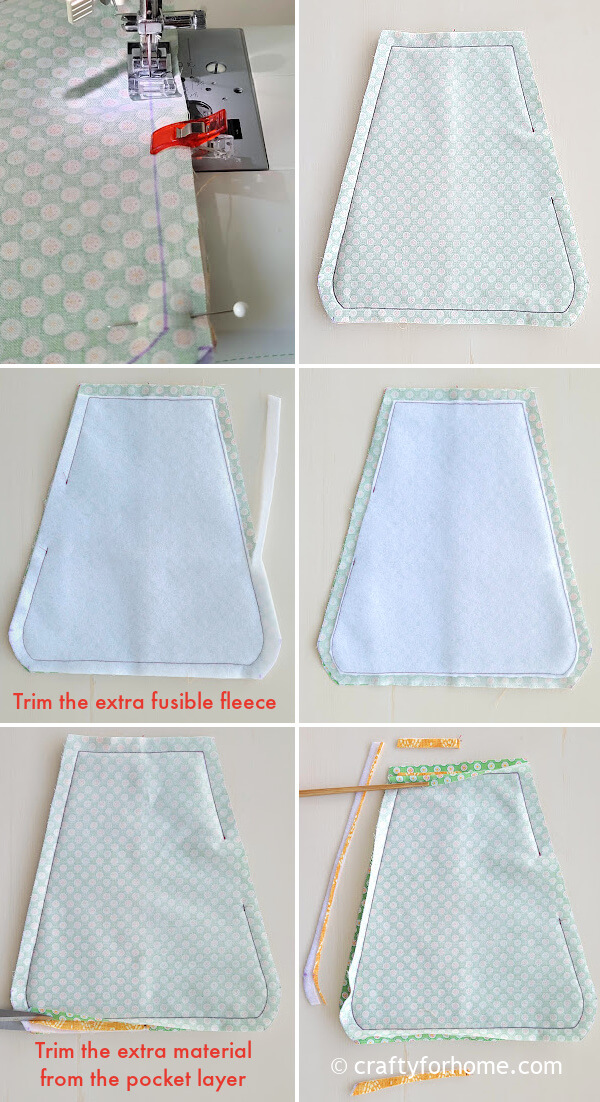
Trim the extra fusible fleece for the back layer from the stitched line.
Trim the extra material for the front layer or the pocket from the stitched line.
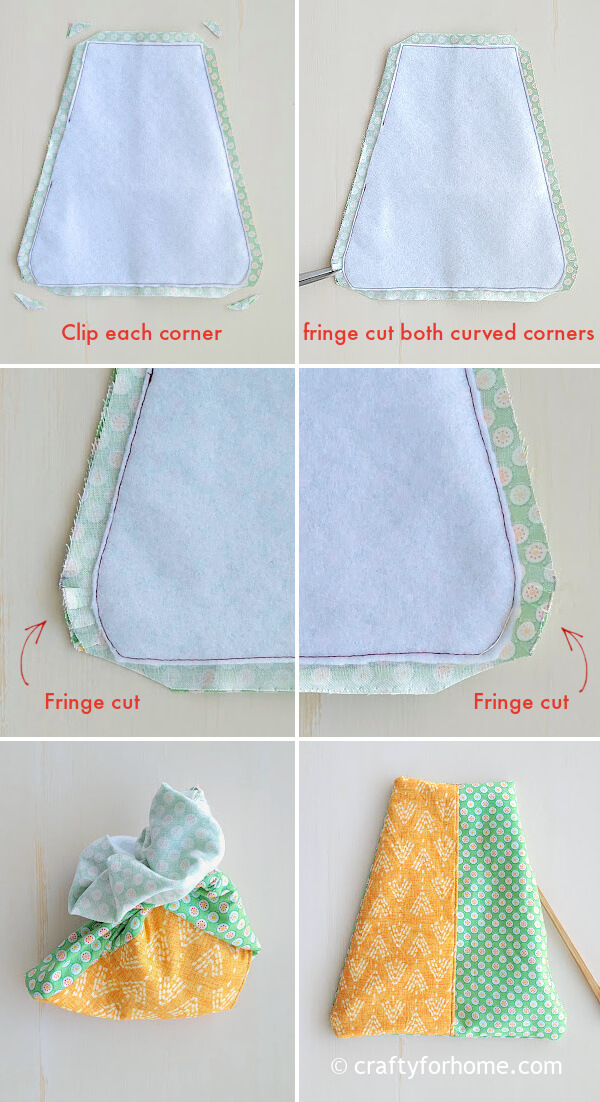
Clip each corner, and fringe cut both curved corners.
Turn the scissors pouch right side out through the opening gap.
Use the chopstick to push each corner.
Fold the opening inward, and press the pouch with the clothes iron.
Topstitch along the edge and close the opening at the same time.
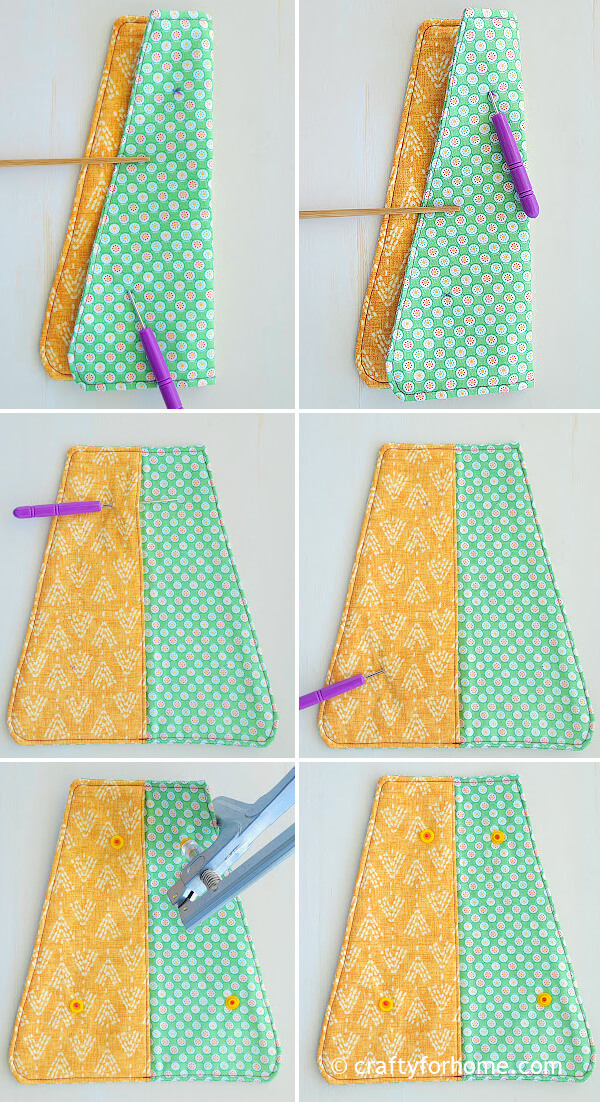
Fold the outer layer or the flap over the pocket and mark the spot for the snap buttons around 1″ from the bottom and 2″ from the side of the flap’s edge.
Attach the snap buttons.
The scissors cover is ready to use now.
THE SIZE OF THE SCISSORS POUCH
The final size of the scissors holder is 4″ on the width of the scissors handle and 8.5″ on the length. My scissors in the image below are 8.25″ long, and the scissors handle is 3″. It fits perfectly in the pouch.
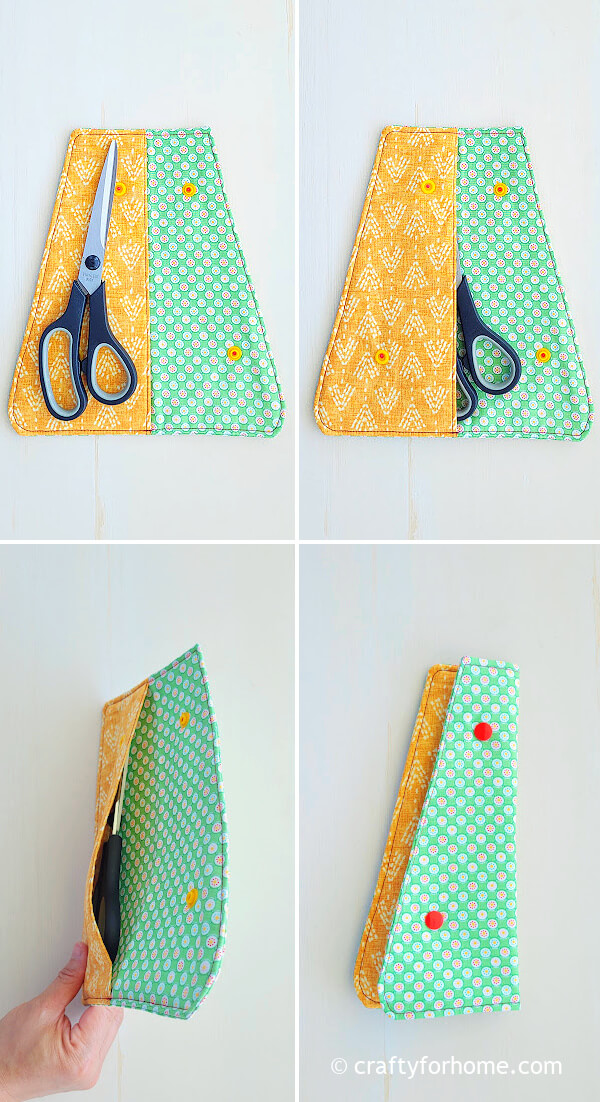
If you want to make a pouch for different-sized scissors, measure the length of the scissors and the width around the handle. Then, you can determine how much fabric and fusible fleece you need to make the pouch.