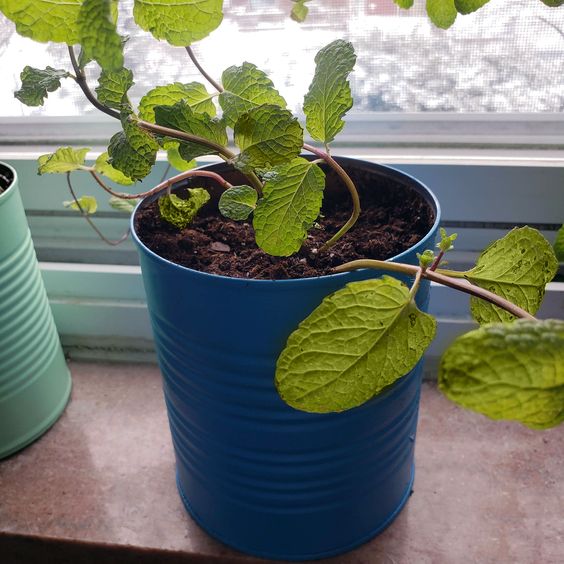
DIY Painted Tin Can Planter
Creating your own DIY painted tin can planter is a fun and eco-friendly way to add a pop of color to your space while upcycling materials. Start by cleaning out an empty tin can and removing any labels. Once dry, grab your favorite paint colors and get creative with your design! Whether you opt for stripes, polka dots, or a unique pattern, the key is to let your imagination run wild. After the paint dries, fill the can with soil and plant your favorite herbs, flowers, or succulents for a personalized touch. Not only will you have a charming new planter, but you'll also have a sense of pride knowing you gave new life to a simple tin can. So roll up your sleeves, grab your paintbrush, and let's turn trash into treasure together!
Tin can planter supplies
- Newspaper
- Rope or jute
- Acrylic paint
- Sponge brush
- Nail & Hammer
- Hot glue and gun
- Used soup or vegetable cans
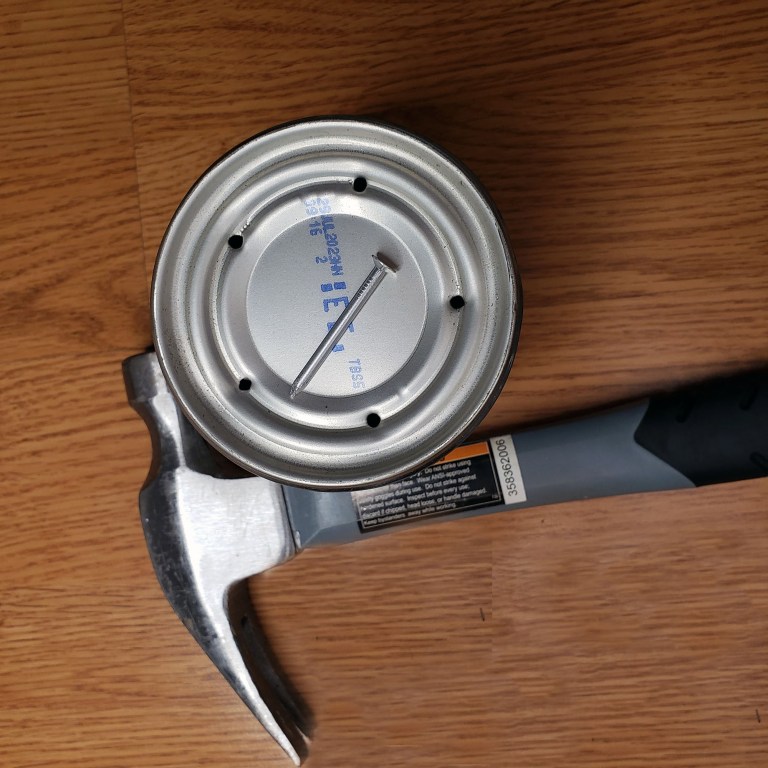
Step 1: Create drainage holes
Hammer the nail into the bottom of your can in multiple places to create drainage holes. You don’t want your plant to flood!
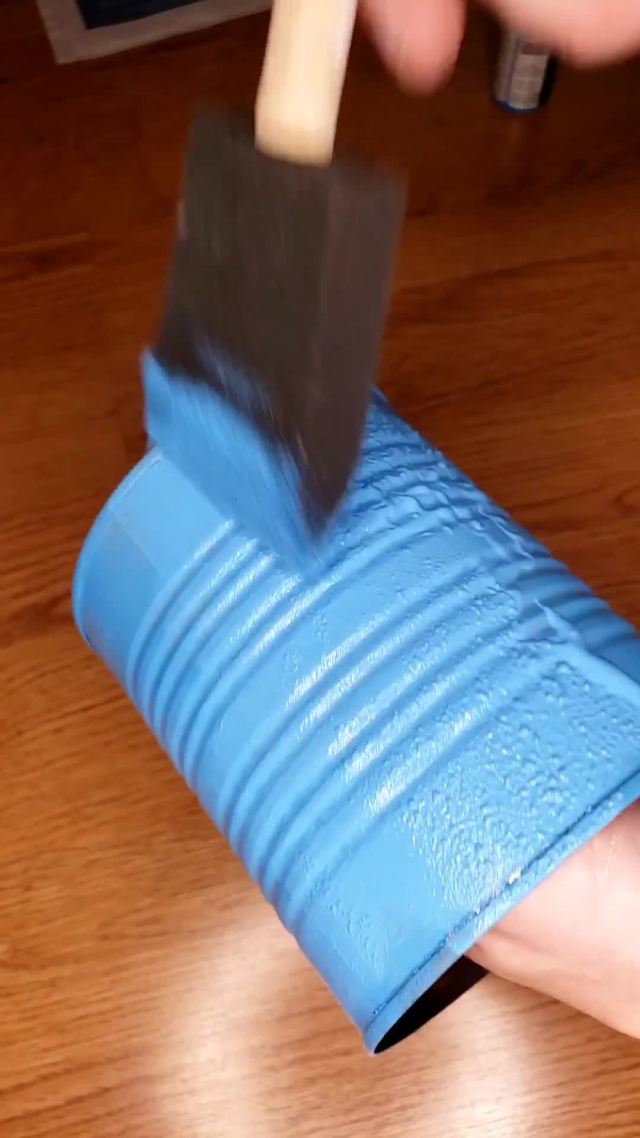
Step 2: Paint your tin can
Use your sponge brush to dab on the acrylic paint like in the video above. This helps you get into all of the ridges. If you don’t prefer the texture it creates, you can smooth out the paint before it dries.
Let it dry completely.
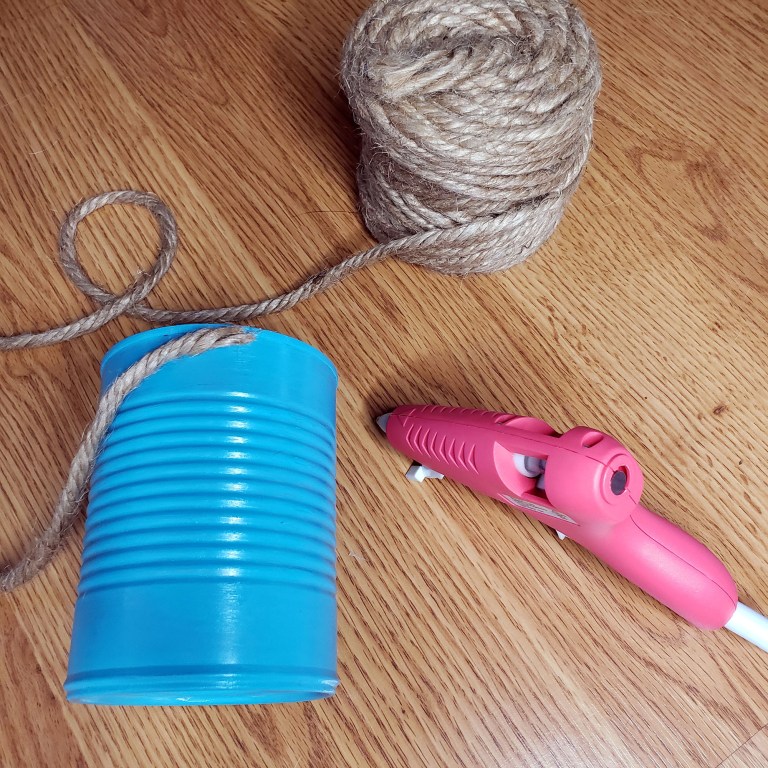

Step 3: Glue on the rope
Cut your rope at an angle (for a seamless transition later) and glue it to the can.
As you wrap it around the can, glue it every inch or so to ensure a solid hold.
When you get to the end, cut the rope at an angle again and glue it fast.

All you have to do now is choose your favorite plant to go in your upcycled planter. Will it be flowers, herbs, or maybe pothos? Either way, it will look great!