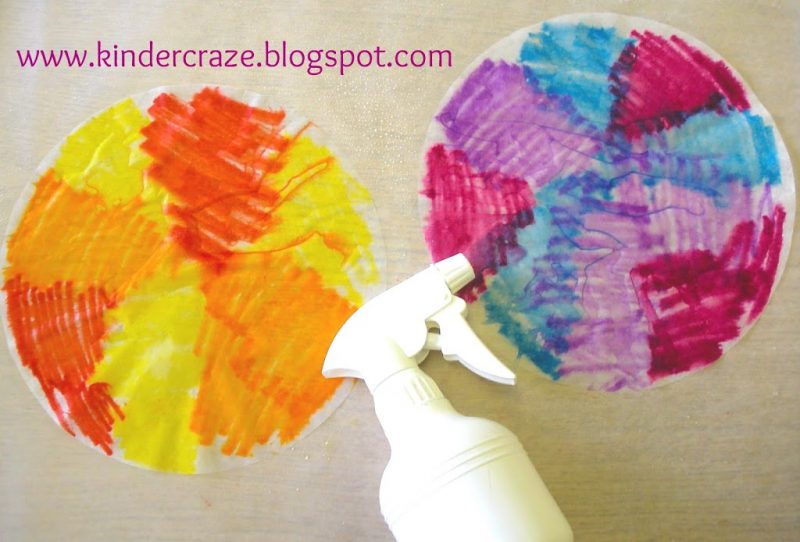
Coffee Filter Flowers
Get ready to unleash your creativity with this fun and easy craft project - coffee filter flowers! These beautiful blooms are a fantastic way to add a touch of nature to your home decor or create unique handmade gifts for your loved ones. With just a few simple materials and a little bit of time, you can transform ordinary coffee filters into stunning floral masterpieces. This delightful craft allows you to transform simple coffee filters into stunning floral arrangements that will brighten up any space. Whether you're looking to add a pop of color to your home decor or create personalized gifts for friends and family, these handmade blooms are sure to impress.

Supplies Needed
- markers
- coffee filters (1-4 per flower)
- spray water bottle
- wax paper
- pipe cleaner
- table liner

Step 1: Decorate the Filters
Protect your work surface with a table cloth or some sort of liner (the marker will soak through the paper layers and you won’t want to stain your work area with ink. Next, Tear off a sheet of wax paper big enough and place coffee filters on top. I give each students their own sheet of wax paper with coffee filters on top and use a sharpie to write the student’s name on the wax paper. This helps me keep track of who decorated the filters.
Now comes the fun part. Use markers to scribble all over the coffee filters. Later on, these colors will get wet and bleed into each other so I try to use colors near each other on the color wheel. Otherwise, you may end up with brown flowers.

Next, spray the newly-scribbled flowers with your spray bottle. I usually help my kinders do this part. You only need about 5 good sprays.

Set the whole sheet of wax paper aside while you wait for the decorated coffee filters to dry. The colors will continue to bleed as they sit.
You can stack the sheets of wax paper on top of each other while they dry. I try to stagger them a bit. Be mindful that the color will bleed a bit through the wax paper as well and complimentary colors (such as orange and purple) will bleed to make brown.

Step 2: Assemble the Flowers
After the coffee filters have dried, you are ready to assemble. I always do this part on my own after school. Older students can probably handle this on their own with instructions from you.

Stack all filters for a single flower together and fold in half.
Now, fold in half again.
This is where it gets a little tricky to understand. You basically want your folds to zig-zag. Take the top section of your coffee filters and fold it backward onto itself.
Then flip the filters over and repeat for the other quarter section. It will look like this when pressed down.
If you let go of the filters, they will open a bit. See the zig-zag?
Use a pipe cleaner to tightly wind around the point of your folded coffee filters. Be sure to cinch it tightly so it holds.
Gently separate the folded pieces from one another, and then you’re done!
Not sure how many coffee filters to use?
The photo below will help give you a sense of the fullness of different numbers of coffee filters. You can technically complete this project with just one coffee filter, but I personally like to use 2 to 3 filters per flower.
