How to Make a Summer Wreath in 30 Minutes or Less
Celebrate the sunny season with a vibrant and colorful wreath that embodies the essence of summer. Adorned with an array of bright flowers, lush greenery, and perhaps even some seashells or beach-themed accents, this summer wreath is the perfect way to welcome guests to your home with a burst of seasonal cheer. Hang it on your front door or display it indoors to bring a touch of summer warmth to any space.
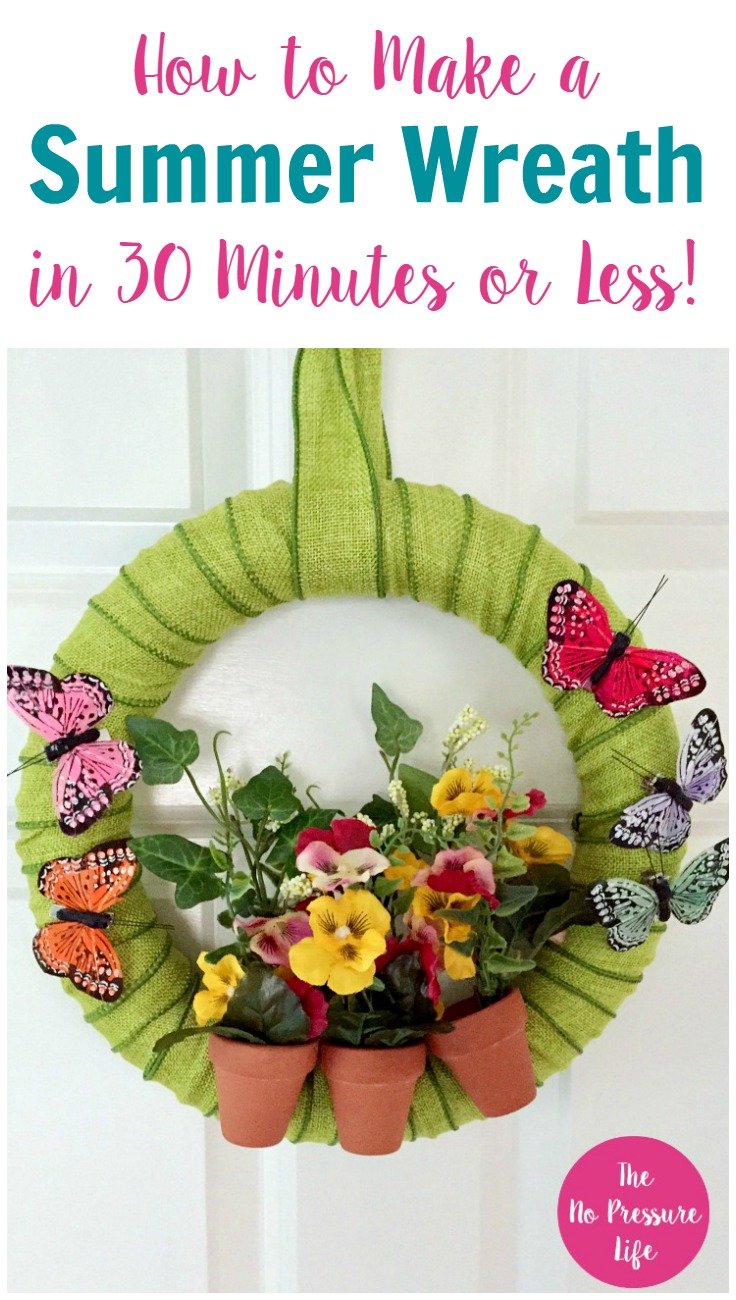
Here’s everything you’ll need to make a summer wreath. You can find all the supplies on Amazon.
- Foam or straw wreath form
- Wide ribbon (I used two rolls of wired burlap ribbon)
- Floral pins or straight sewing pins
- Mini terra cotta pots
- Floral wire
- Wire cutters
- Hot glue gun
- Fake flowers
- Butterfly clips
How to Make a Summer Wreath in 4 Simple Steps
Step 1: Wrap the wreath with ribbon
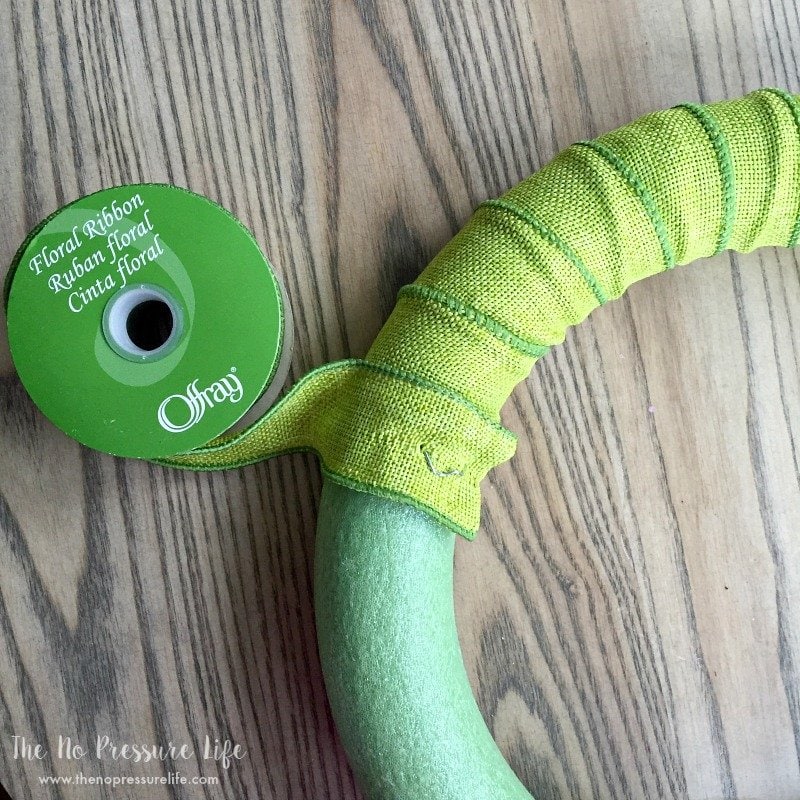
First, secure one end of the ribbon to the wreath form with a pin. I used a floral pin because of my ribbon’s loose weave. You can see in the picture below that the floral pin looks like a staple.
Then, wrap the wreath form with ribbon, securing the ribbon with a pin occasionally. When the wreath is completely wrapped, fold over the end of the ribbon and secure it with a final pin.
Step 2: Add the flower pots
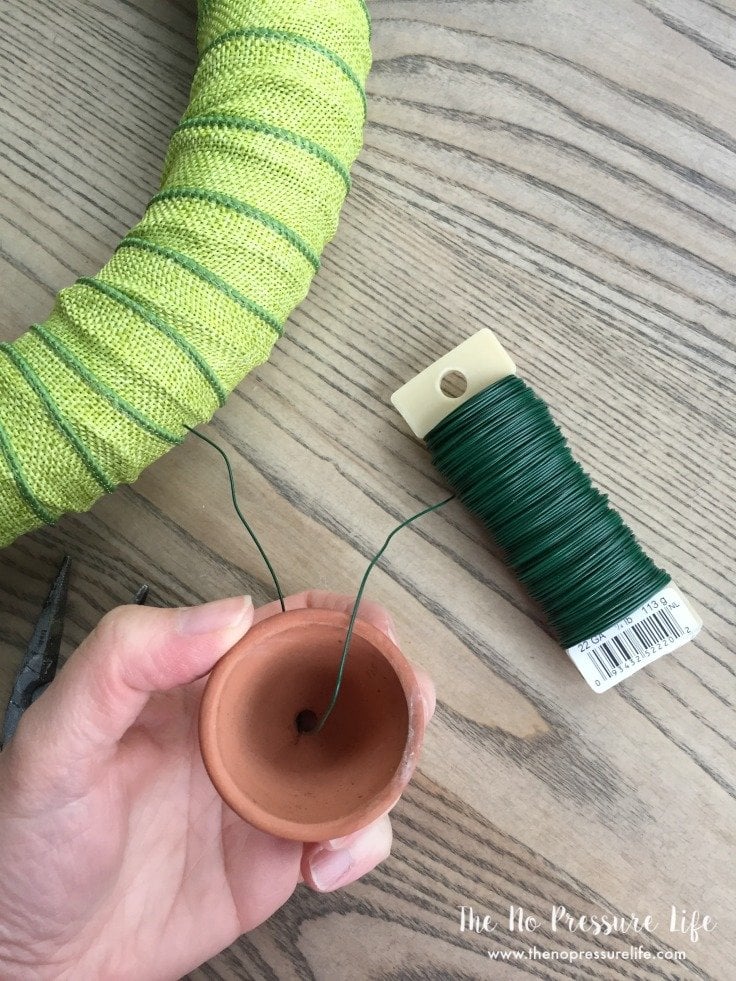
After you wrap your wreath, grab the mini terra-cotta pots and floral wire.
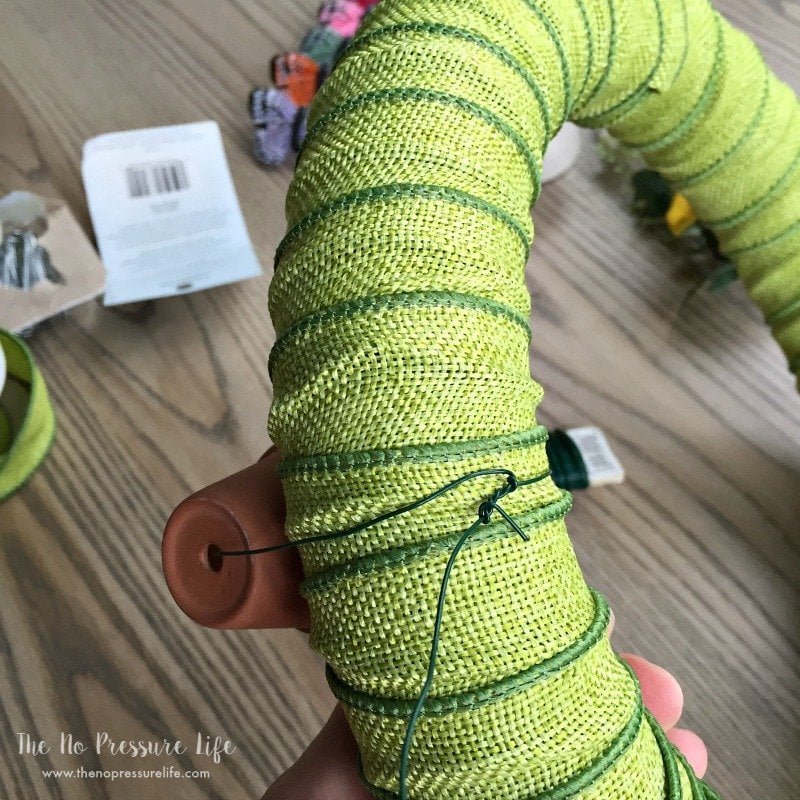
Next, feed the wire through the hole in the bottom of the pot.
Dab the flower pot with a small dot of hot glue, then stick the pot in place on the wreath. The glue dot’s purpose is to hold the pot in place while you wrap the wire around the wreath, and keep the pot from wiggling.
I don’t think hot glue alone would secure the pot to the wreath, which is why we use the wire, too.
Wrap the wire through the pot’s hole and around the wreath, twist to secure it, then trim with wire cutters.
Repeat this step for each flower pot.
Step 3: “Plant” the flowers
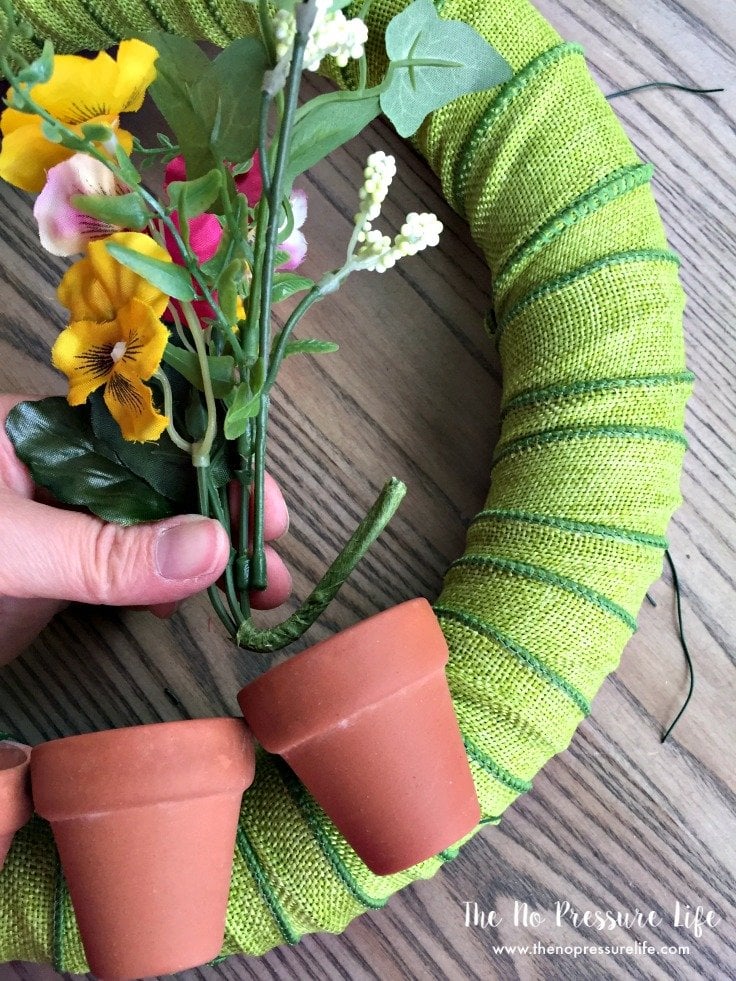
Now it’s time to add flowers to the flower pots. I used one floral pick per pot, and each pick has several flowers.
Trim the stem with wire cutters, then bend it to a “U” shape to fit inside the pot.
Then, apply hot glue to the bottom of the “U” and stick it to the bottom of the pot.
Step 4: Attach the butterflies
Finally, it’s time to add butterflies to your summer wreath.
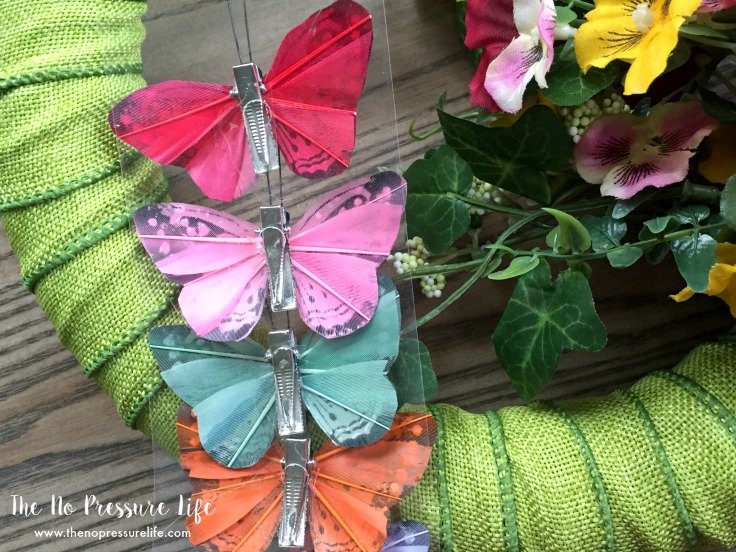
These butterflies have clips on the back, just like hair clips. Simply clip each butterfly to the ribbon, and you’re done!
