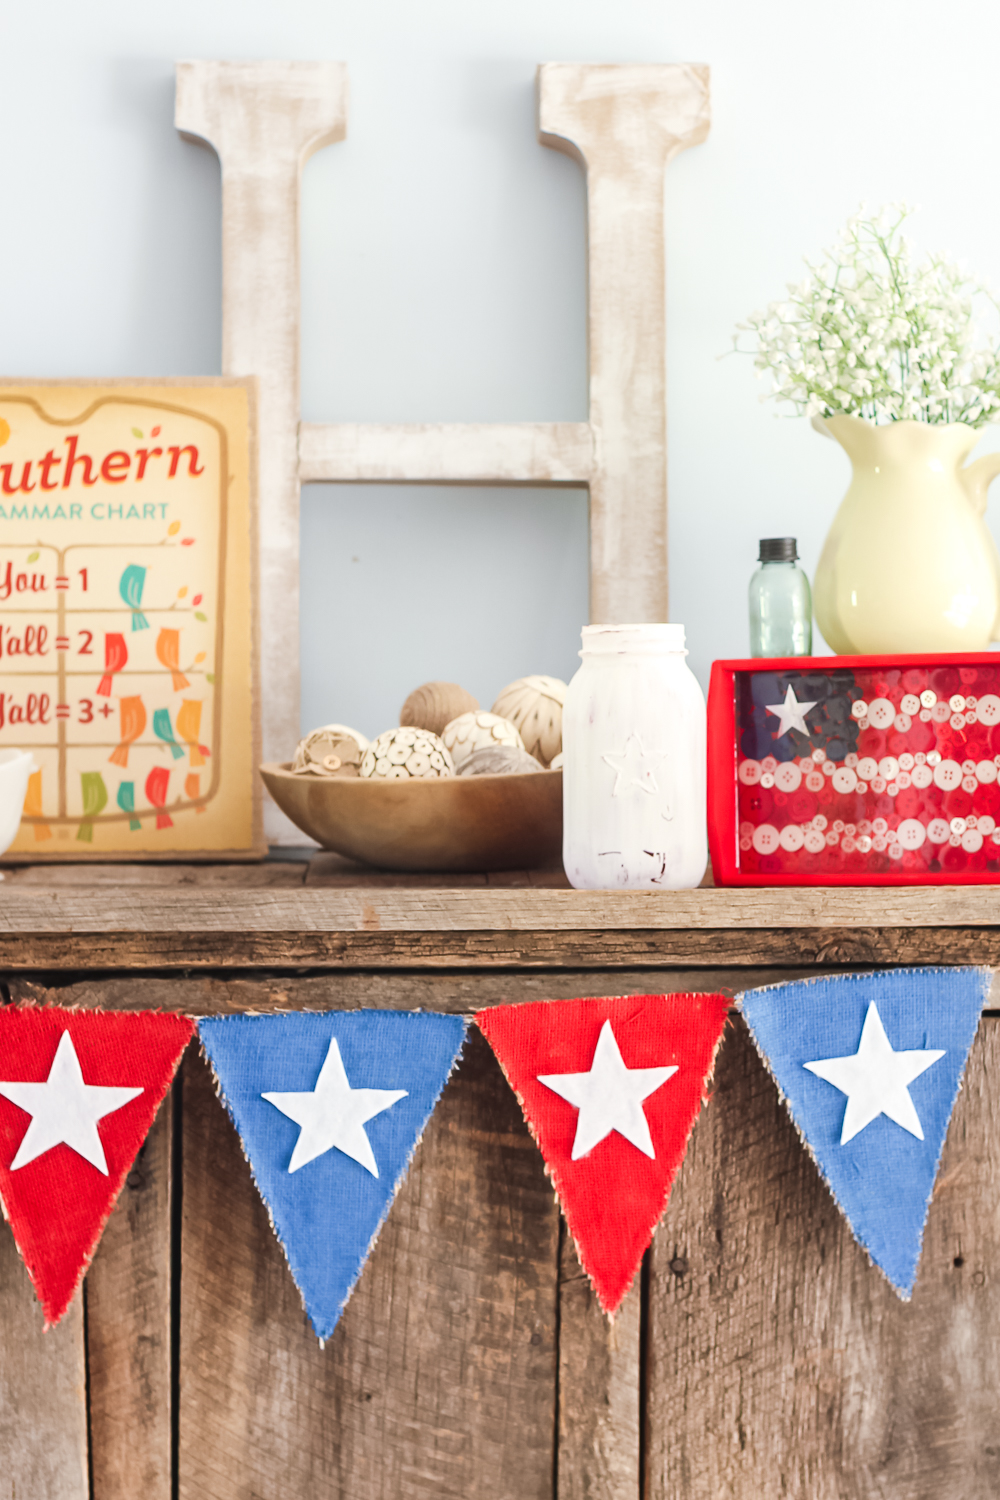
How To Make A DIY Patriotic Banner in Minutes
Looking to add a touch of patriotism to your home decor? Why not try making your very own DIY patriotic banner? This fun and engaging project will not only allow you to showcase your love for your country but also give you a chance to unleash your creativity. This project is not only a great way to express your love for your country but also a fantastic opportunity to involve your family and friends. Gather everyone together for a fun crafting session, where each person can contribute their own artistic flair to the banner. It's a wonderful way to bond and create lasting memories.

Supplies Needed
- Burlap Triangle Flags (You can cut these yourself or purchase them premade. You can see how to cut burlap with a Cricut machine here.)
- Red & Blue Craft Paint
- Sponge Brush
- White Felt (A stiff felt cuts better on a Cricut machine.)
- Scissors or Cricut machine
- Jute Cord (If your burlap flags do not have one attached.)
- Hot Glue and Glue Gun (my favorite is this one from Adtech)
Step 1
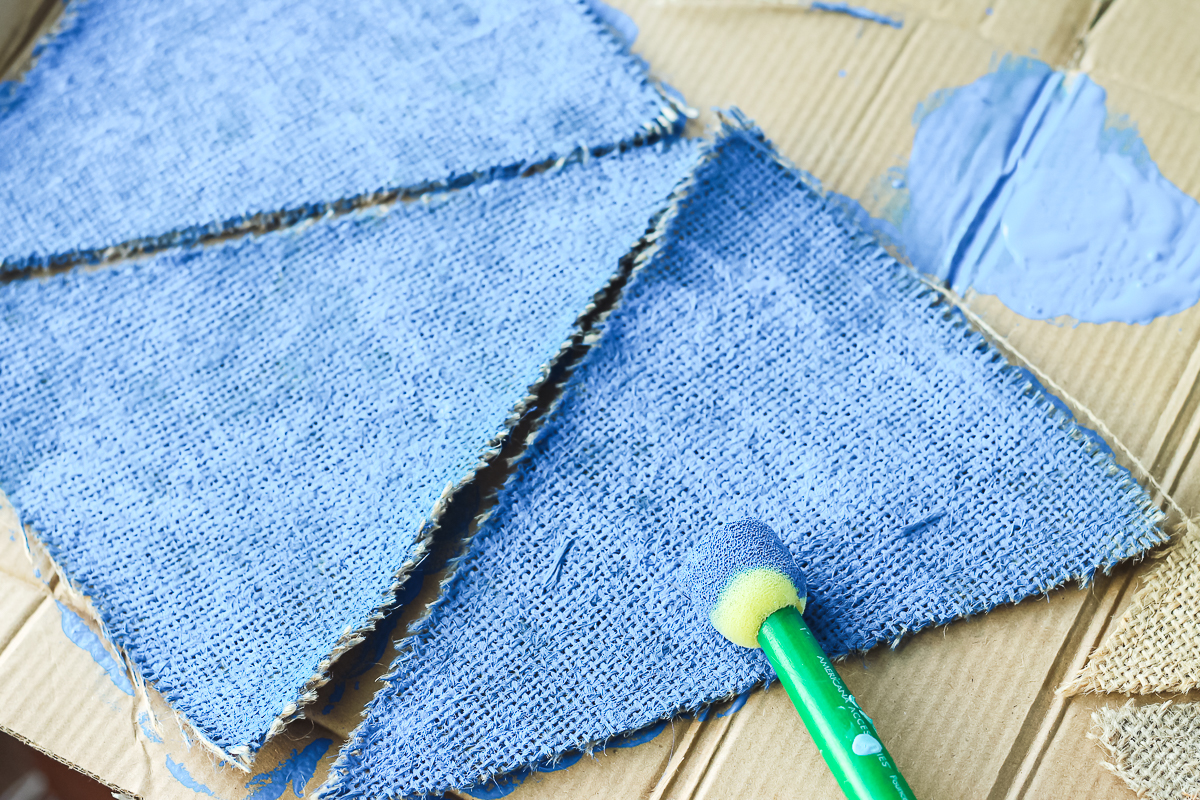
Start by painting the burlap triangles red and blue with a sponge brush. Protect your work surface before beginning. Then, apply a thick coat of paint to each one. Allow it to dry overnight before continuing.
NOTE: If you are cutting your own burlap flags, you will need to cut these with scissors or your Cricut machine before beginning this step.

Step 2
In the meantime, you can work on your felt stars. There are two ways that you can make stars from felt for this project. You will need one star for every burlap triangle.
- Print a star shape from your computer and cut it out of the paper. Trace it onto the felt with a marker then cut the shapes from the felt.
- Add a star shape to Cricut Design Space and cut the shapes with your Cricut machine.

Step 3
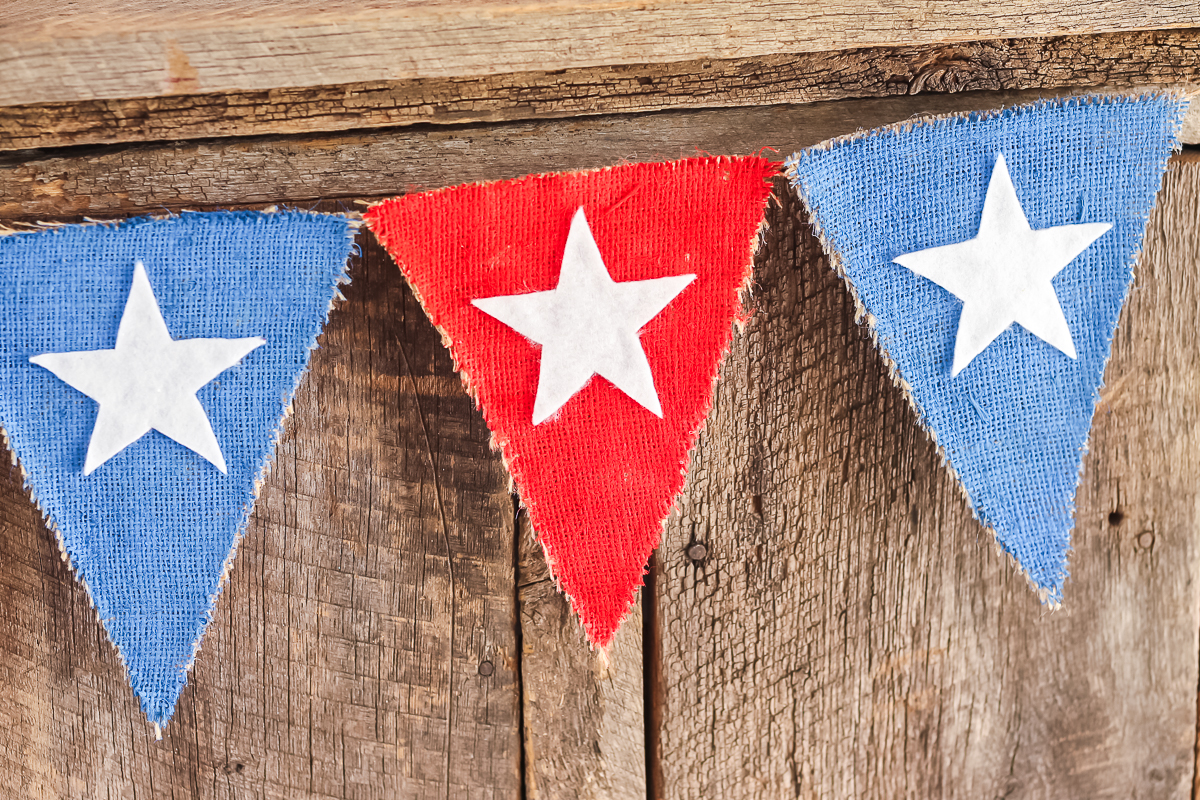
Once the paint has dried, assemble your DIY patriotic banner by using hot glue. Glue the stars to each triangle and the triangles to jute twine. Alternate colors as shown below.
You can make the burlap banner as long or as short as you would like by increasing or decreasing the number of triangles. Also, note that you may need to trim the ragged edges from the burlap triangles when assembling. The ragged edges give a nice rustic element, but they can get a little too jagged from time to time.
