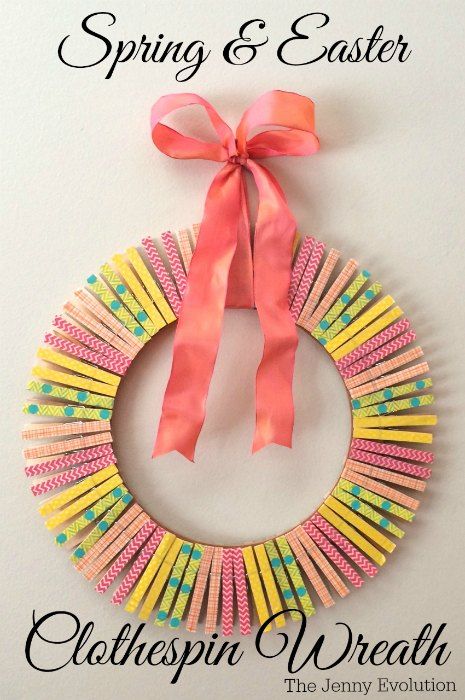
Spring Clothespin Wreath
Welcome spring with a charming and rustic Spring Clothespin Wreath! Use wire or metal clothespins in shades of pastel pink, blue, and yellow to create a whimsical wreath shape, then attach them to a wire or foam base. Add some decorative embellishments like ribbons, flowers, or butterflies to give it a soft and romantic touch. Hang it on your front door, wall, or even use it as a centerpiece for your spring-themed gatherings.
Materials for Clothespin Wreath:
- Clothespins
- Crafting Tape (or decorated tape)
- Floral Craft Ring
- Scissors
DIY Tutorial to Make Clothespin Wreath
Making a clothespin wreath is rather easy.
First, place a strip of decorated or crafting tape on the top of the clothespin and trim to fit the length.
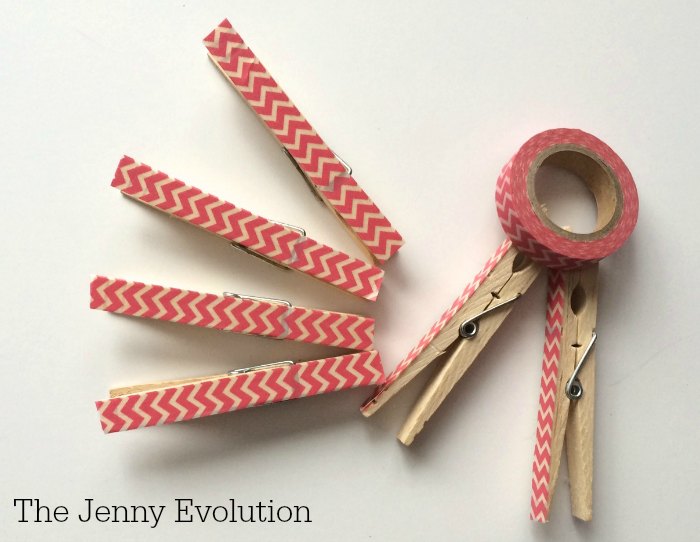
Crafting tape is usually thin enough that you won’t need to trim the sides.
However, the decorated tape is wider than the clothespins.
It’s simple enough to trim the tape along the edge of the clothespin once you have it on.
Just a quick snip and it’s done.
Just be sure you have a good pair of scissors.
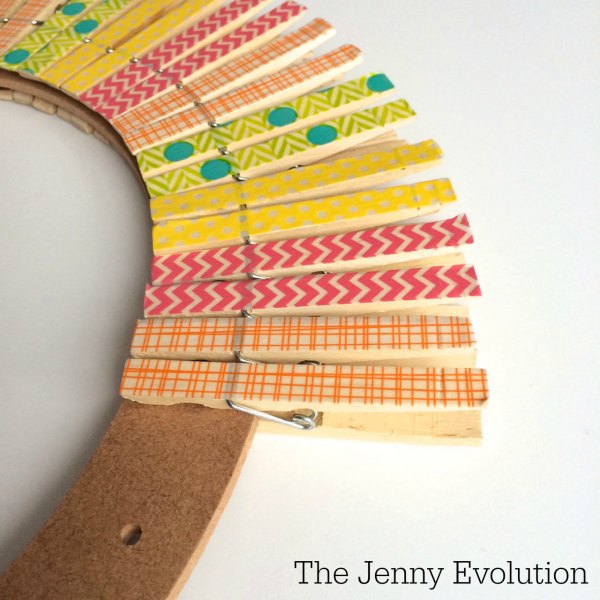
Start by deciding what kind of pattern you want to make.
I decided that I wanted to do two by two for the colors.
But you could just as easily do one of each pin to make a pattern around the ring.
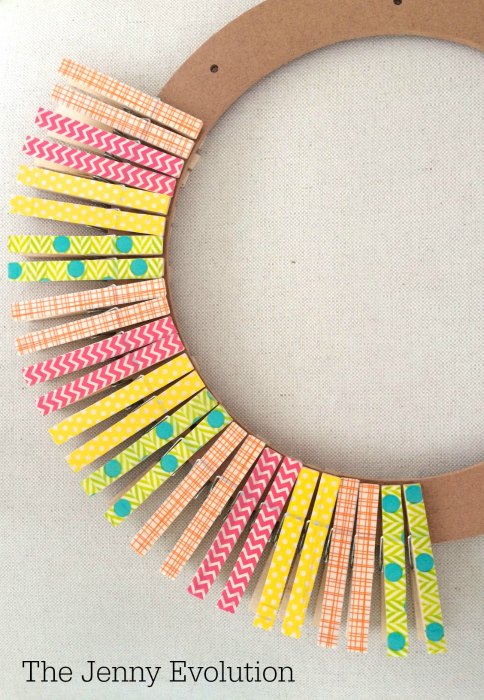
Take your floral craft ring and start placing the clothespins around.
Be sure to keep the clothespin close together so there’s no gap around the inner part of the wreath.
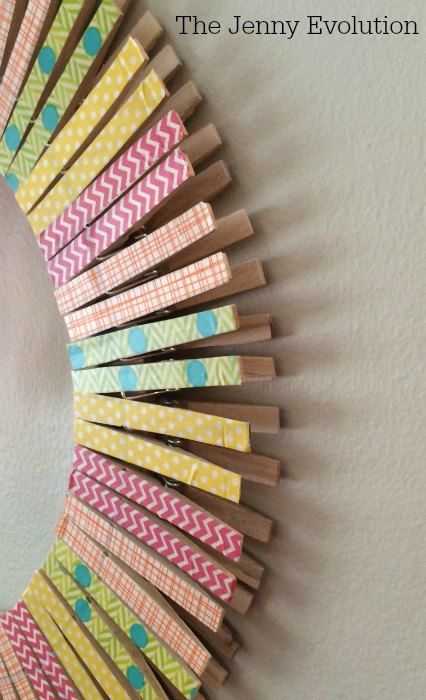
I liked the natural wood showing on the clothespins for the wreath.
And actually, when you step away, you really only notice the color on top of the clothespins.

When you’re done, add some thick ribbon to hang it from.
Be sure to leave some length for the ribbon to hang down.
It adds a touch of softness to the clothespin wreath.
You could also easily add some fabric flowers to the edge of the wreath to add a little something extra.