Clay Pot Graduation Cap Craft
Clay Pot Graduation Caps are a creative and personal touch to celebrate your big milestone. With just a few simple materials and a bit of crafting fun, you can transform an ordinary clay pot into a miniature graduation cap fit for your big day. Painting the pot in your school colors and adding a decorative tassel can make it truly unique and special. It's a wonderful way to showcase your achievement and bring a personalized flair to your graduation celebration. Plus, it makes for a great keepsake to cherish and remember your accomplishment for years to come. So, gather your supplies, let your creativity shine, and enjoy crafting your very own Clay Pot Graduation Cap!

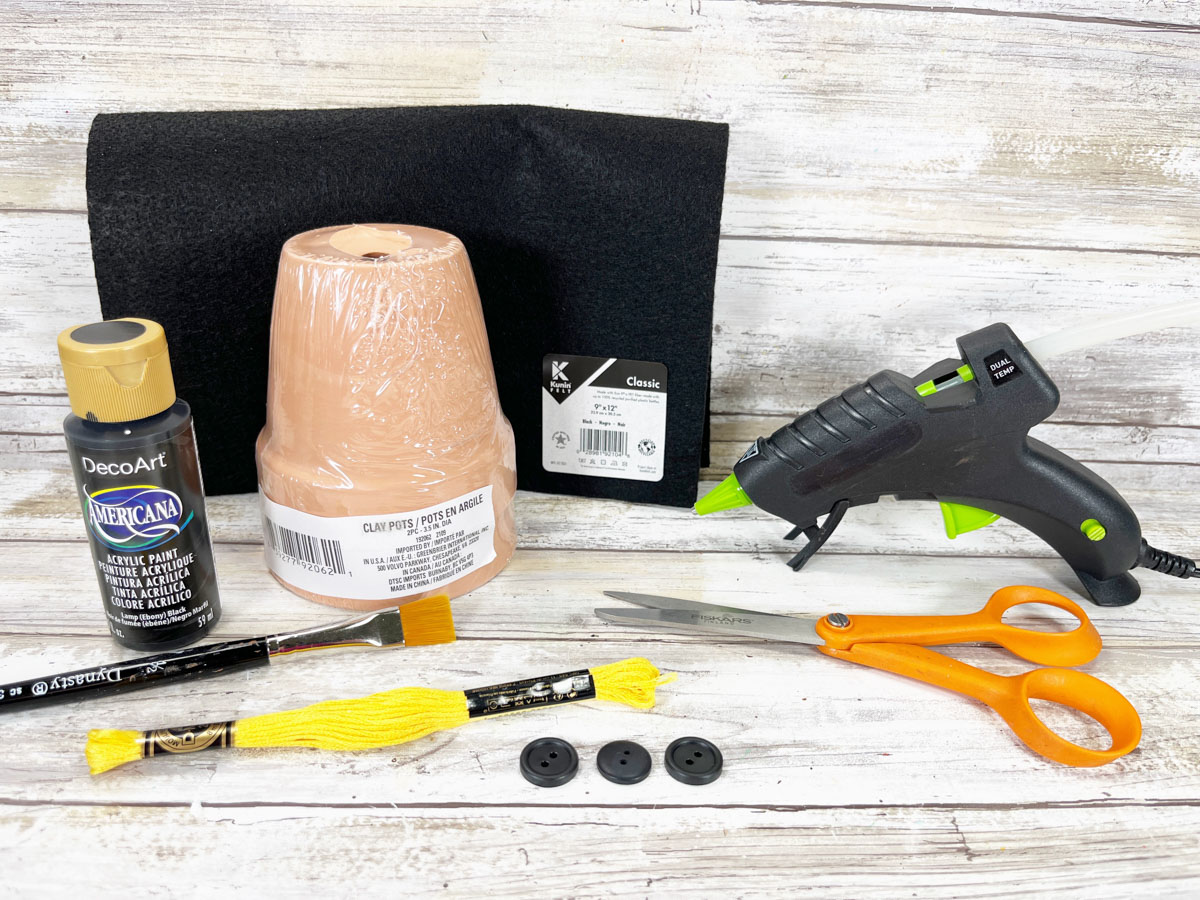
Materials you will need:
- Clay Pots, 3.5”
- Felt Craft Sheet - Black
- Embroidery Floss Skein - Yellow
- Button, Black
- Acrylic Craft Paint – Black
- Glue Gun and Glue Sticks
- Paintbrush
- Scissors
- Ruler
- Pencil
- Recycled Cardboard Box (think crackers or cereal or you can use a piece of cardstock)
- Grad Square Pattern
How to make a clay pot graduation cap craft!
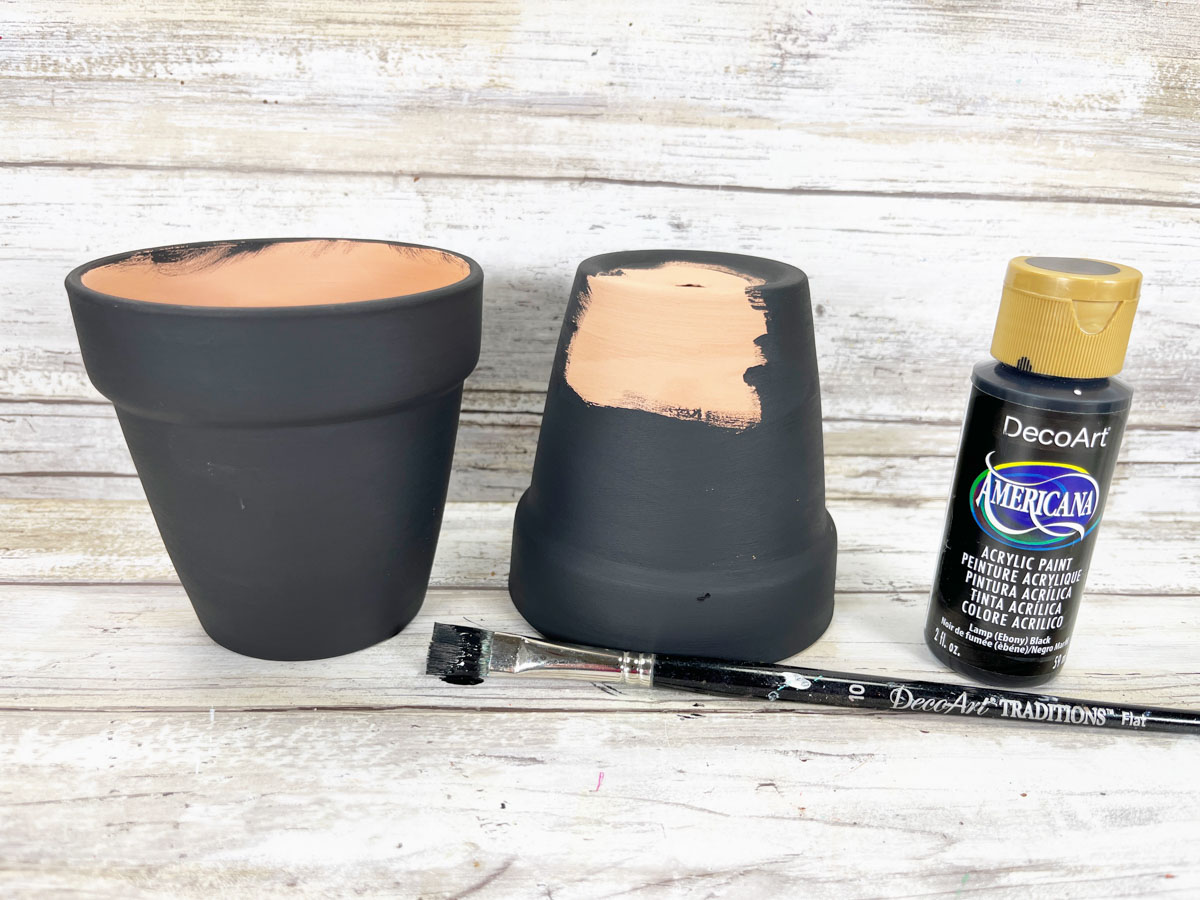
STEP ONE
Basecoat the terra cotta clay pots with black acrylic craft paint.
Let dry, and apply a second coat, if necessary.
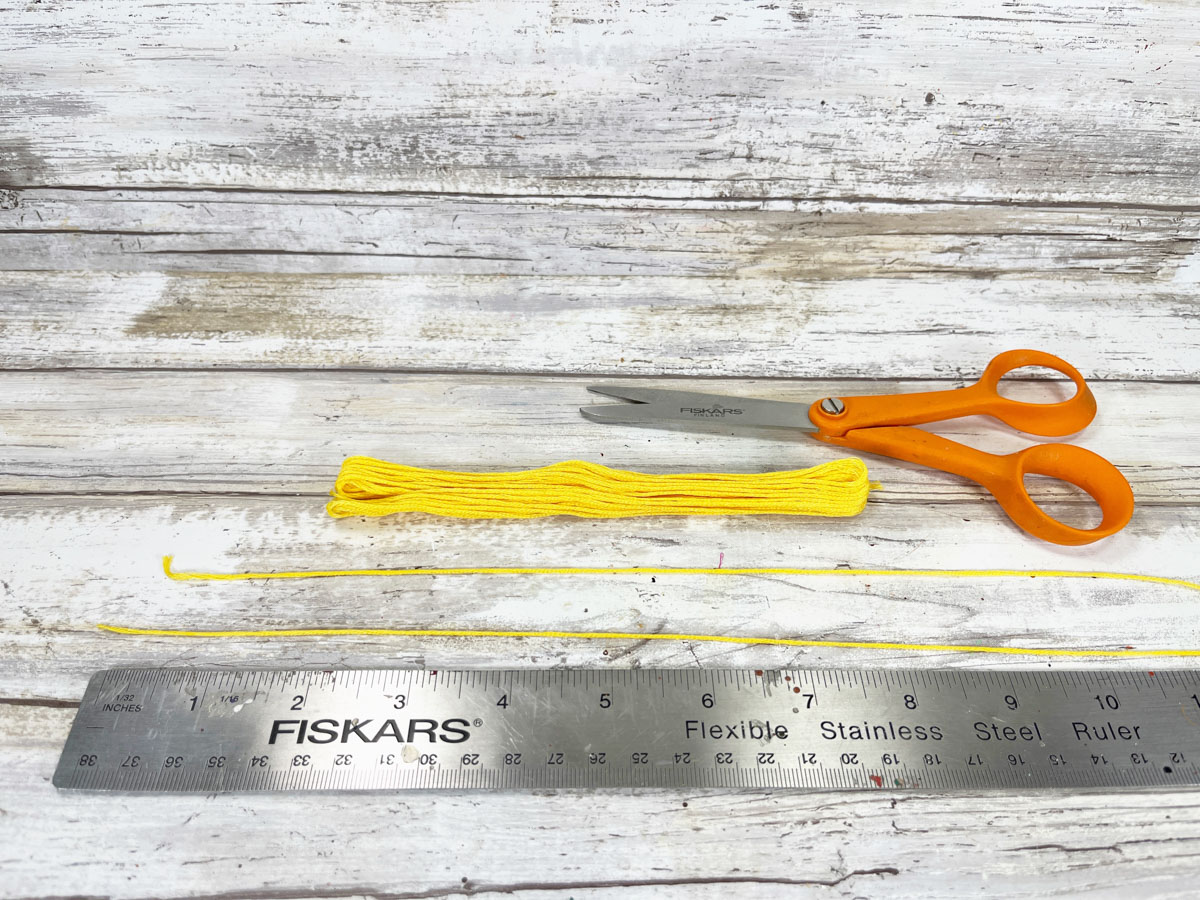
STEP TWO
Measure and cut four lengths of embroidery floss that are 12 inches each.
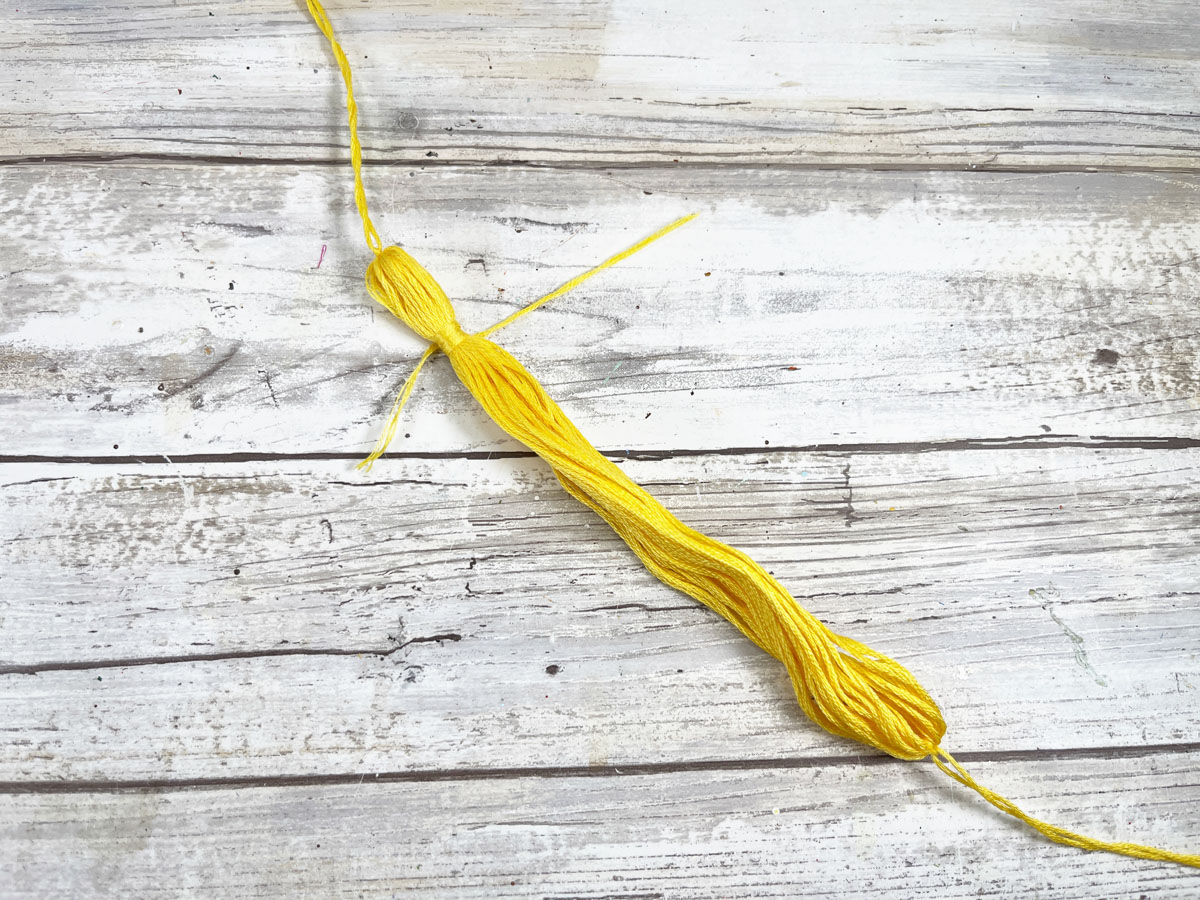
Open the middle of the skein of floss. Tie and knot one of the embroidery floss lengths through and around each loop at the ends of the skein.
STEP THREE
Approximately three-quarters of an inch down from the top knot, tie one length of embroidery floss around the skein, securing it with a knot.
Wrap each end around the skein three times. Wrap one to the left and one to the right. Secure again with a knot. Repeat on the opposite end of the skein.
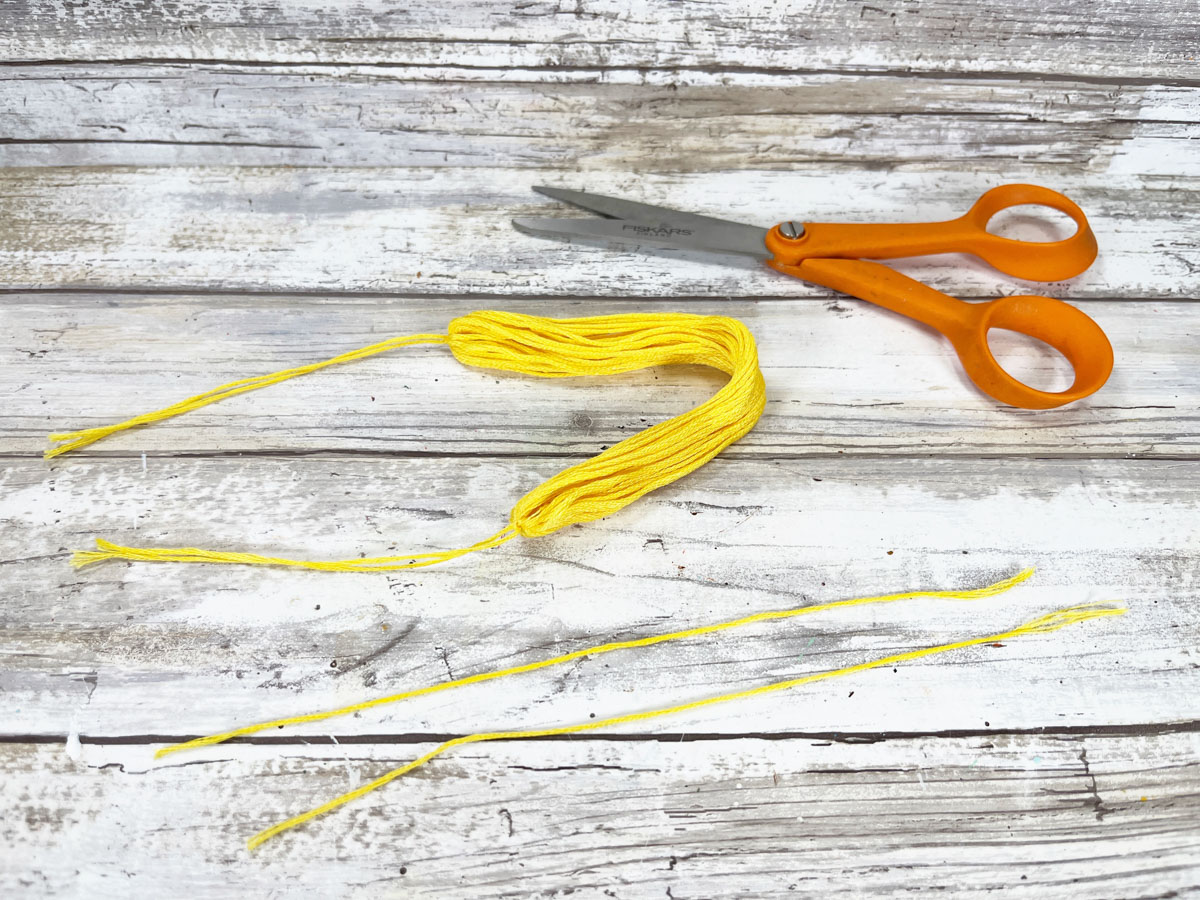
STEP FOUR
Trim the long ends of the wrapped embroidery floss with scissors.
Measure and cut the skein of embroidery floss in half at the three-inch mark with scissors. Secure the knots with a small dot of glue from the glue gun.

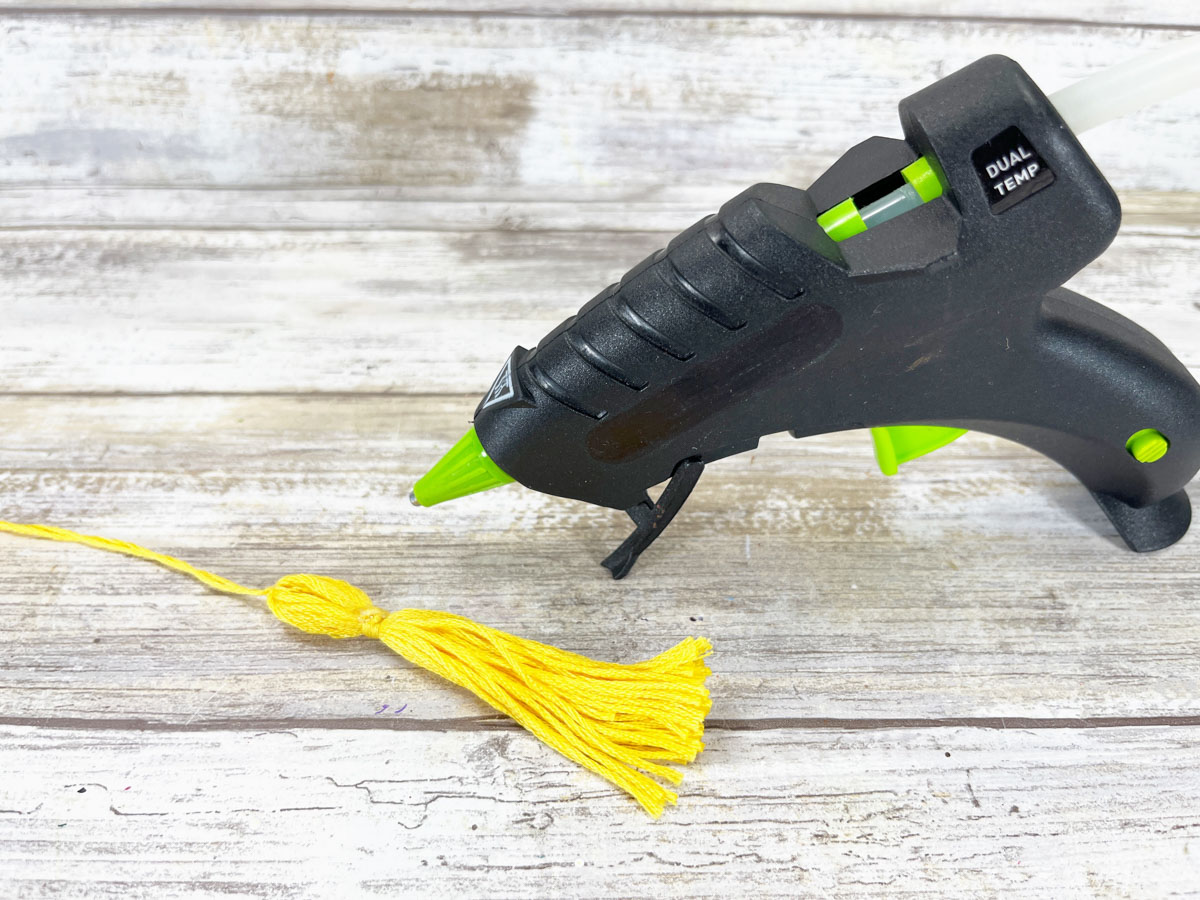
STEP FIVE
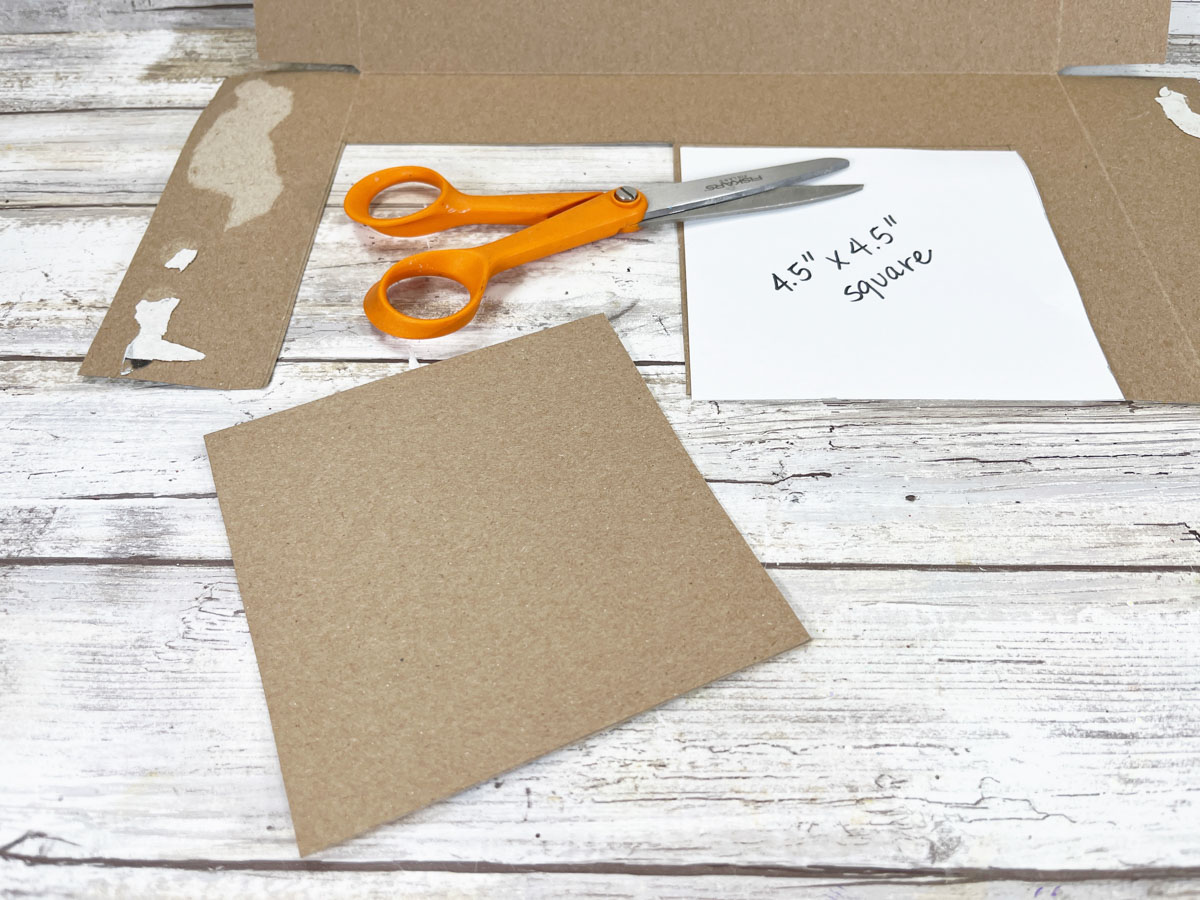
Download and print the grad cap pattern. Cut out the pattern with scissors.
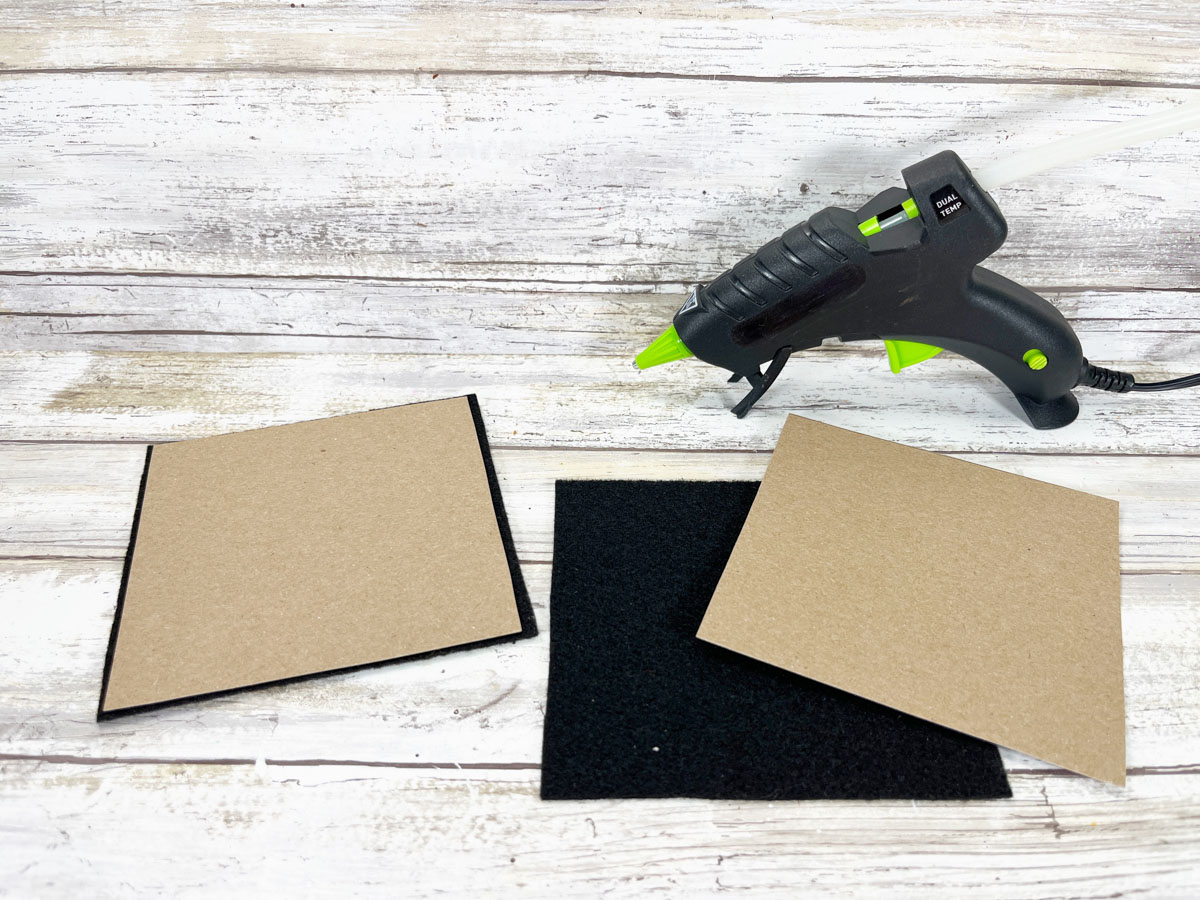
Trace twice onto a cardboard cereal box (or something similar that is sturdy) with a pencil, and then cut out with scissors.
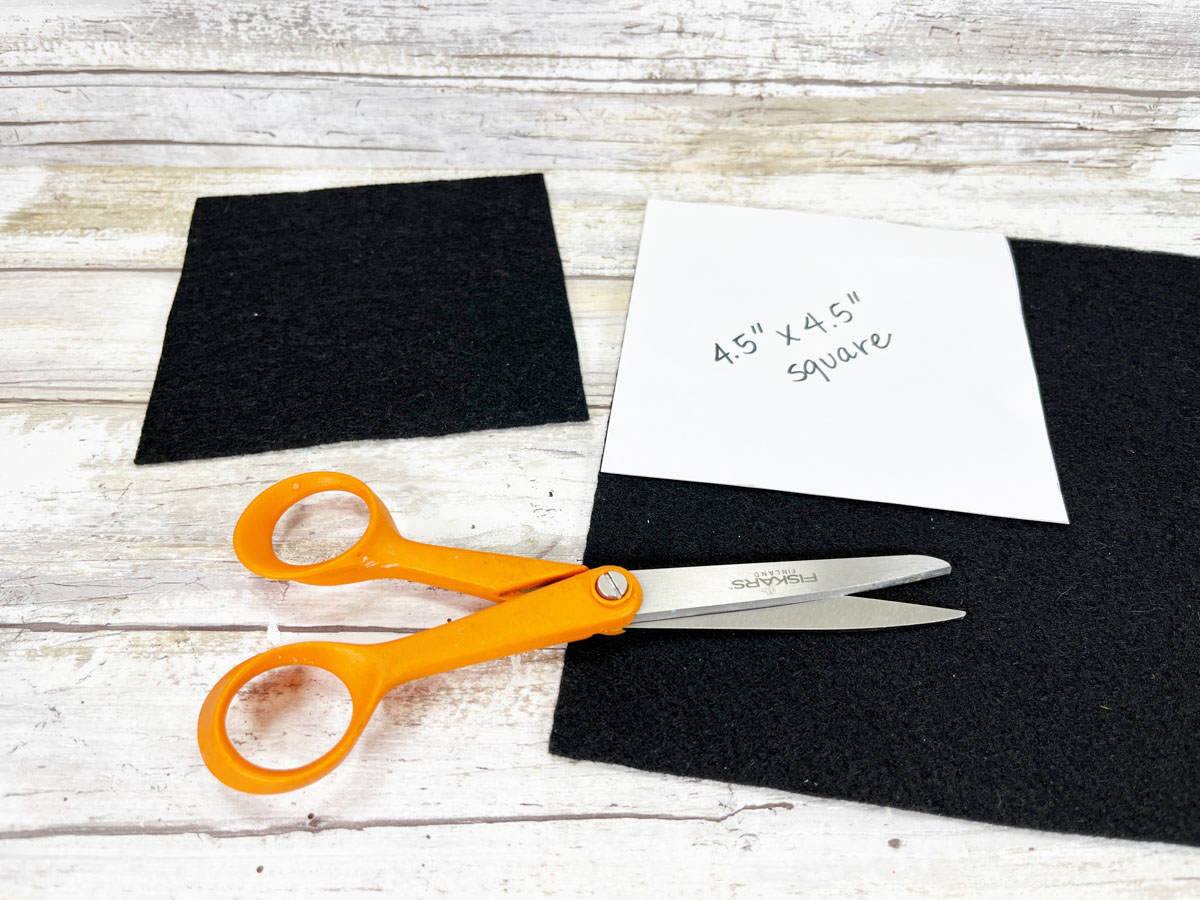
Trace twice onto black craft felt, and cut out with scissors.
STEP SIX
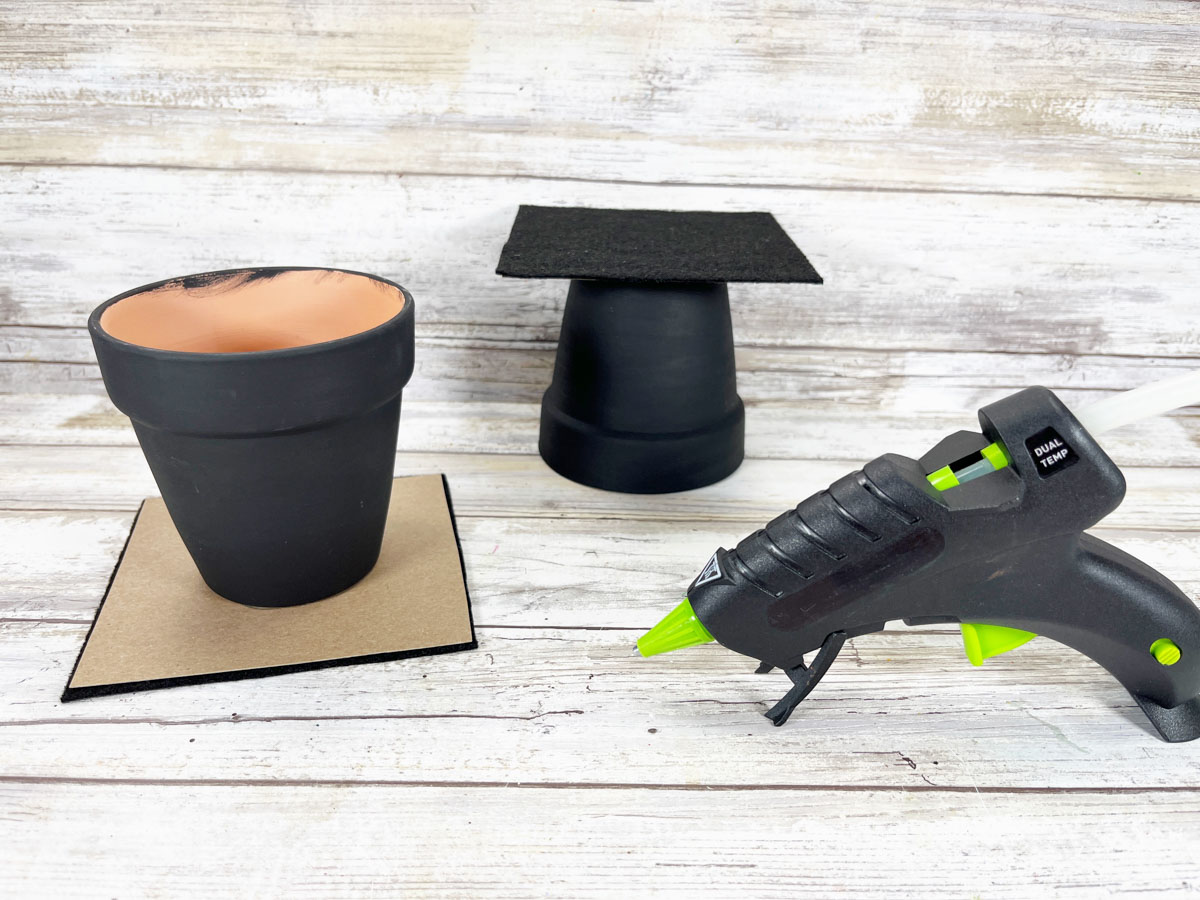
Attach the craft felt squares to the top of the cardboard squares with a glue gun and glue sticks.
Glue the felt and cardboard squares to the bottom of the clay pots.
You can use liquid craft glue for this project, but you will have to wait for it to dry.
STEP SEVEN
Lay the tassel out on top of the grad cap. Trim the tassel hanger with scissors and attach it to the center of the grad cap top with a glue gun and glue sticks.
To finish, glue the button on top of the tassel hanger to cover the cut end.

Create this festive and creative Clay Pot Graduation Cap in your graduate’s school colors and then use it for party decorations or a fun way to give them a gift card or cash.