Handmade Mushrooms Yard Decor
Looking to spruce up your yard with some charming and unique decor? Handmade mushrooms yard decor is the perfect way to add a whimsical touch to your outdoor space! These delightful creations come in a variety of shapes, sizes, and colors, making them a fun and playful addition to any garden or lawn. Whether you prefer a small cluster of colorful mushrooms or a larger, statement-making piece, these handmade decorations are sure to brighten up your yard and bring a smile to your face. Not only are they visually appealing, but they also add a touch of artisanal craftsmanship to your outdoor oasis. So why not add some handmade mushrooms yard decor to your space and create a magical and inviting atmosphere for you and your guests to enjoy!
Supplies:
Lowes or Home Depot: Concrete (quick set)
Yard: Branches! (You can use anything else, even stakes from Lowes or Home Depot.)
Milton’s Daughter: Debi’s Design Diary DIY Paint: Marquee, Queen Bee, White Swan
Stash: Wax paper
Let’s make it!
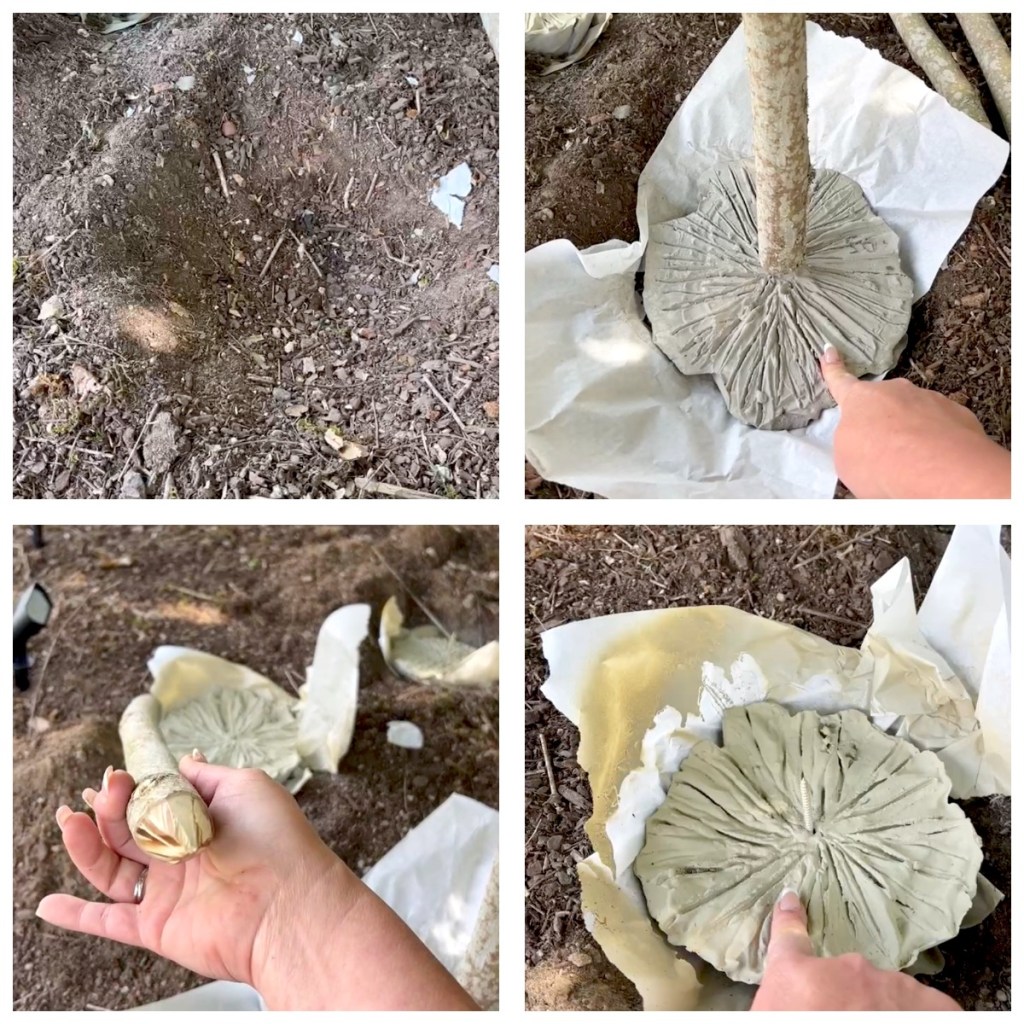
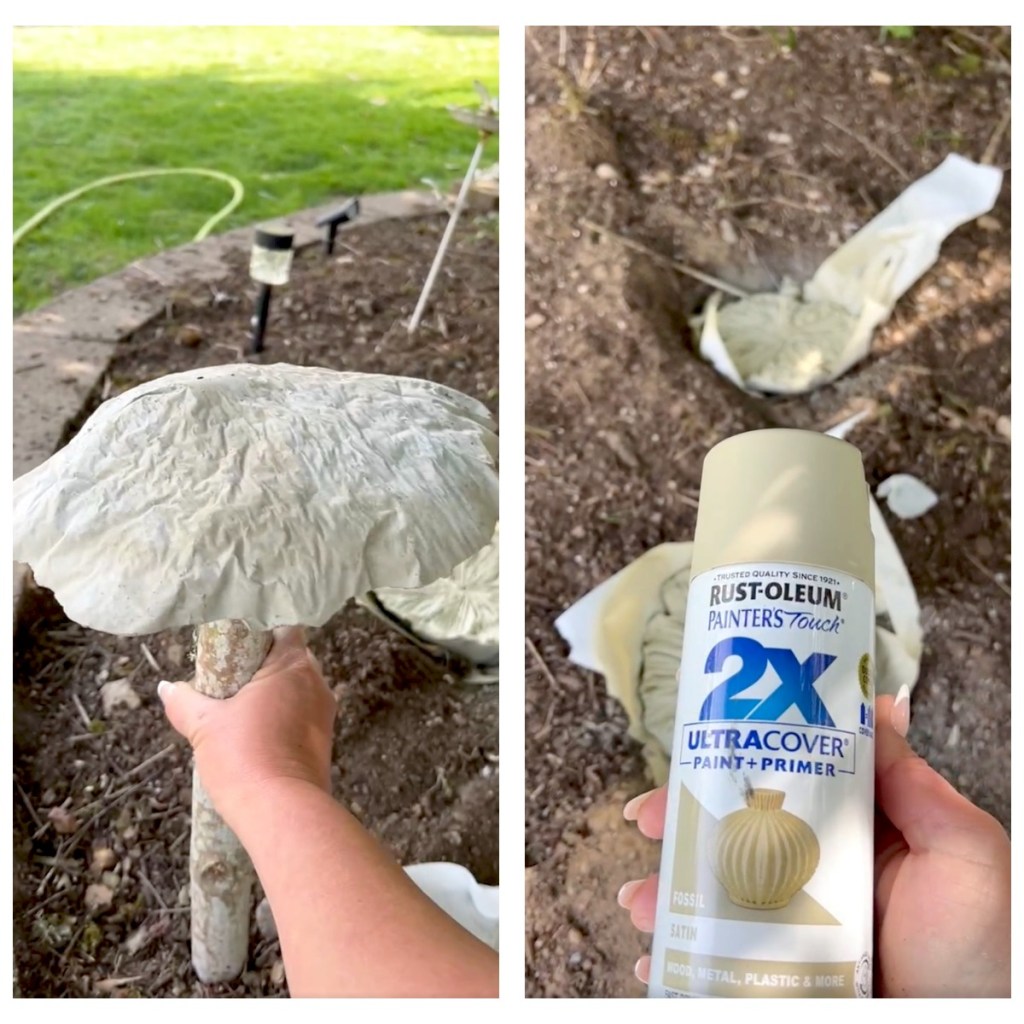
Dave dug a shallow hole, lined it with wax paper, then poured fast setting concrete in it. We made lines in what will be the underside of our mushrooms while the concrete was still wet.
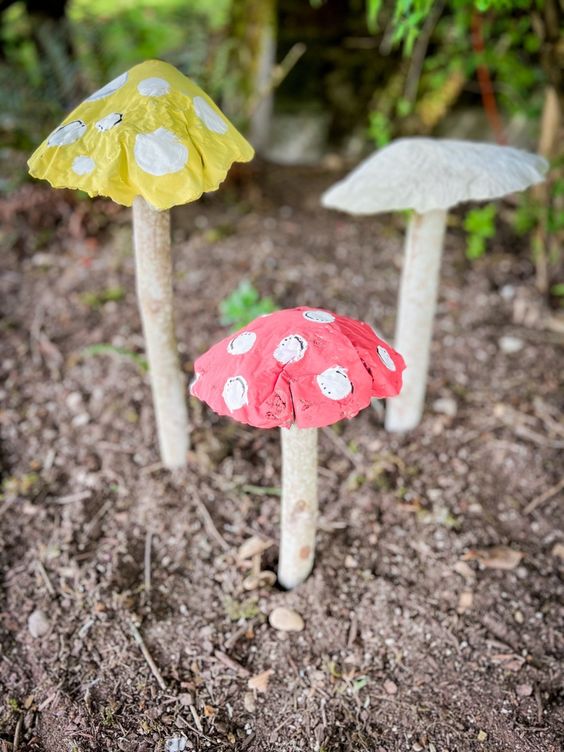
The branch is just one from the yard. You can use stakes or wood posts, whatever you have… Dave predrilled some screw threads and also cut one end of the branch into a point so we can stick it into the yard.
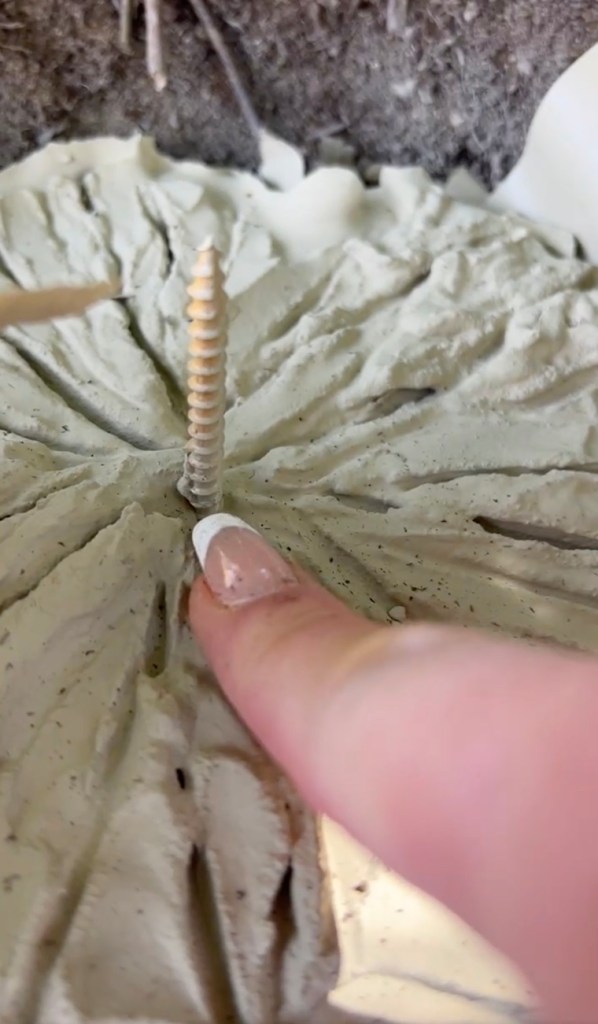
Dave also placed a long screw in the center so we would have something to attach the branch to.
Here’s a closeup of the screw. It’s a long one that is embedded while the concrete is wet.
I sprayed the underside with Rust-oleum in that taupe color.
Now to paint them!
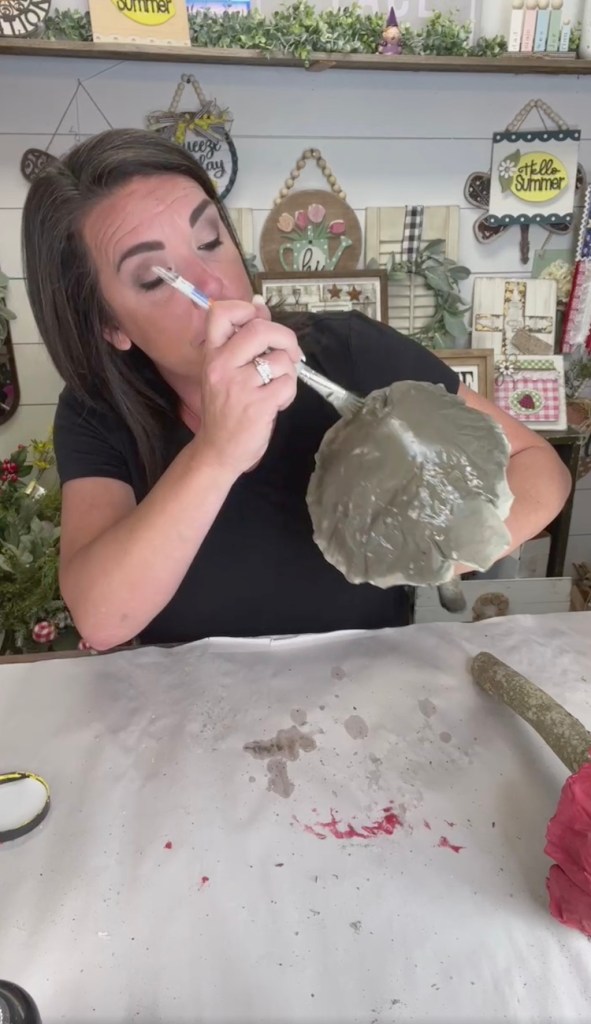
I painted water over the concrete to thin out the paint a bit.
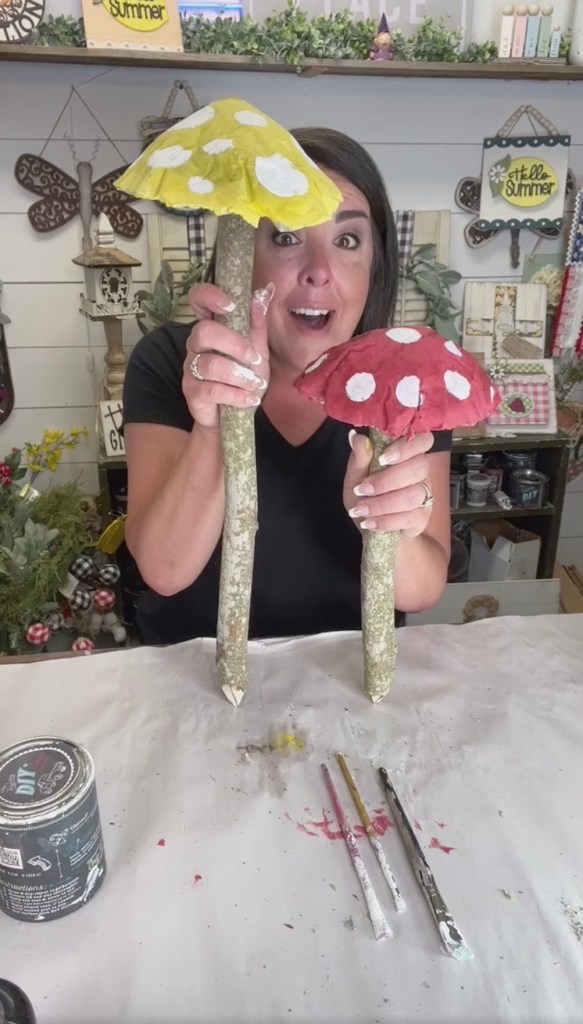
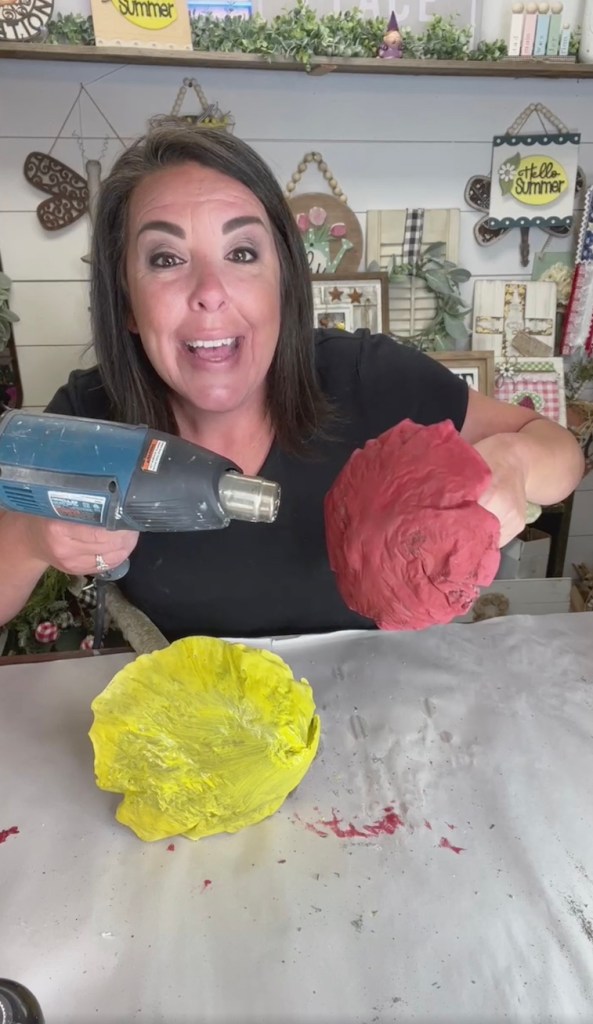
I used Marquee from Debi’s Design Diary DIY Paint for the red one. You could leave them in the natural concrete color, because they really look great just like that!
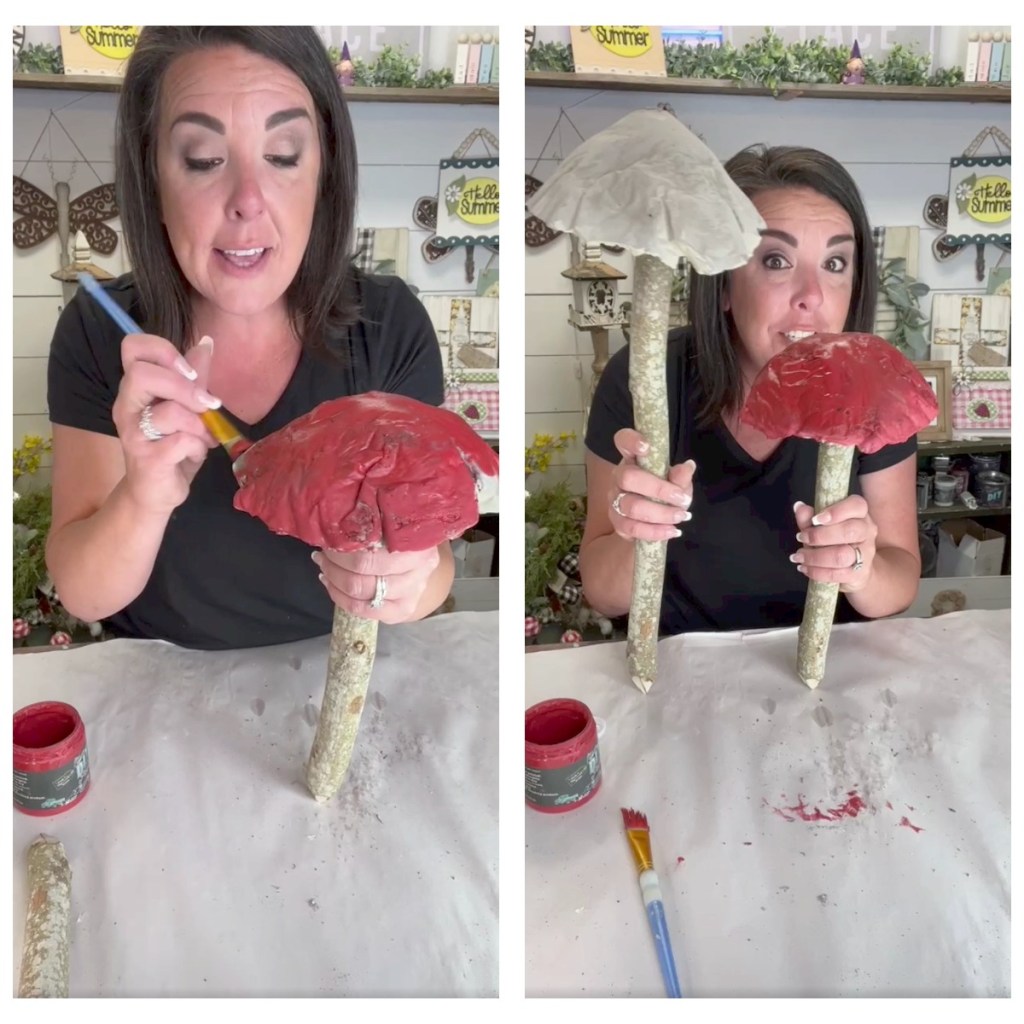
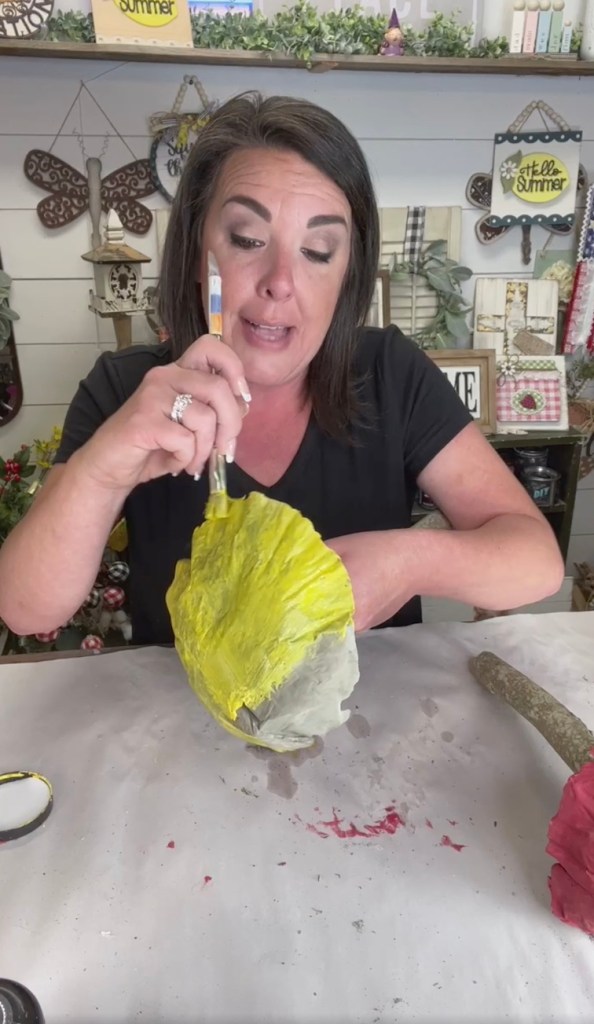
I painted the yellow one with Debi’s Queen Bee.
Then I dried both with my heat tool
I just made circles with my larger paintbrush, and used a smaller one for the smaller circles.
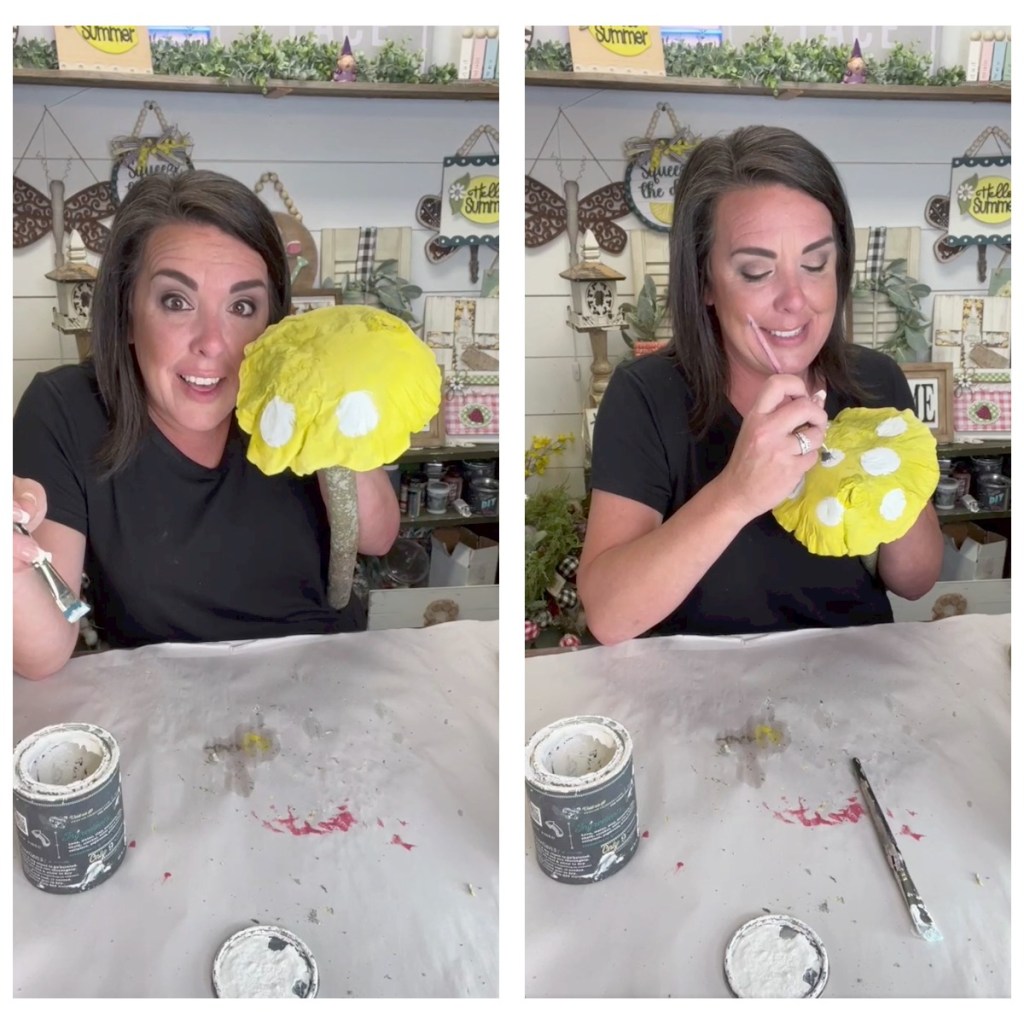
I’m not sure I love these dots and dashes, but I can always paint over them!
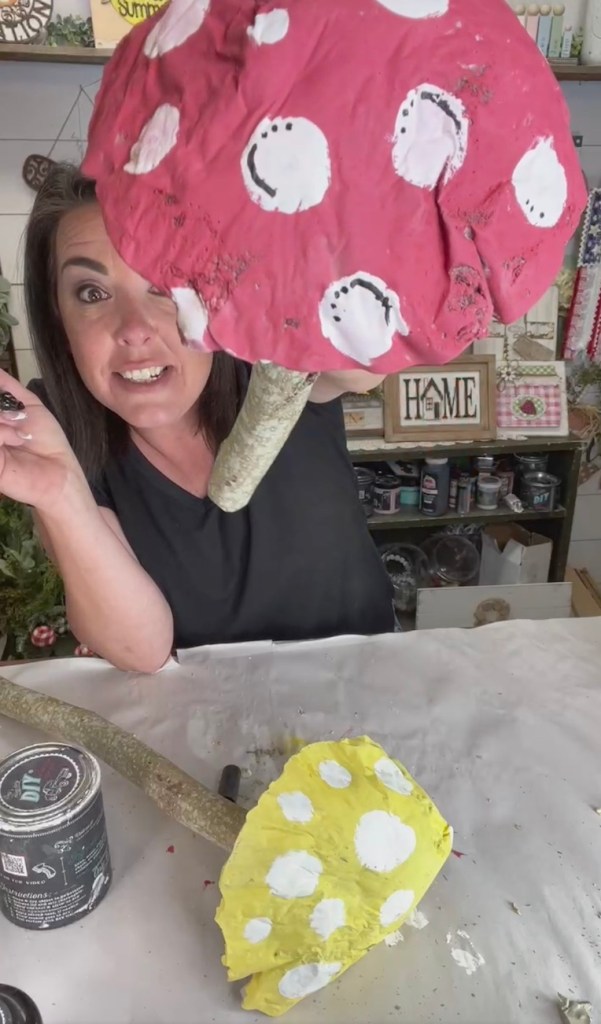
And here they are, y’all! So quick and easy!