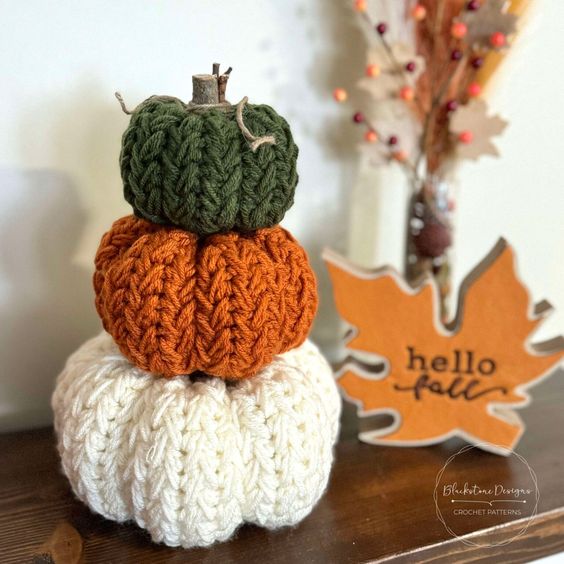
Crochet Braided Pumpkin
Isn't the crochet braided pumpkin just the cutest fall decoration to cozy up your home? Picture this: a charming handmade pumpkin intricately woven with warm hues of yarn, adding a touch of whimsy to your seasonal decor. Whether you place it on your mantel or use it as a table centerpiece, it's sure to bring a smile to your face every time you see it. The best part? You can get creative with different colors and textures, making each crochet braided pumpkin uniquely yours. So grab your crochet hooks and let's craft a delightful pumpkin that will be the envy of all your guests this autumn!
Materials
Worsted Weight Yarn (#4)
- Amount Varies by size
H/8/5.00mm Hook
Fiberfill Stuffing
Yarn Needle
Scissors
Optional Materials:
Twigs
Twine
Gauge
11 feather sts x 12 rows = 4”
Not Critical for this Project
Finished Measurements
Varies by stitch and row count
Green: 4 x 2.75” (10” x 6” Strip)
Orange: 5 x 3.25” (15.5” x 7.25” Strip)
White: 6.5 x 3.75” (22” x 8” Strip)
Stitch Guide
ch = chain
FS = See Special Stitches
hdc = double crochet
sc = single crochet
sl st(s) = slip stitch(es)
YO = yarn over
Skill Level
Intermediate
Written in U.S. Terms
Pattern Notes
- Beginning chains do not count as stitches.
- Where asterisks appear, repeat the instructions between them.
- Each strip should be a rectangle when finished. I did the following stitches/rows for each pumpkin: Green = Ch 28 x 13 Rows; Orange = Ch 40 x 17 Rows; White = Ch 66 x 19 Rows.
Special Stitches
Feather Stitch (FS) [R3 only]: YO, insert hook in ch-1 space from previous row, YO, draw up a loop, YO, insert hook in skipped sc 2 rows below (just below the ch-1 space), YO, draw up a loop, YO insert hook in next unworked ch-1 space from previous row, YO, draw up a loop, YO, draw through all 7 loops on hook.
Feather Stitch (FS) [R4 and remaining rows]: YO, insert hook in ch-1 space from previous row, YO, draw up a loop, YO, insert hook in ch-1 space 2 rows below, YO, draw up a loop, YO insert hook in next unworked ch-1 space from previous row, YO, draw up a loop, YO, draw through all 7 loops on hook.
Instructions
R1. Working in the back bump of the chain across: Chain an even number, sc in 2nd chain from hook and in each ch across, turn
R2. Ch 1, hdc in 1st st, *ch 1, skip 1, hdc in next* across, turn
R3. Ch 1, hdc in 1st hdc, ch 1, *FS, ch 1* across to last ch-1 space, YO, insert hook in last ch-1 space from previous row, YO, draw up a loop, YO, insert hook in skipped sc 2 rows below (just below the ch-1 space), YO, draw up a loop, ch 1, hdc in last st, turn
R4. Ch 1, hdc in 1st hdc, ch 1, *FS, ch 1* across, hdc in last st, turn
R5. R4 to desired height; Fasten.
STEM
With Any Color,
R1. Make magic ring, ch 1, 6 sc in ring (6)
R2. 2 sc arnd (12)
R3-10. Repeat R10 to desired height
R11. FLO 2 sc in each st arnd; Fasten.
Finishing
- Fold strip in half and sew short sides together.
- Weave tail in and out of bottom, pull strings to cinch, then stitch closed.
- Flip right side out and stuff it firm (don’t overfill and stretch the stitches).
- Weave tail in and out of top, pull strings to cinch, then stitch closed.
- Create sections around the pumpkin by inserting a “threaded” needle in through the bottom center of the pumpkin and out through the top center, then back in through the bottom; pull string to cinch pumpkin slightly. Repeat this 5 more times, then adjust loops to make sections even.
- Add stem to top center (of top pumpkin only if making stacked pumpkins). I made a stem from twigs and twine.
- Hide all strings.