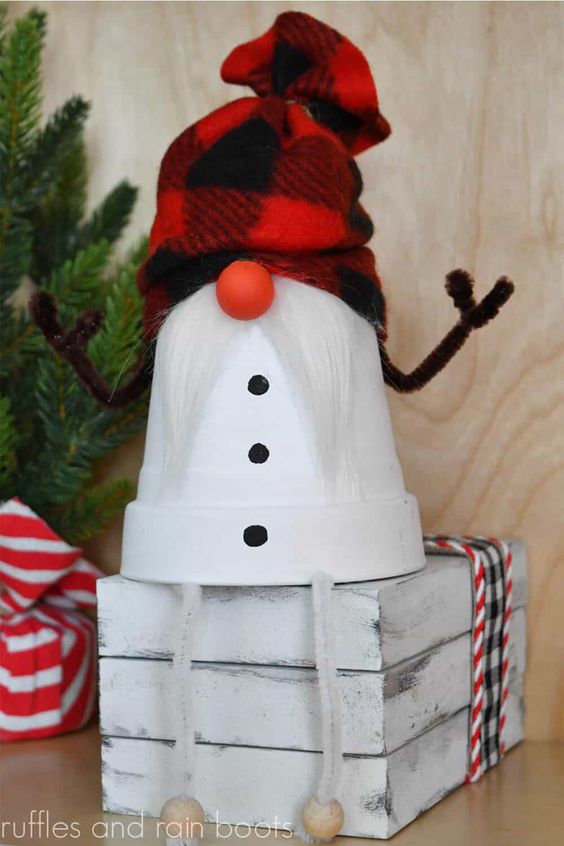
Clay Pot Snowman Gnome
Creating a Clay Pot Snowman Gnome is a delightful and whimsical craft that is perfect for adding a touch of cheer to your winter decor. You can get creative with different colored paints, ribbons, and felt to give your snowman gnome its own unique personality. This craft is not only fun to make but also a wonderful way to spread some joy during the chilly winter months.
Materials
- 1 - 4-inch Terra Cotta Pot
- White Acrylic Paint
- Orange Acrylic Paint
- Small Amount of Fleece Buffalo Check Fabric (I used an infinity scarf from Dollar Tree)
- 2 - 1/2-inch Wood Beads (feet)
- 1 - 1-inch Wood Bead (nose)
- 1 White Chenille Wires for Legs (or thin rope)
- 1 Brown Chenille Wires for Arms
- Twine or Embroidery Thread (to secure hat)
- White Faux Fur
Tools
- Paintbrush
- Scissors
- Hot Glue Gun & Glue
- Wire Cutter, optional
- Razor Blade or Craft Knife
- Black Paint Pen
Instructions
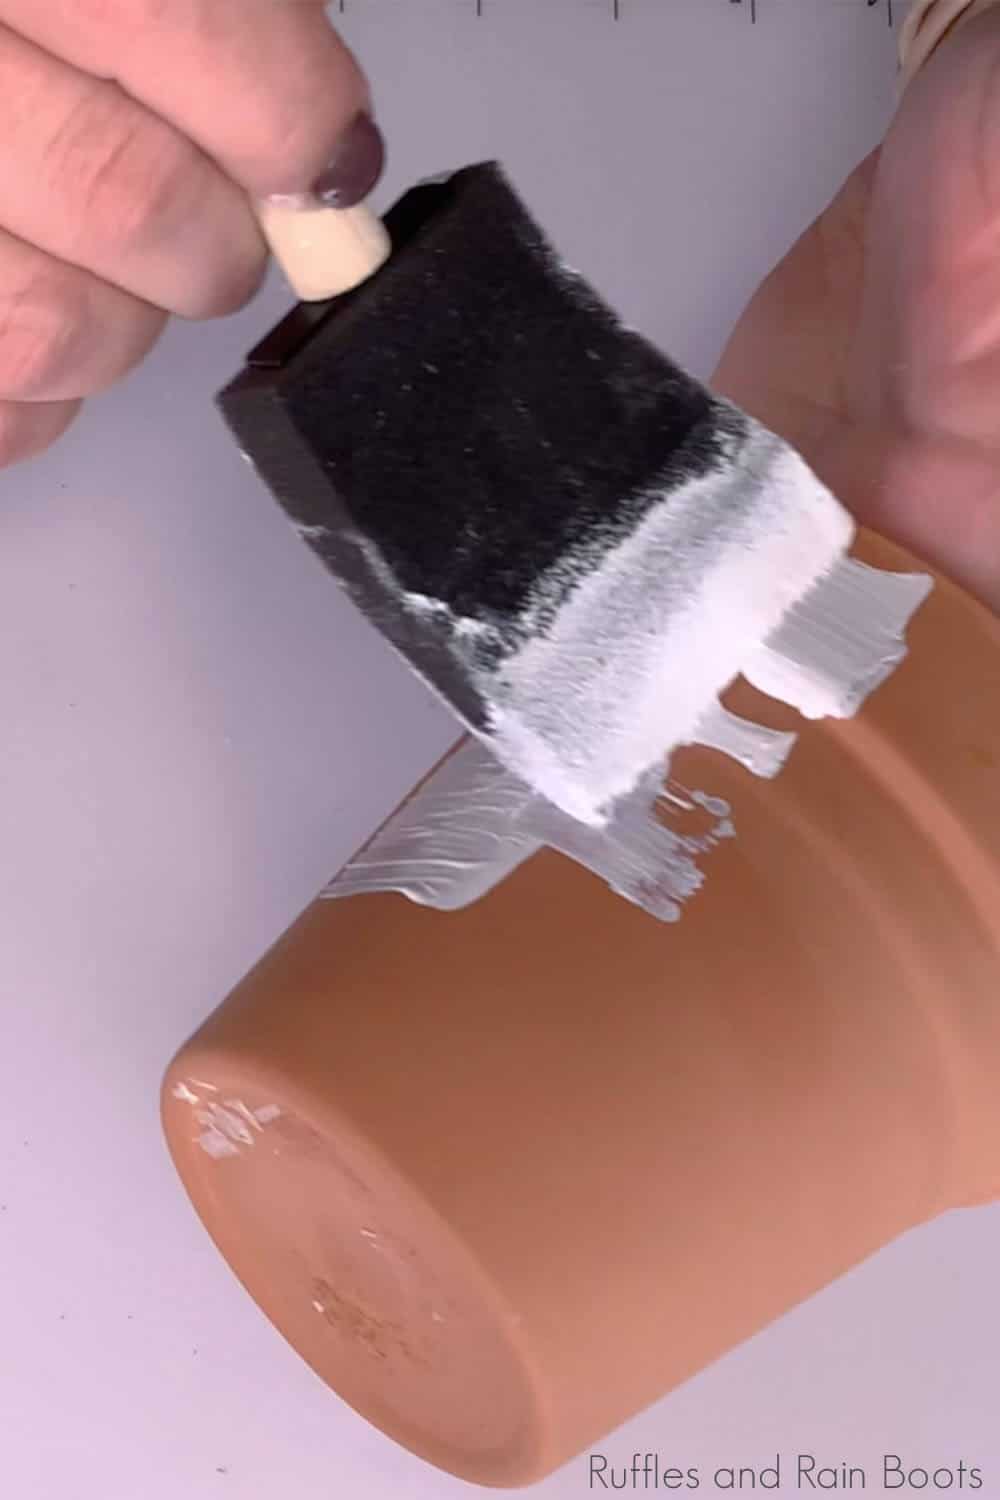
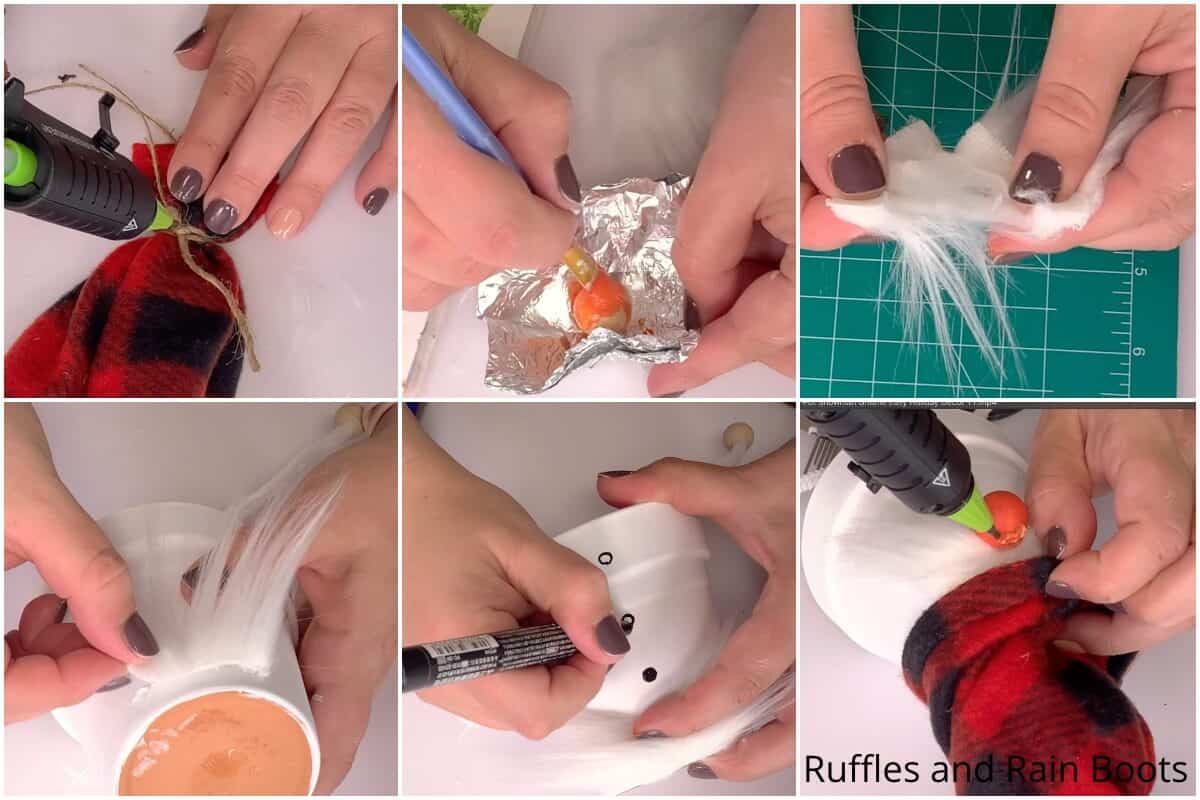
- Paint the pot exterior with the white paint and allow it to dry completely. This may require multiple coats to get good coverage.
- Paint the larger wood bead orange for the nose and allow it to dry completely.
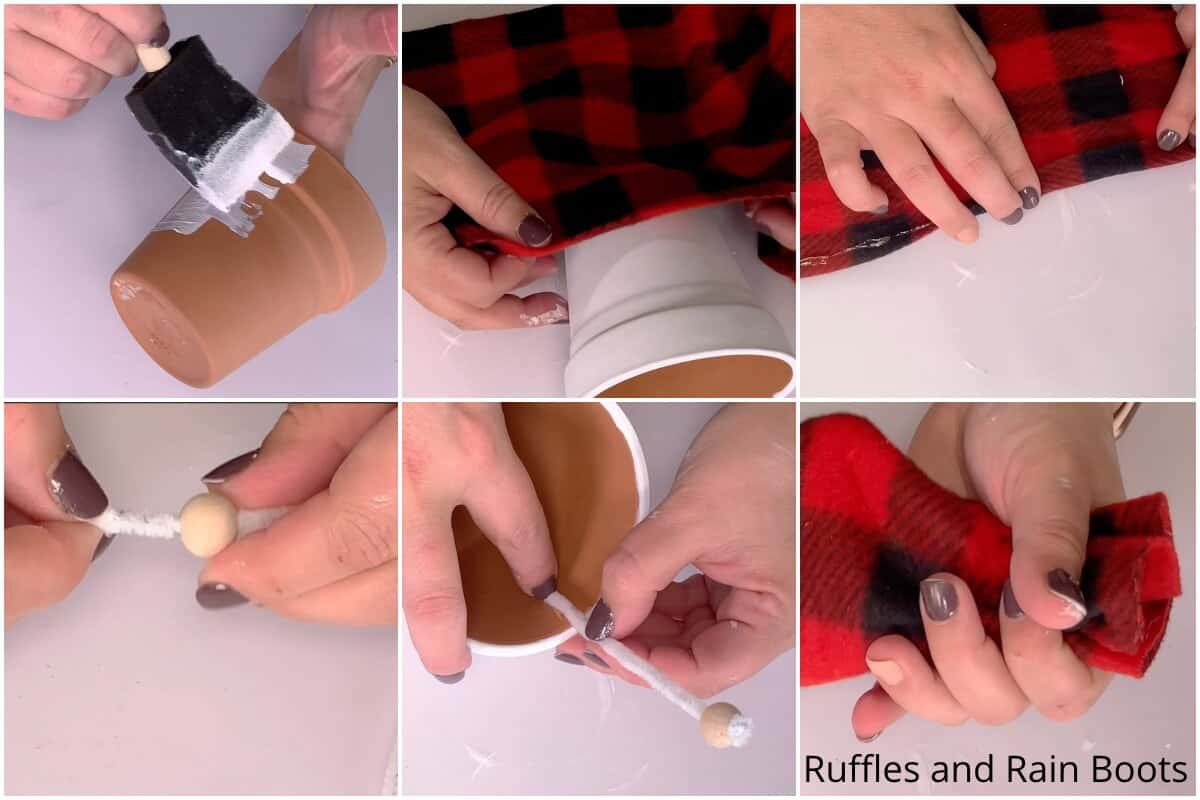
- Wrap the fabric around your hat, about where you want the hat to sit, then add 1-inch of width to the fabric to allow for hemming. Cut the fabric into a rectangle at this width.
- Flip the long edge of your fabric up by 1/4-inch and hot glue hem it to make the brim of the hat.
- Fold the fabric in half right-side to right-side and hot glue hem the edge. This will form a cylinder to make the hat with. Allow the hot glue to cool completely.
- Make the legs by cutting the white chenille wire in half then threading a bead onto one of these half- white chenille wires, then twisting the end of the wire up and around onto itself to keep the bead from coming off, securing with hot glue if desired. Repeat for the other leg.
- Position the other end of the white chenille wire on the inside of the pot, where you want the legs to sit and hot glue them in place.
- Turn the hat cylinder right-side out and gather the top of the hat (the side opposite the brim). Tie the gather in place with the twine or embroidery thread and secure with hot glue.
- Cut your faux fur in to TWO 2-inch wide by 1/2-inch tall pieces by flipping it over and, using the razor blade or craft knife, cutting through the faux fur's fabric backing only.
- Hot glue one piece of the faux fur onto the terra cotta pot just above where you want the hat brim to sit, then add a line of hot glue to the top edge of the faux fur you just glued to the pot and place the second piece of faux fur right on top of that first layer. Allow the hot glue to cool completely.
- Split the faux fur in the middle, all the way down to the fabric backing to fully expose the belly of the gnome/pot. Using the black paint pen, draw on three buttons in a vertical line down the belly middle. Allow the paint to dry completely.
- Fit the hat down over the top of the pot, tucking it just over the top edge of the faux fur.
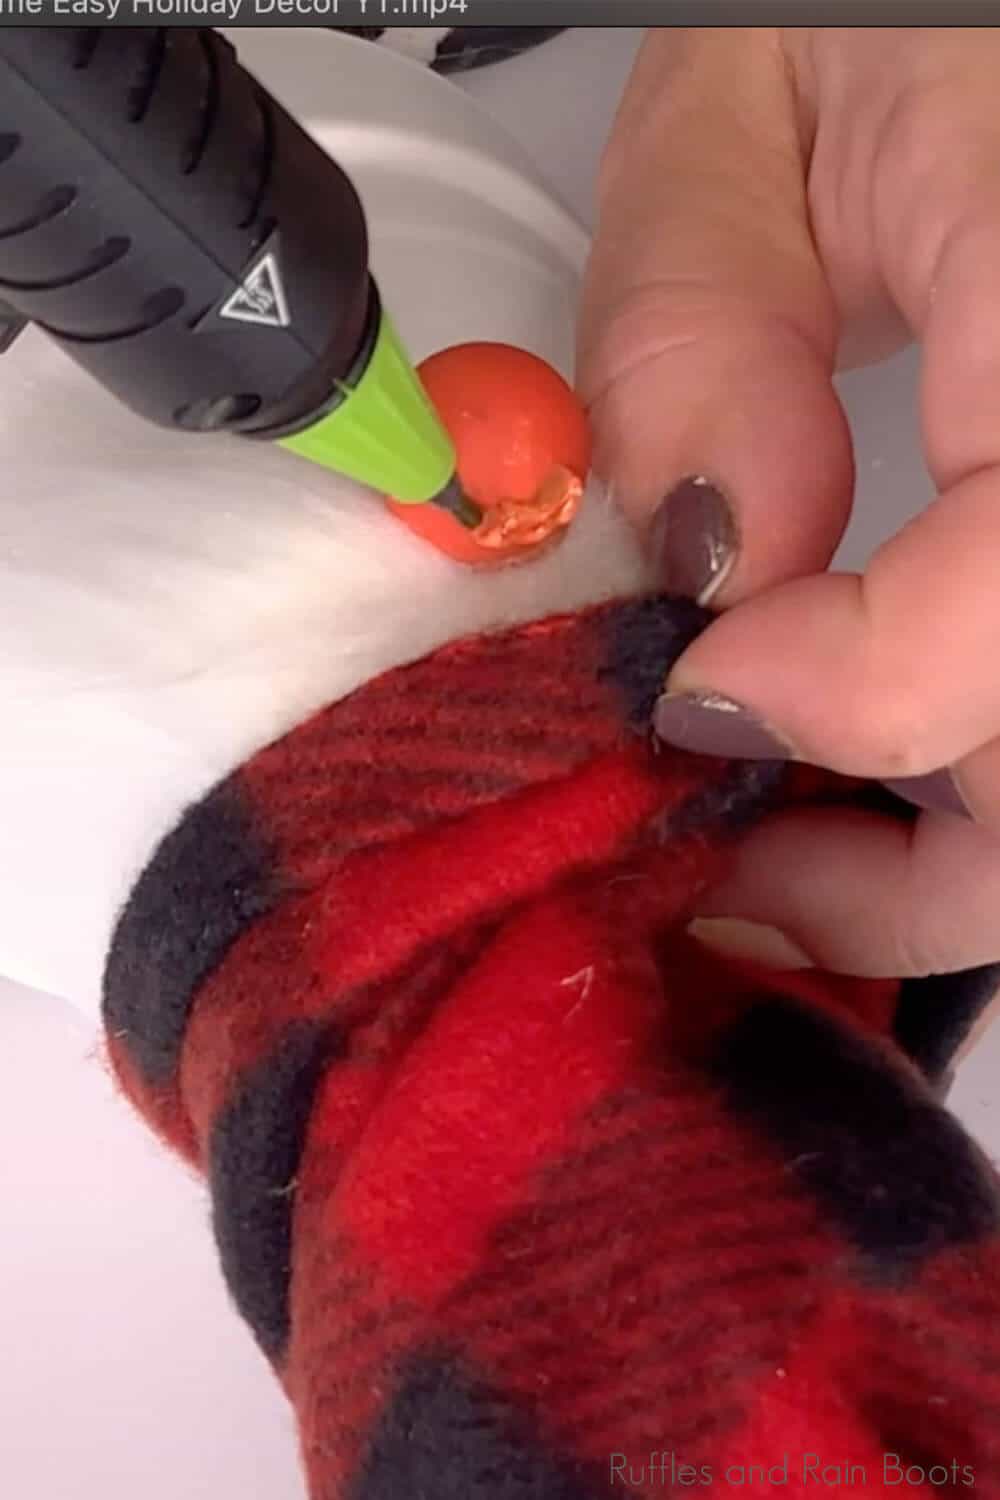
- Hot glue the orange wood bead to the mustache, where the fur is split to the fabric backing. Allow the hot glue to cool completely.
- Tuck the hat down over the nose and hot glue the brim in place with a cute little wrinkle right on top of the nose.
- Pull the hat down in the back and hot glue it in place, leaving the sides of the hat open for now.
- To make the arms, cut the brown chenille wire in half, then shape one end into two small twists to be the snowman's hand, repeating with the other half for the other arm/hand. Hot glue these on either side of the gnome, tucked up under the edge of the hat. Then get ready to enjoy him because he's done!
No comments
Write a comment