DIY Bottle Cap Wreath
If you're looking to add a touch of charm to your home decor, why not try making a DIY bottle cap wreath? This fun and creative project not only helps you upcycle those bottle caps lying around, but it also provides a personalized touch to your space. To get started, gather a variety of bottle caps in different colors and sizes. You can use a circular base, like a wire wreath frame, to arrange and glue the bottle caps in a pattern you like. Get creative by mixing and matching colors or even painting the bottle caps for a unique look. Once you've finished assembling your wreath, you can hang it on your door, wall, or even use it as a table centerpiece. This project is not only eco-friendly but also a great way to show off your creativity and add a bit of homemade flair to your home!

Bottle cap wreath supplies
- sponge brush
- bottle caps
- black paint
- wreath form
- black ribbon
- hot glue and gun

Step 1: paint the wreath
Use the black paint to cover the wreath, front and back.
Let it dry.
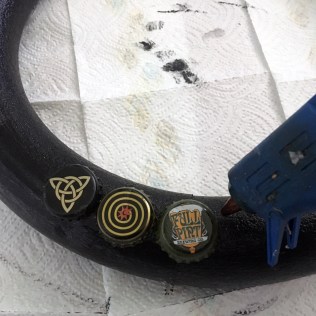
Step 2: Glue on the first bottle cap layer
For the first layer, cover the front of the wreath by gluing on the bottle caps side by side. Make sure each is touching the one beside it.
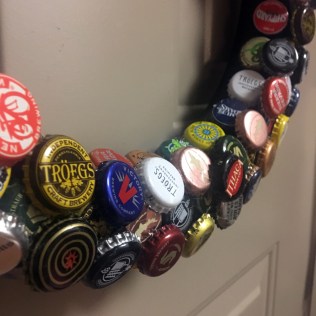
Step 3: layer the bottle caps
Add a layer above and below your base row.
Then, add two more layers over top, covering up the space where you can see the black paint between each layer.
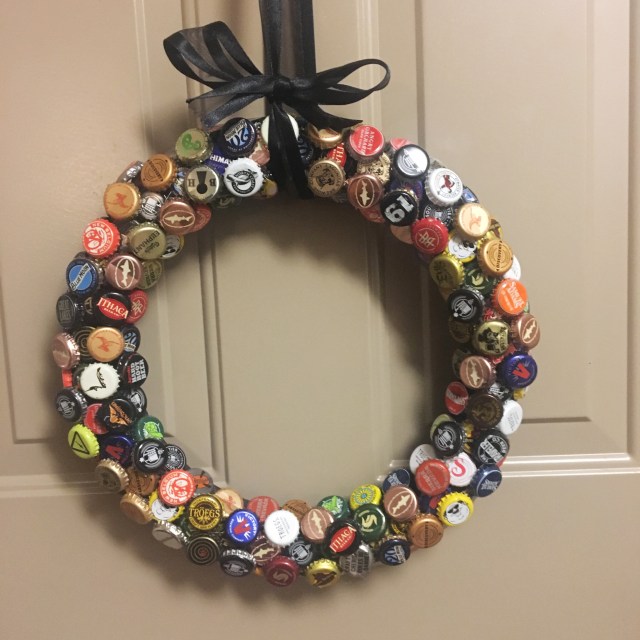
Add a pretty bow and hang it up! You’re finished.