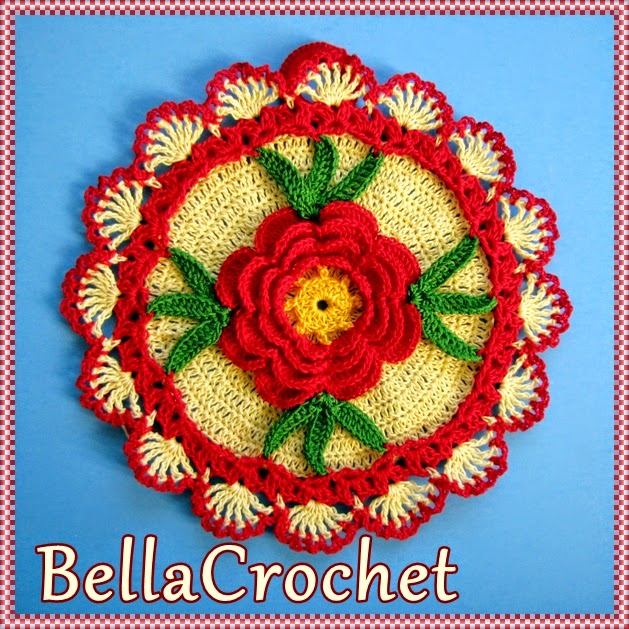
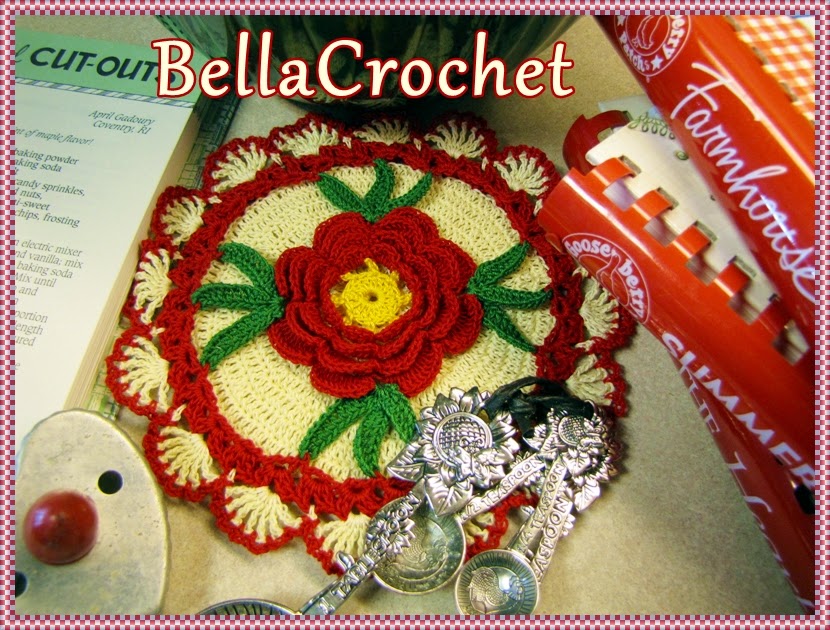
Add a touch of elegance and charm to your kitchen with our exquisite Crochet Rose Decorative Potholder. This beautifully handcrafted potholder is not only functional but also serves as a stunning piece of decor. The intricate crochet pattern creates a delicate rose design that is sure to catch the eye of anyone who enters your kitchen.

Important notice: Please note, that while this type of design is traditionally called a“pot holder” it is intended to be used as a decorative item only. The size 10 thread from which it is made is not thick enough to protect you from burns. Please do not use it to handle hot items, or to protect surfaces from hot pots or pans.
Size: About 7” across
Skill Level: Intermediate- for those who are familiar with working with size 10 thread and steel hooks, and who have a thorough understanding of the basics of crochet
Special Stitches:
For Eyelet Space (eyelet sp), (ch 4, tr in 4th ch from hook) To work into eyelet sp, insert hook between the ch-4 and the tr of each sp
For Shell, (2 dc, ch 2, 2 dc) in st or sp indicated
Materials:
Size 10 Crochet Cotton Thread:
100 yards each Red and Cream
50 yards Green
25 yards Yellow
1” Plastic ring for Hanging Ring
Heavy Spray Starch
Tapestry needle
Size 7 (1.65mm) steel Crochet Hook
Front
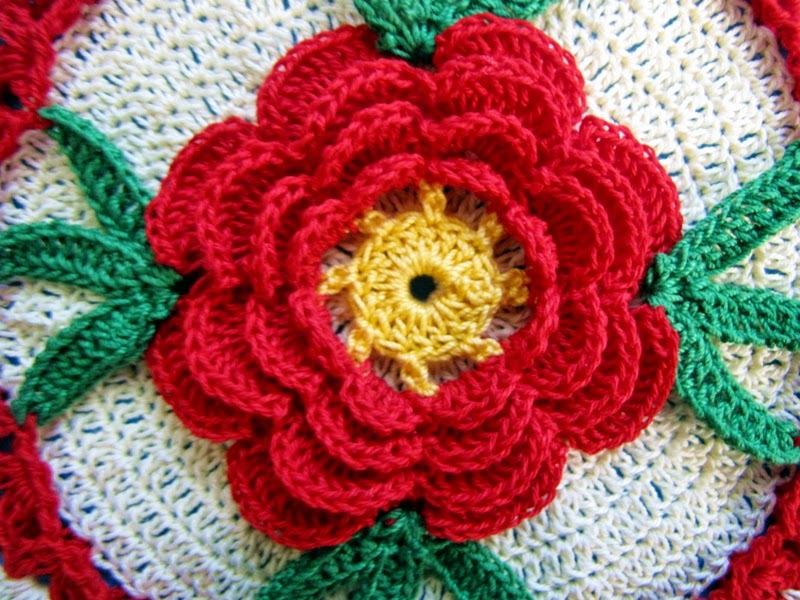
Rnd 1: With yellow, ch 6, sl st in first ch to form ring, ch 3 for first dc, 15 dc in ring, join with sl st in top of ch-3. (First ch-3 counts as first dc; 16 dc made. Right side of Rnd 1 is right side of work)
Rnd 2: Ch 1, sc in first st, ch 5, skip next dc, (sc in next dc, ch 5, skip next dc) around, join iwht sl st in first sc. Fasten off. (8 ch-5 sps made)
Rnd 3: Join red with sc in first ch-5 sp, (ch 1, 3 dc, ch 1, sc) in same sp as joining, (sc, ch 1, 3 dc, ch 1, sc) in each ch-5 sp around, join with sl st in first sc. (8 petals made)
Rnd 4: Ch 5, (sl st between next 2 petals, ch 5) around, join with sl st in first ch of first ch-5.
Rnd 5: Ch 1, (sc, ch 1, 6 dc, ch 1, sc) in each ch-5 sp around, join with sl st in first sc.
Rnd 6: Ch 6, (sl st between next 2 petals, ch 6) around, join with sl st in first ch of first ch-6.
Rnd 7: Ch 1, (sc, ch 1, 8 dc, ch 1, sc) in each ch-6 sp around, join with sl st in first sc.
Rnd 8: Ch 7, (sl st between next 2 petals, ch 7) around, join with sl st in first ch of first ch-7.
Rnd 9: Ch 1,* (sc, ch 1, 10 dc, ch 1, sc) in next petal, ch 1; repeat from * around, join with sl st in first sc. Fasten off.

Leaves
For first Leaf Group, join green with sc in ch-1 sp between first and second petals, (ch 11, hdc in 3rd ch from hook, dc in each of next 8 chs, sc in same ch-1 sp as joining) 3 times. Fasten off.
For second Leaf Group, join green with sc in ch-1 sp between 3rd and 4th petals, (ch 11, hdc in 3rd ch from hook, dc in each of next 8 chs, sc in same ch-1 sp as joining) 3 times. Fasten off.
For third Leaf Group, join green with sc in ch-1 sp between 5th and 6th petals, (ch 11, hdc in 3rd ch from hook, dc in each of next 8 chs, sc in same ch-1 sp as joining) 3 times. Fasten off.
For fourth Leaf Group, join green with sc in ch-1 sp between 7th and 8th petals, (ch 11, hdc in 3rd ch from hook, dc in each of next 8 chs, sc in same ch-1 sp as joining) 3 times. Fasten off.
Rnd 10: Join red with sc in tip of first leaf on first Leaf Group, work 2 eyelet sps (see Special Stitches), sc in tip of center leaf on first Leaf Group, work 2 eyelet sps, sc in tip of last leaf on first Leaf Group, work 4 eyelet sps, *sc in tip of first leaf on next Leaf Group, work 2 eyelet sps, sc in tip of center leaf on same Leaf Group, work 2 eyelet sps, sc in last leaf on same Leaf Group, work 4 eyelet sps; repeat from * around, join with sl st in first sc. (32 eyelet sps made)
Rnd 11: Sl st into first eyelet sp (insert hook between the ch-4 and the tr), (ch 3, dc, ch 2, 2 dc) in first eyelet sp, shell (see Special Stitches) in each remaining eyelet sp around, join with sl st in top of ch-3. Fasten off.
Back
Rnd 1: With cream, ch 6, sl st in first ch to form ring, ch 3 for first dc, 15 dc in ring, join with sl st in top of ch-3. (Ch-3 counts as first dc; 16 dc made. Right side of Rnd 1 is right side of work)
Rnd 2: (Ch 3, dc) in first st, 2 dc in each st around, join with sl st in top of ch-3. (32 dc)
Rnd 3: (Ch 3, dc) in first st, dc in next st, (2 dc in next st, dc in next st) around, join. (48 dc)
Rnd 4: (Ch 3, dc) in first st, dc in each of next 2 dc, (2 dc in next st, dc in each of next 2 dc) around, join. (64 dc)
Rnd 5: (Ch 3, dc) in first st, dc in each of next 3 dc, (2 dc in next st, dc in each of next 3 dc) around, join. (80 dc)
Rnd 6: (Ch 3, dc) in first st, dc in each of next 4 dc, (2 dc in next st, dc in each of next 4 dc) around, join. (96 dc)
Rnd 7: (Ch 3, dc) in first st, dc in each of next 5 dc, (2 dc in next st, dc in each of next 5 dc) around, join. (112 dc)
Rnd 8: (Ch 3, dc) in first st, dc in each of next 6 dc, (2 dc in next st, dc in each of next 6 dc) around, join. (128 dc)
Rnd 9: Ch 3 for first dc, dc in each dc around, join. Fasten off. (128 dc)
Rnd 10: Join red with sl st in first st, (ch 3, dc, ch 2, 2 dc) in same st as joining, skip next 3 dc, (shell in next dc, skip next 3 dc) around, join with sl st in top of ch-3. Fasten off.
Joining
Rnd 11: Place Front on top of Back with right sides of both facing; matching stitches and working through both thicknesses as one, join cream with sc in ch-2 sp of first shell, ch 1, (tr, ch 1) 7 times in ch-2 sp of next shell, *sc in ch-2 sp of next shell, ch 1, (tr, ch 1) 7 times in ch-2 sp of next shell; repeat from * around, join with sl st in first sc. Fasten off. (16 scallops made)
Rnd 12: Join red with sc in first ch-1 sp on first scallop, (ch 3, sc in next ch-1 sp) 7 times, *sc in first ch-1 sp on next scallop, (ch 3, sc in next ch-1 sp) 7 times; repeat from * around, join with sl st in first sc. Fasten off.

Hanging Ring
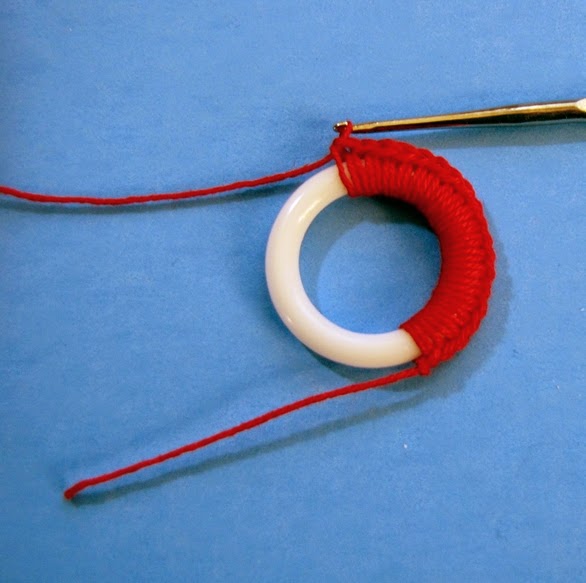
Join red with a sl st around plastic ring, ch 1, work 40 sc in ring, join with sl st in first sc. Leaving a 12” end of thread, fasten off.

Finishing:
1: Place Potholder on blocking surface, spray with heavy starch. Shape and allow to dry.
2: Using 12” end of thread and tapestry needle, sew Ring to back of Potholder.


