How to Make a Bow with Book Pages
Oh, the "Bow with Book Pages" craft project is a delightful way to repurpose old book pages and add a touch of whimsy to any gift or decoration! By carefully folding and layering book pages, you can create a charming bow that's both eco-friendly and visually appealing. It's a perfect way to show off your creativity and love for books. Just imagine the joy it will bring to someone receiving a gift adorned with such a unique bow. So go ahead, grab those old book pages, get crafty, and have fun making your very own Bow with Book Pages!
DIY Bow and Hanger Supplies
You will need a few very inexpensive supplies.
Old book or old book printables
Mod Podge, foam brush
Hot Glue /Gun
Scissors
How to Make a Bow with Book Pages
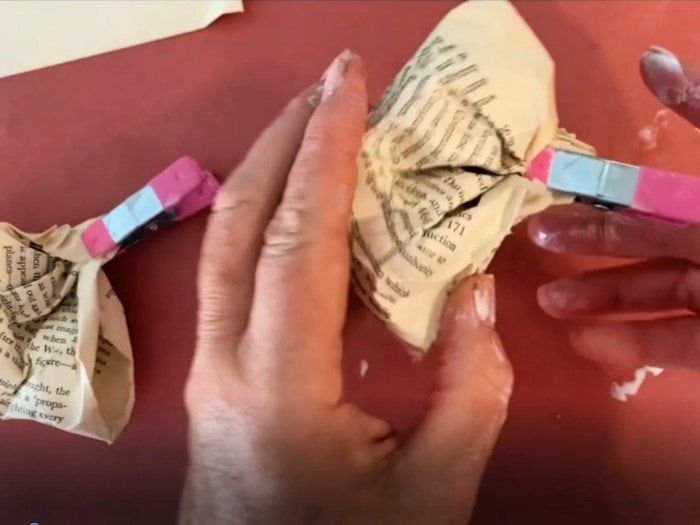
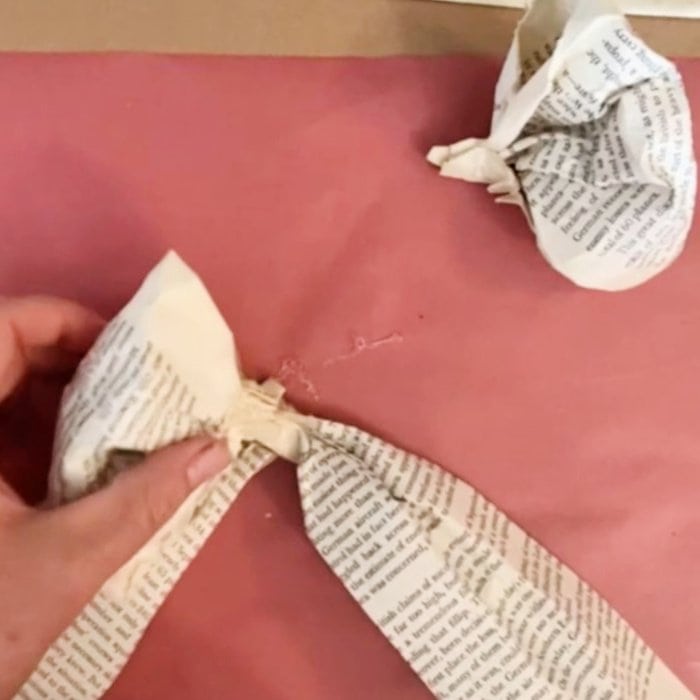
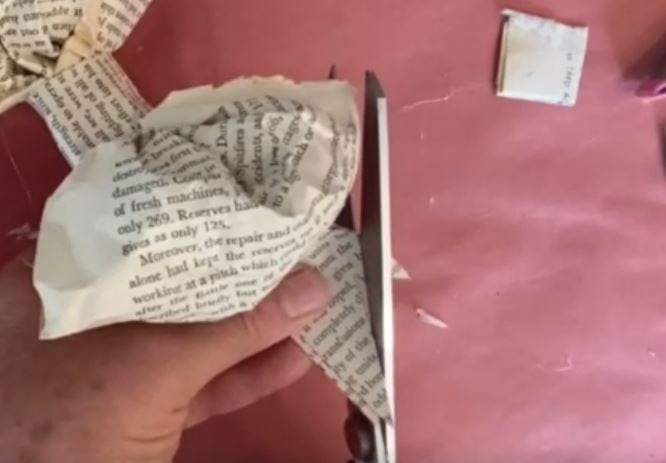
Begin by crumbling up one book page for each side of your bow. (or cut a page to make it smaller depending on the size you want.)
Uncrumble the book page and fold in half. Scrunch the center, glue together using mod podge and then clip to hold. Repeat for the other page.
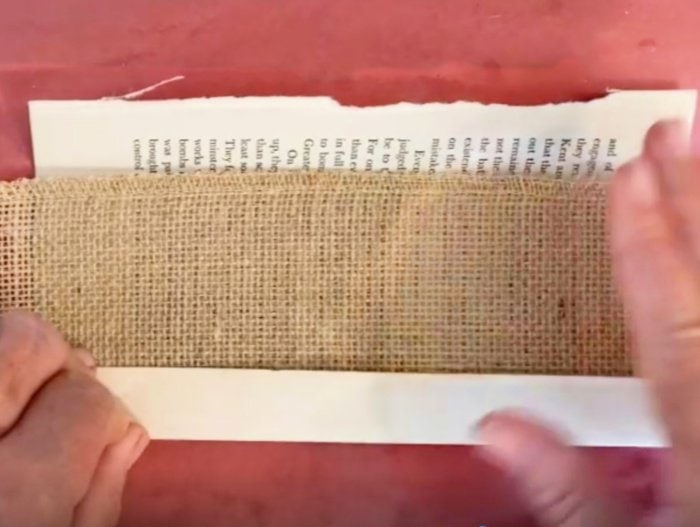
If your going to hang something from the bow like I did. You will need to cover a ribbon with book pages to add the necessary strength. In this case its easier to use the ribbon as a guide for the width of your page folds. Otherwise just fold your book page to the width you want as shown. For example 3 inches.
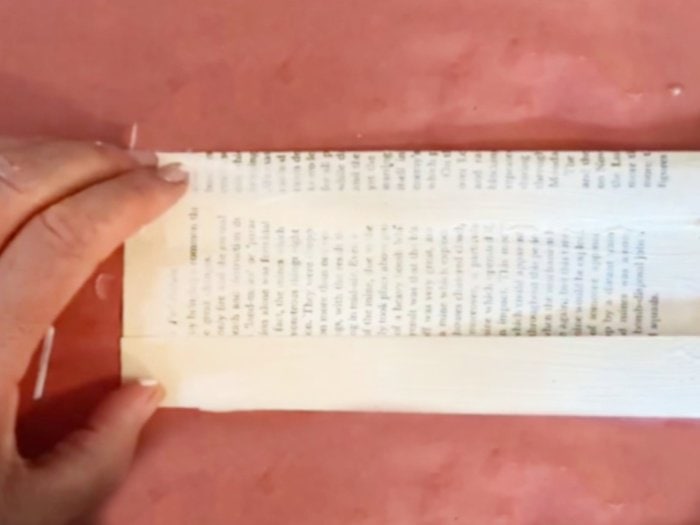
On the backside of the book page mod podge the folded edges to hold them in place.
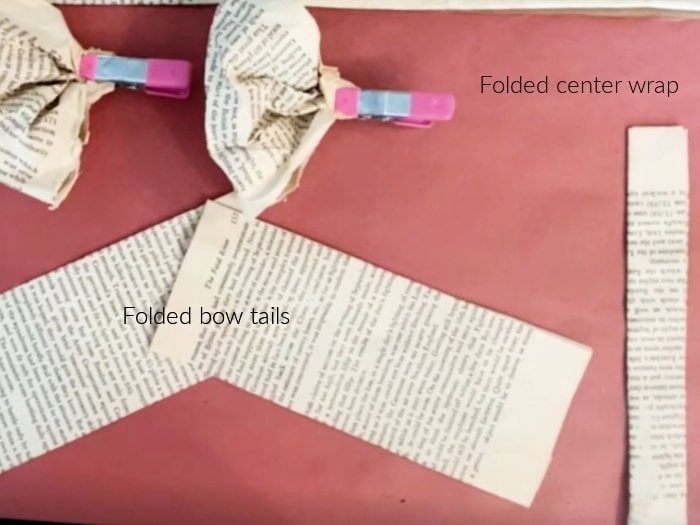
Repeat for the second bow tail. Dont worry about trimming the edge we will do that at the end.
Take another book page and fold it in four length wise to make the final central wrap. Mod podge the edges to hold and let dry. Don’t worry about the length, we will trim it once we put the bow together. By now you should have five pieces like shown below.
To create the optional long ribbons for hanging , take a piece of ribbon and fold as many book pages as you need to cover the ribbon. Place the paper around the ribbon and mod podge it on the back side to hold. I used burlap ribbon, but you can use any leftover ribbon you want to as long as its the width you want. the ribbon won’t show at all.
Let all the pieces dry.
Assembling the Book Page Bow
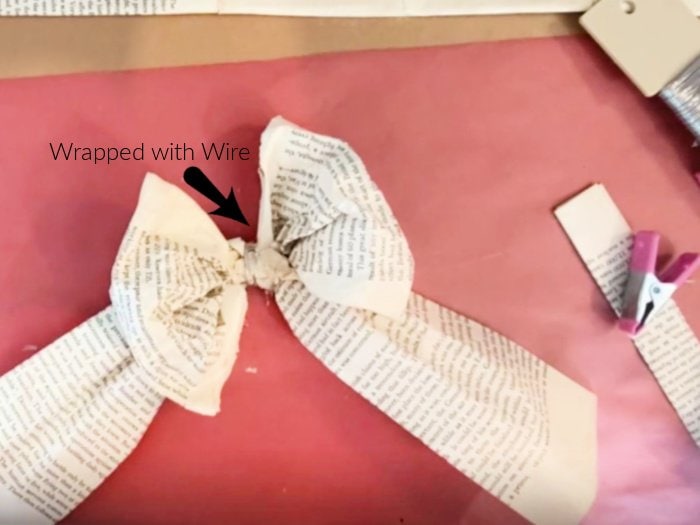
Place the two fluffy sides of the bow together. Place one center over the other and glue into place with hot glue. Wrap tightly with wire or a zip tie.
Fold the center piece over the middle to cover the glued seam. Trim as needed and glue on the back.
Fold and gather the end both bow tails. Think about the angle you want them to beneath the bow. Glue the two bow tails together with hot glue, then add the two bow sides. Glue the two bow sides on top of the bow tails.
Once you have the bow the way your like it. Take a piece of wire or a zip tie and secure the center.
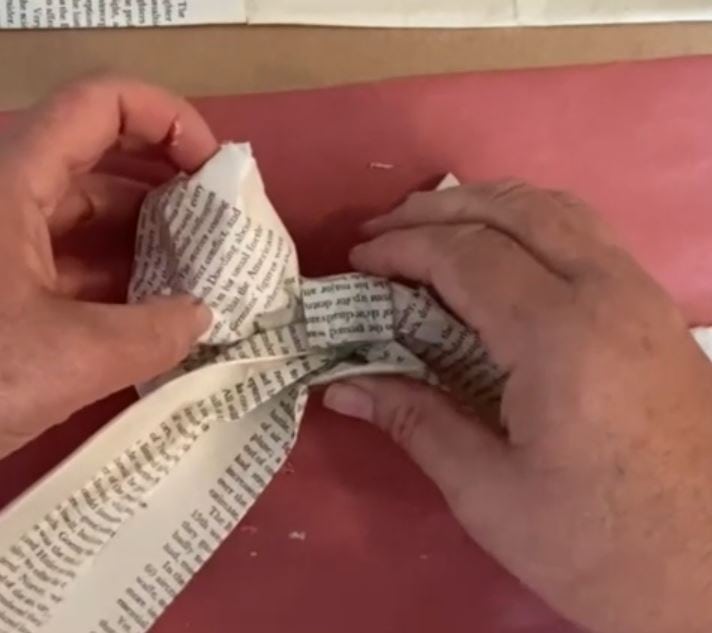
Once wrapped with the wire take the thin folded piece of the book pages and wrap it around the middle to cover the center. Trim to length and attach on the back using mod podge.
Trimming the Book Page Bow Tails
Fold the edge of the bowl tails together and trim from the bottom towards the top at an angle. This will give you the fish tail end.
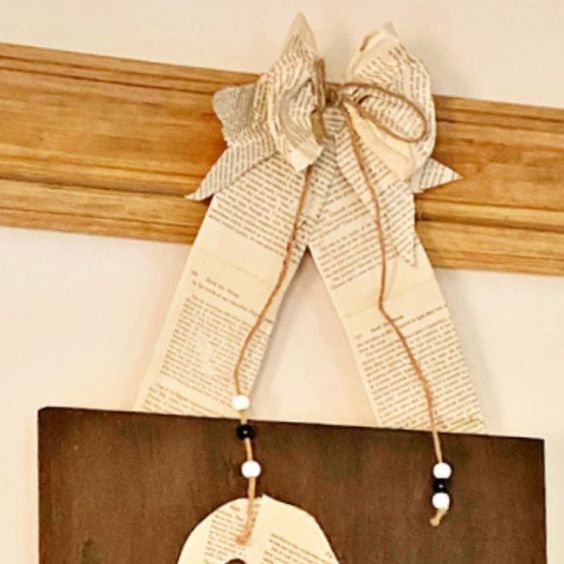
Optional Picture Hanger
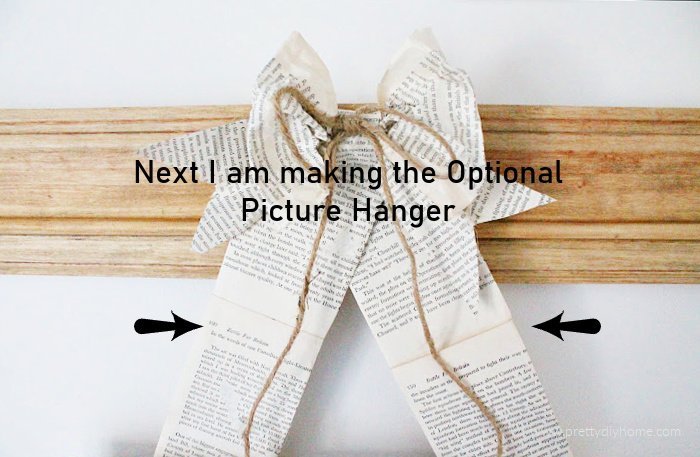
To make the optional hanger lay a book page flat and cover it with the ribbon. fold the top and bottom over the ribbon. Crease the endges.
Mod podge the folded parts on the back of the ribbon.

If adding the optional picture hanging tails glue them behind the bow on the top and then attach the other end to whatever your hanging using hot glue and staples or tacks.