DIY Beautiful Bow
Creating your own beautiful bow can be a fun and rewarding DIY project. All you need is some ribbon, scissors, and a bit of creativity. Start by shaping the ribbon into loops, crossing them in the middle to form the classic bow shape. Don't worry about it being perfect, the charm is in its handmade look! Once you have your bow shape, secure it in place with a small piece of ribbon or glue. You can play around with different colors and patterns to match any gift or decor. With a little practice, you'll be crafting gorgeous bows that add a personal touch to any occasion. So grab your supplies and enjoy the creative process – you'll be amazed at the beautiful bows you can make!
For this DIY you’ll need:
♥ Light Blue Ribbon, 2,5cm wide.
♥ (Hot) Glue.
♥ Scissors.
♥ Ruler.
♥ Pencil.
DIY Bow
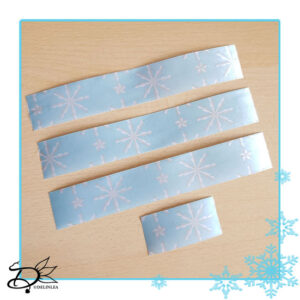
Cut 3 pieces of ribbon of 15cm and 1 piece of 5cm.
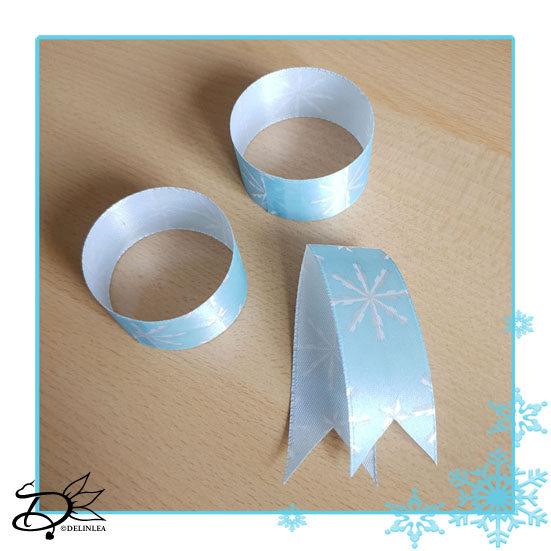
Make a circle of 2 of the 15cm lengths and clue the ends together. The 3rd 15cm length you fold in half and cut a triangle out of both ends. Where the fold is you make a small zigzag down, to make it easier to insert later. You can use a bit of glue to keep the zigzag together.
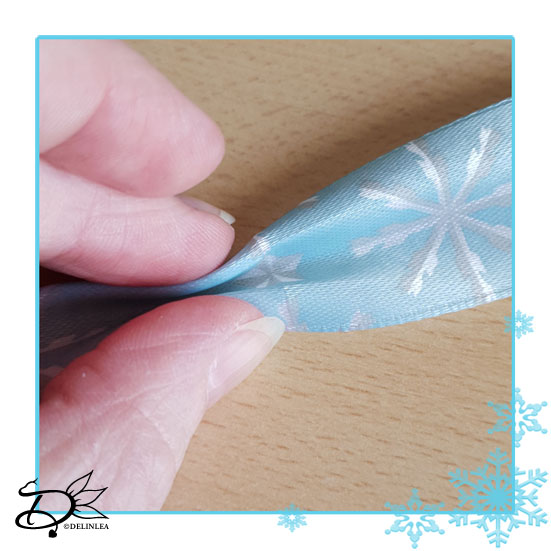
The 5cm length you fold ¼ in from both sides, so you make the width of the ribbon smaller.

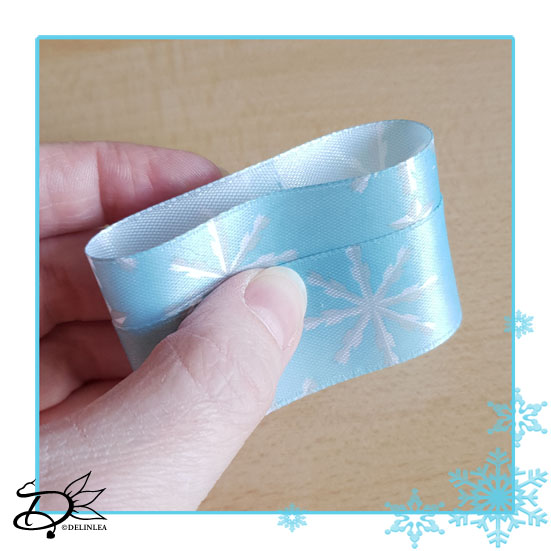
Now put both rings slightly inside each other and push it flat in the middle, make sure the glued ends are in the back. And glue this down as well, so they stay like that. (See picture).
Where you put the glue in the middle, grab from both the top and bottom, so it ruffles up there. You can see the bow shape now.
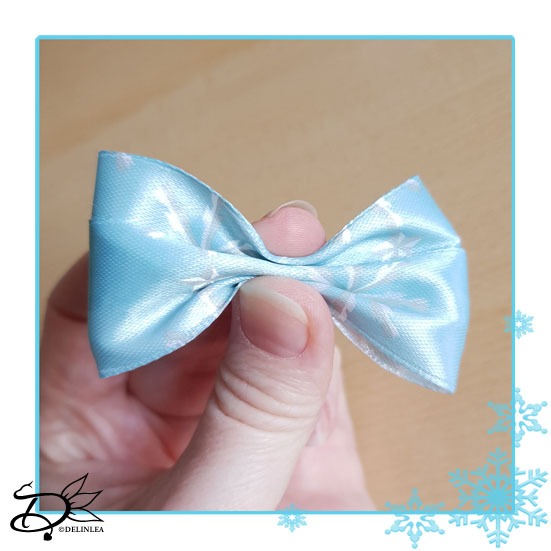
Add the piece with the triangle cut out on the bottom on the bow. And wrap the 5cm length, that’s folded smaller to the middle of the bow. It might be slightly too long, just cut a bit off and glue it neatly.
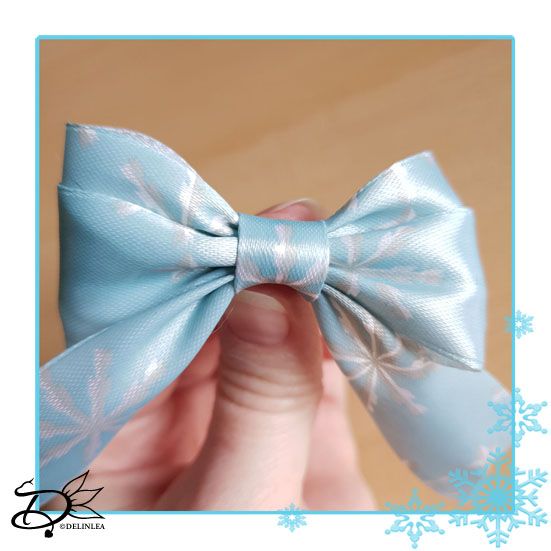
Last you can shape the bow a bit, carefully pull the 2 circles a bit out of each other. And maybe adjust here and there.


Your bow is ready and you can add it to the top of your tree now! Look how beautiful!